
Basic information and settings of the SmartPanel can be displayed and modified in the Settings Menu. Touch the 
|
Brightness and sidetone settings |
|
|
Network settings |
|
|
Selection of the interface through which an application is connected. (Web Interface, Audio Monitoring App, Control Panel App) |
|
|
Selection of the transport mode (Artist-32/64/128 or Artist-1024) |
|
|
Matrix * |
Show Matrix information |
|
Installation and display of licenses |
|
|
Show device information, firmware update, reboot SmartPanel ... |
* only available in Intercom Mode Artist-32/64/128
Navigation in the Settings menu is described in the Info Display chapters for the corresponding SmartPanel type:
-
DSP-1216HL SmartPanel: Info Display #Navigation in the Settings Menu
-
RSP-1216HL SmartPanel: Info Display #Navigation in the Settings Menu
-
RSP-1232HL SmartPanel: Info Display #Navigation in the Settings Menu
Menu Pin Protection
The menu items of the 1200 SmartPanels, which are connected to Artist-1024, can now be protected against changes by a PIN. This improves the security of panels located in public places and keeps unauthorized users away from the panel's basic settings (such as IP addresses, etc.). The following entries are an exception: Device Settings and Factory Rest (in the Service submenu).
This function can be activated in the Director software in the corresponding SmartPanel properties. Information on this can be found in the Director user manual. No settings can or need to be made on the SmartPanel itself.
The unlocking procedure is described below using an RSP-1232HL. However, the steps are also valid for an RSP-1216HL and DSP-1216HL. Possible deviations are described in the text.
In a pin-protected Settings menu, an 
The locked entries can only be accessed if the correct four-digit PIN has been entered.
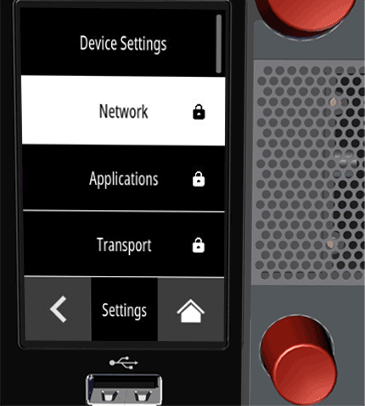
-
Select a menu item.
The numeric keypad appears on the info display, e.g. Network.
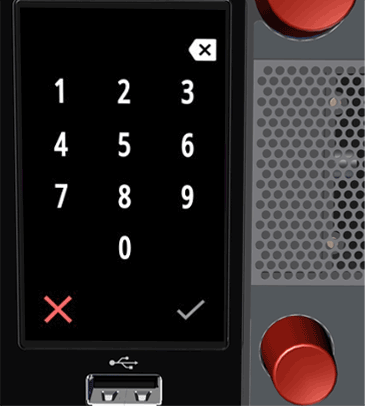
-
Enter the four digits of the PIN one after the other:
-
RSP-1232HL: Tap on a digit
-
RSP-1216HL: Turn and press the gray rotary knob
-
An asterisk is displayed at the top for each digit entered.

-
Tap the


After entering the four digits...
-
Confirm the entry:
-
Tap the green

-
or
-
Cancel the operation:
-
Tap the red

-

If the PIN entered is incorrect, this is indicated for a moment by the text “Wrong PIN”. Then start entering the four numbers again.
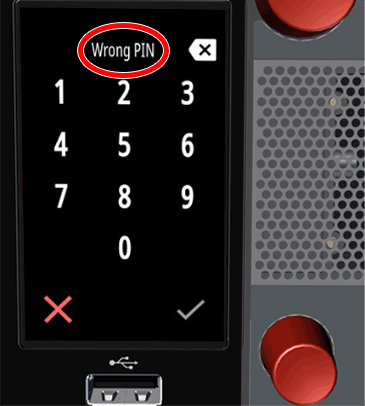
If the PIN entered is correct, the corresponding menu opens, e.g. Network.
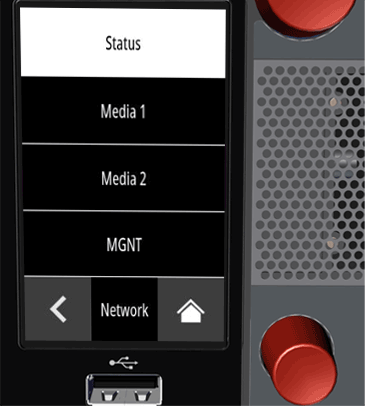
The entire Settings menu is now unlocked and you can also navigate to other menu items. The entries in the Settings menu remain unlocked until the menu is exited and the main view is displayed.