BMR is built around a clear and operator-friendly interface, making it fast to understand and easy to use under pressure.
The layout is designed to help you react quickly, select the right sources, and send the right streams or files to the right destination without slowing down your workflow.
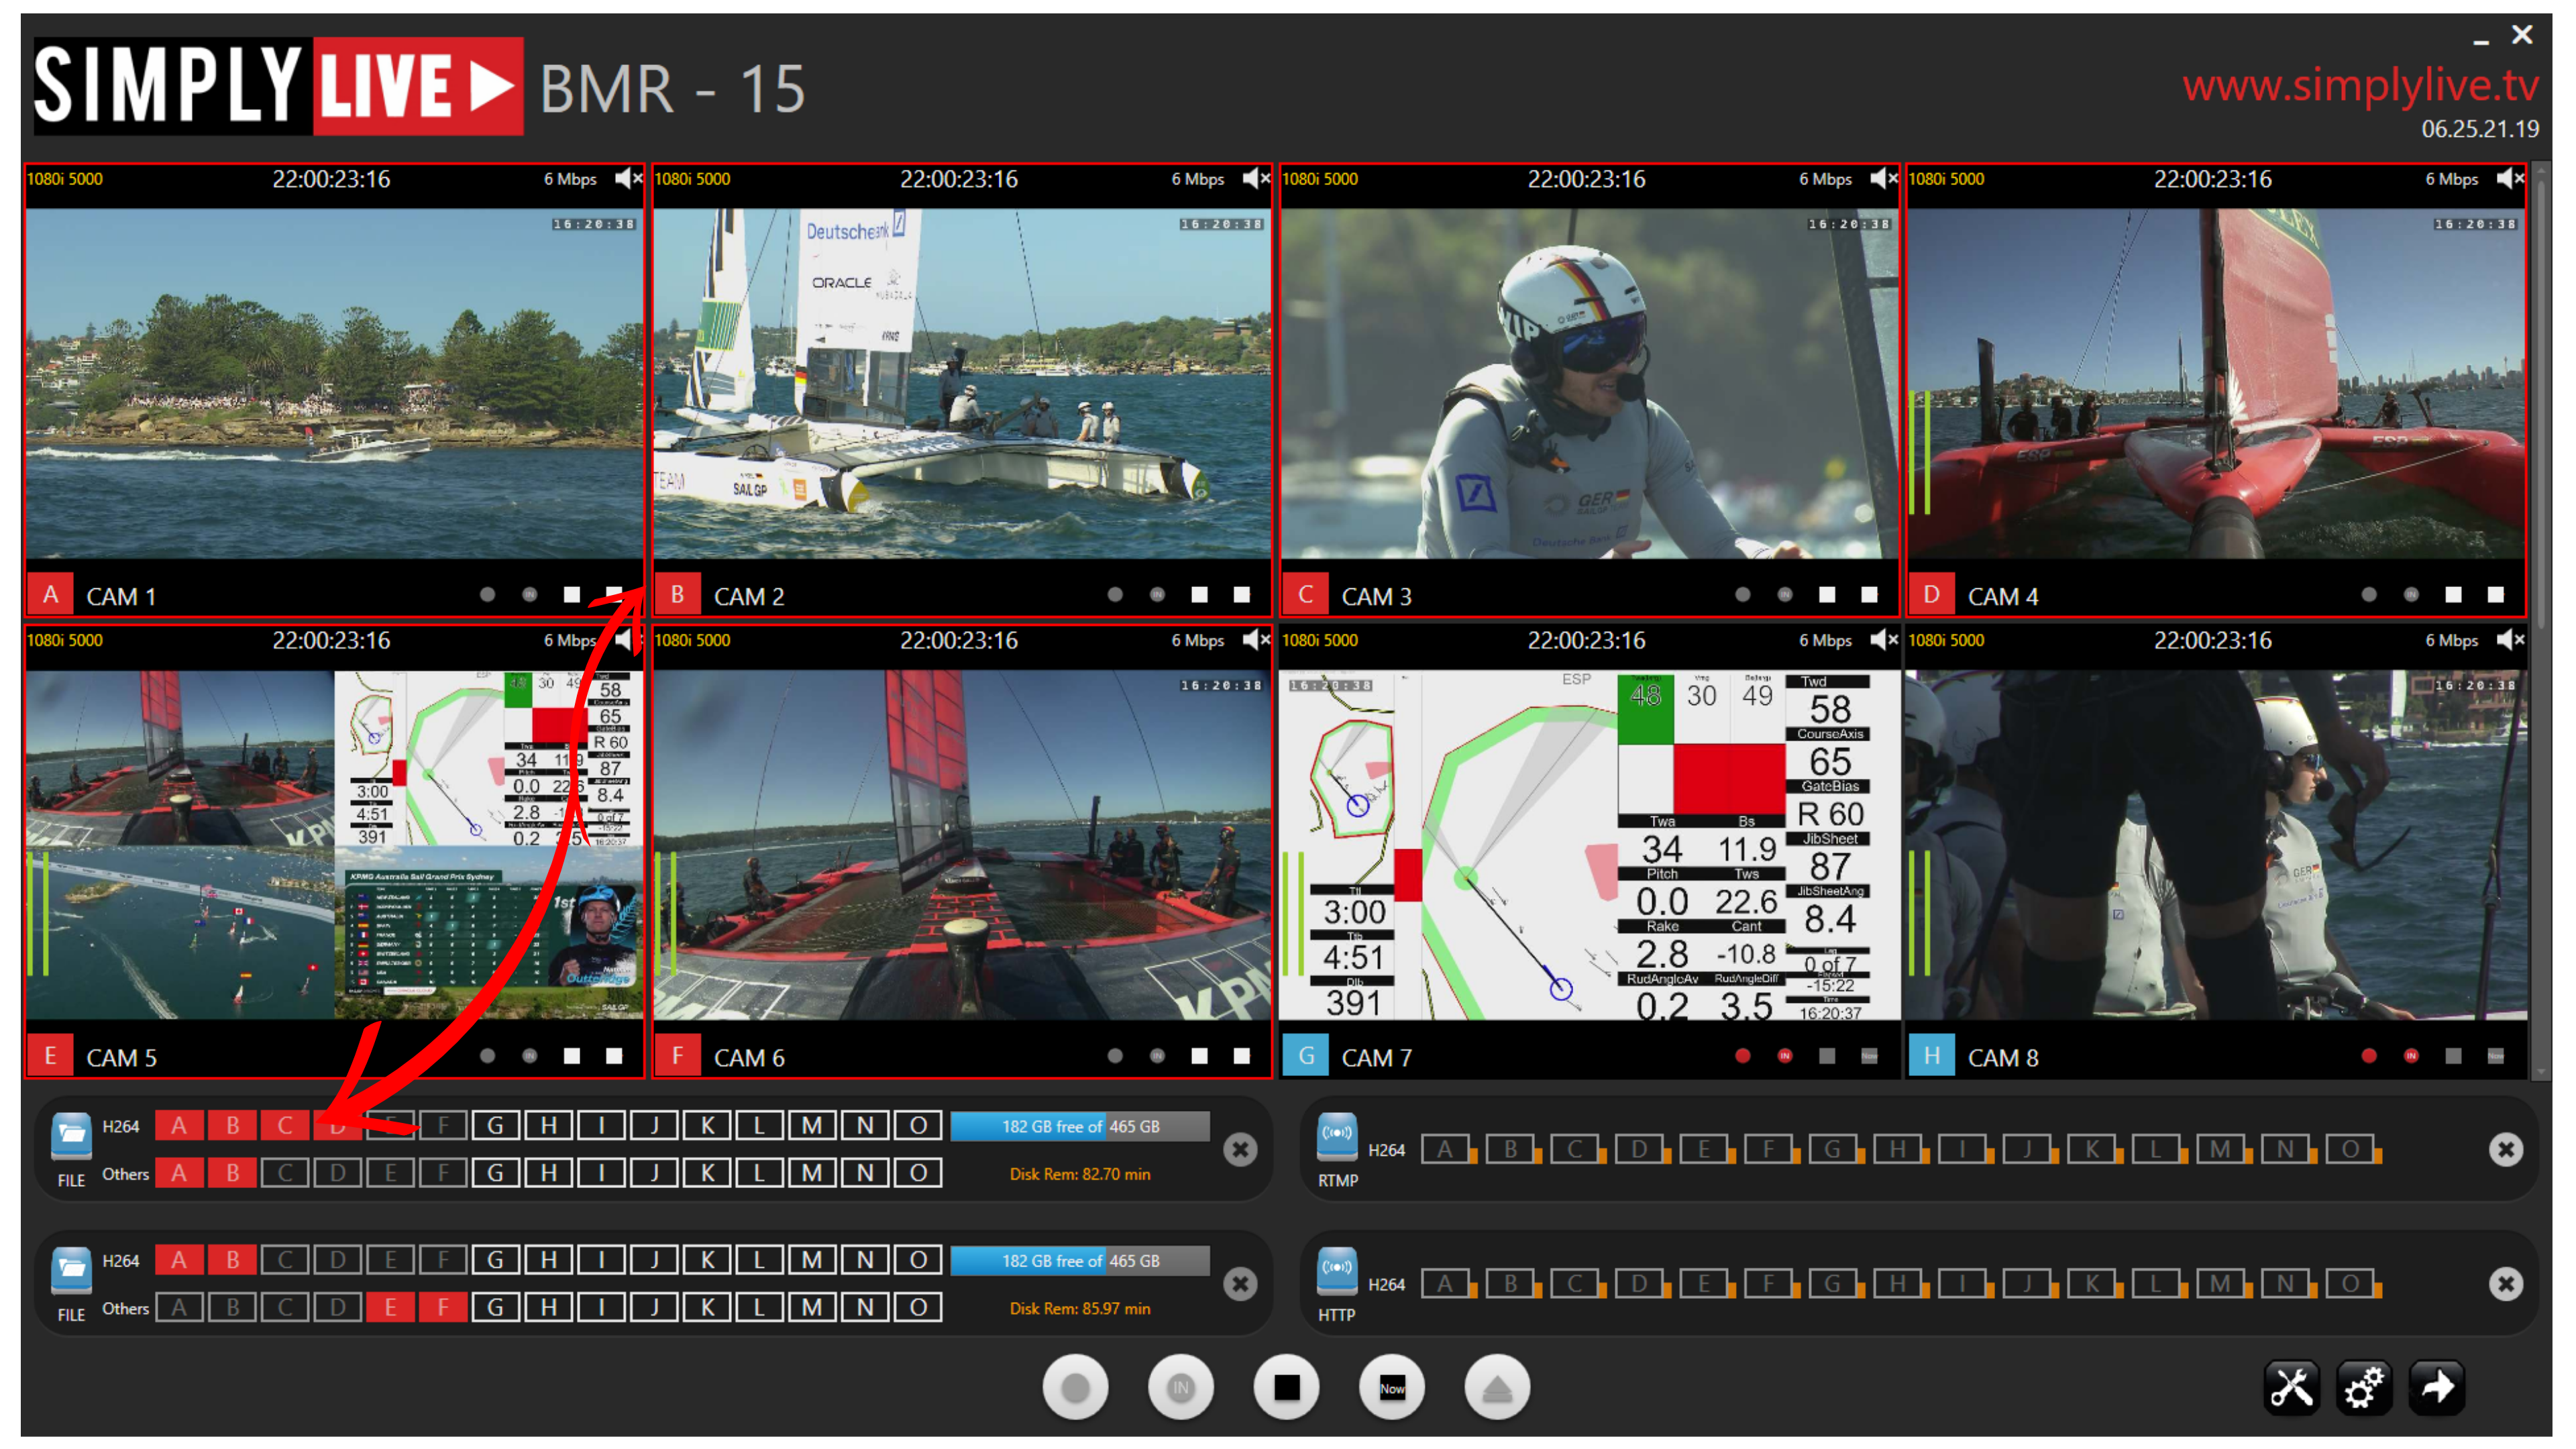
Camera area
In the middle of the screen, you can see the camera inputs currently available on the server.

These are the sources being monitored and recorded by BMR. Keeping the camera area in the centre of the interface makes it easy to see at a glance which inputs are active and which ones are selected for recording or transfer.
When recording starts, the selected camera inputs are outlined in red, giving you immediate visual confirmation that those sources are now in record mode.
Pro Tip
If your SimplyLive server is configured with more than eight inputs, scroll vertically through the camera area to view the additional sources. A SimplyLive server can support up to 16 inputs and outputs, so not all cameras may be visible on the first screen.
Destination containers
At the bottom of the screen, BMR provides up to 10 destination containers.
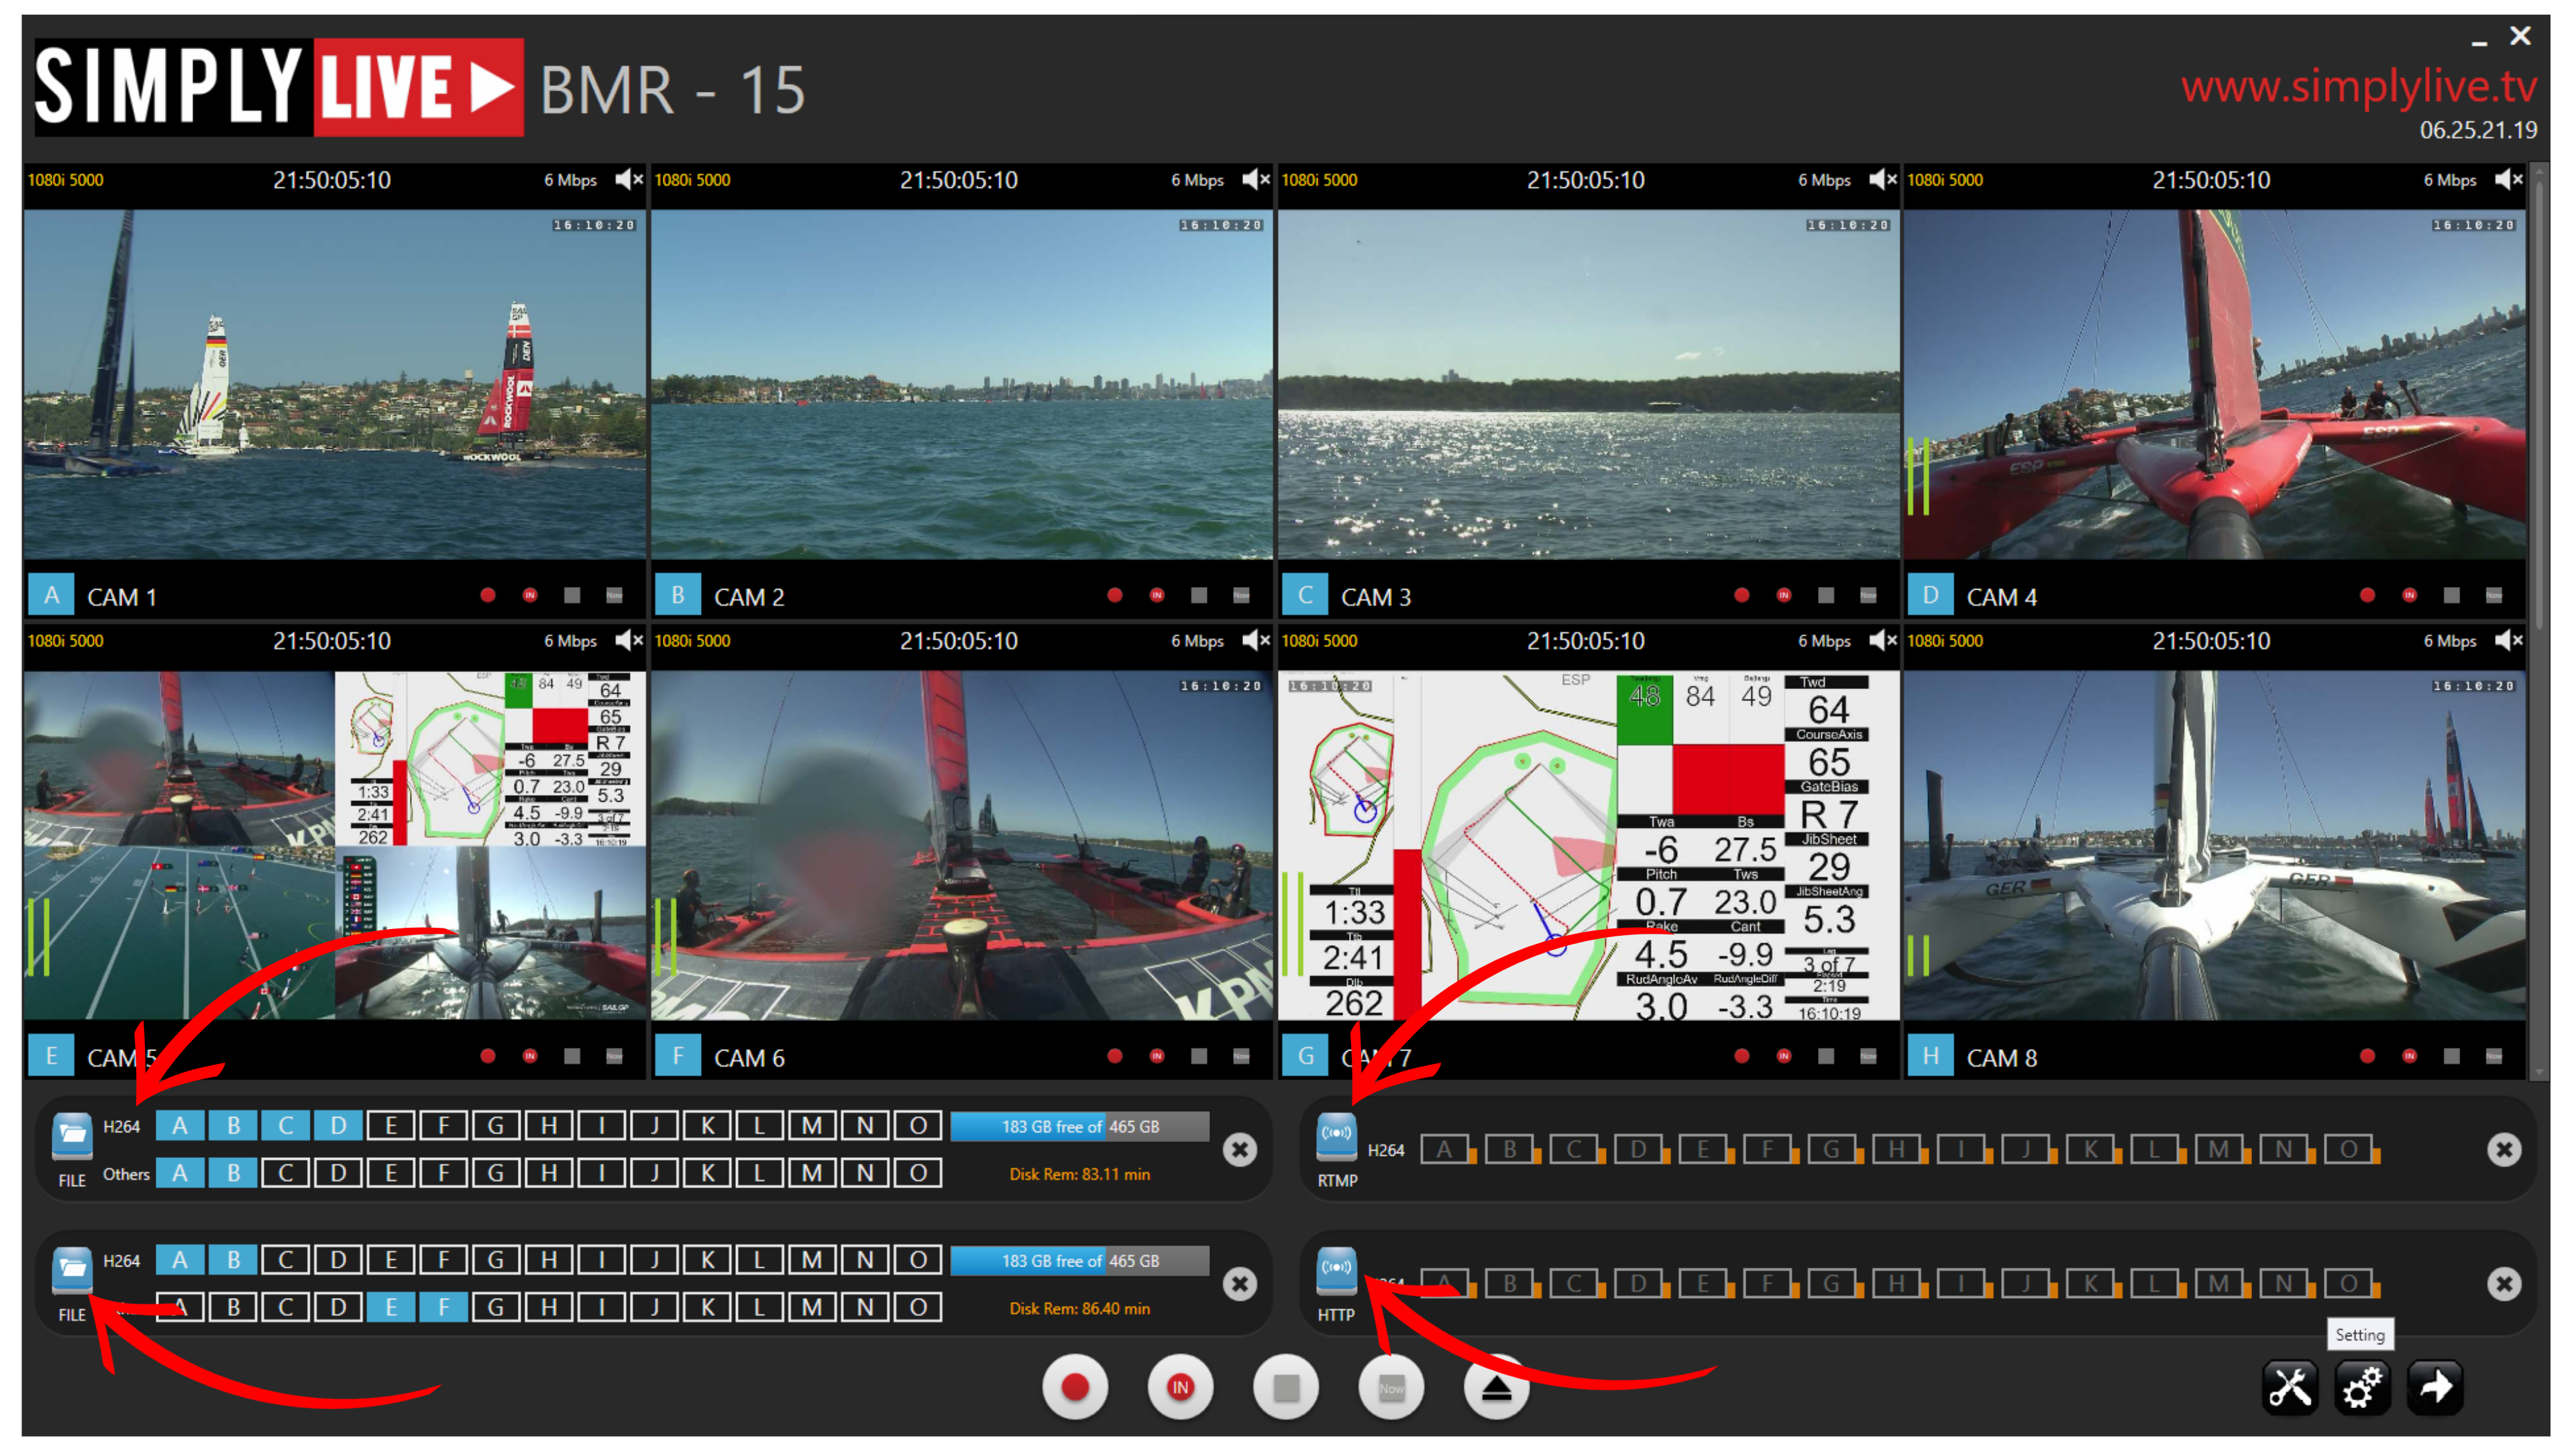
Each container represents one output workflow and can be used for a different destination or delivery path. For example, one container can feed post-production, another can be used for RTMP delivery, another for HTTP streaming, and another for external backup recording.
Each destination container can include:
-
one main stream
-
one secondary stream
This allows the same source to be delivered in two different codecs or quality levels at the same time.
For example, one destination can receive a high-resolution file for post-production together with a lower-resolution proxy version. At the same time, other containers can be used for RTMP, HTTP, NAS delivery, or backup recording to SSD.
Info
Each destination container can carry both a primary and a secondary stream. This makes it possible to send the same material in two formats at the same time, depending on the destination requirements.
Pro Tip
Use multiple destination containers in parallel to build several workflows at once. For example, you can send H.264 and DNxHD versions of the same source to post-production, while also running RTMP and HTTP outputs and recording a backup copy to external storage.
Info
BMR supports up to 10 destination containers. Since each destination can carry both a primary and a secondary stream, the system can handle up to 20 stream instances in total across the interface.
Recording controls
Along the lower control row, BMR provides the main recording actions.
These include:
-
Record live for all camera to start recording immediately from the current moment
-
Record for all camera with a train to start recording from a defined timecode point
-
Stop for all camera to stop all active recordings
-
Eject all drives to safely remove connected storage
The train-based record function opens a timecode entry window, allowing you to define the exact point from which recording should begin.
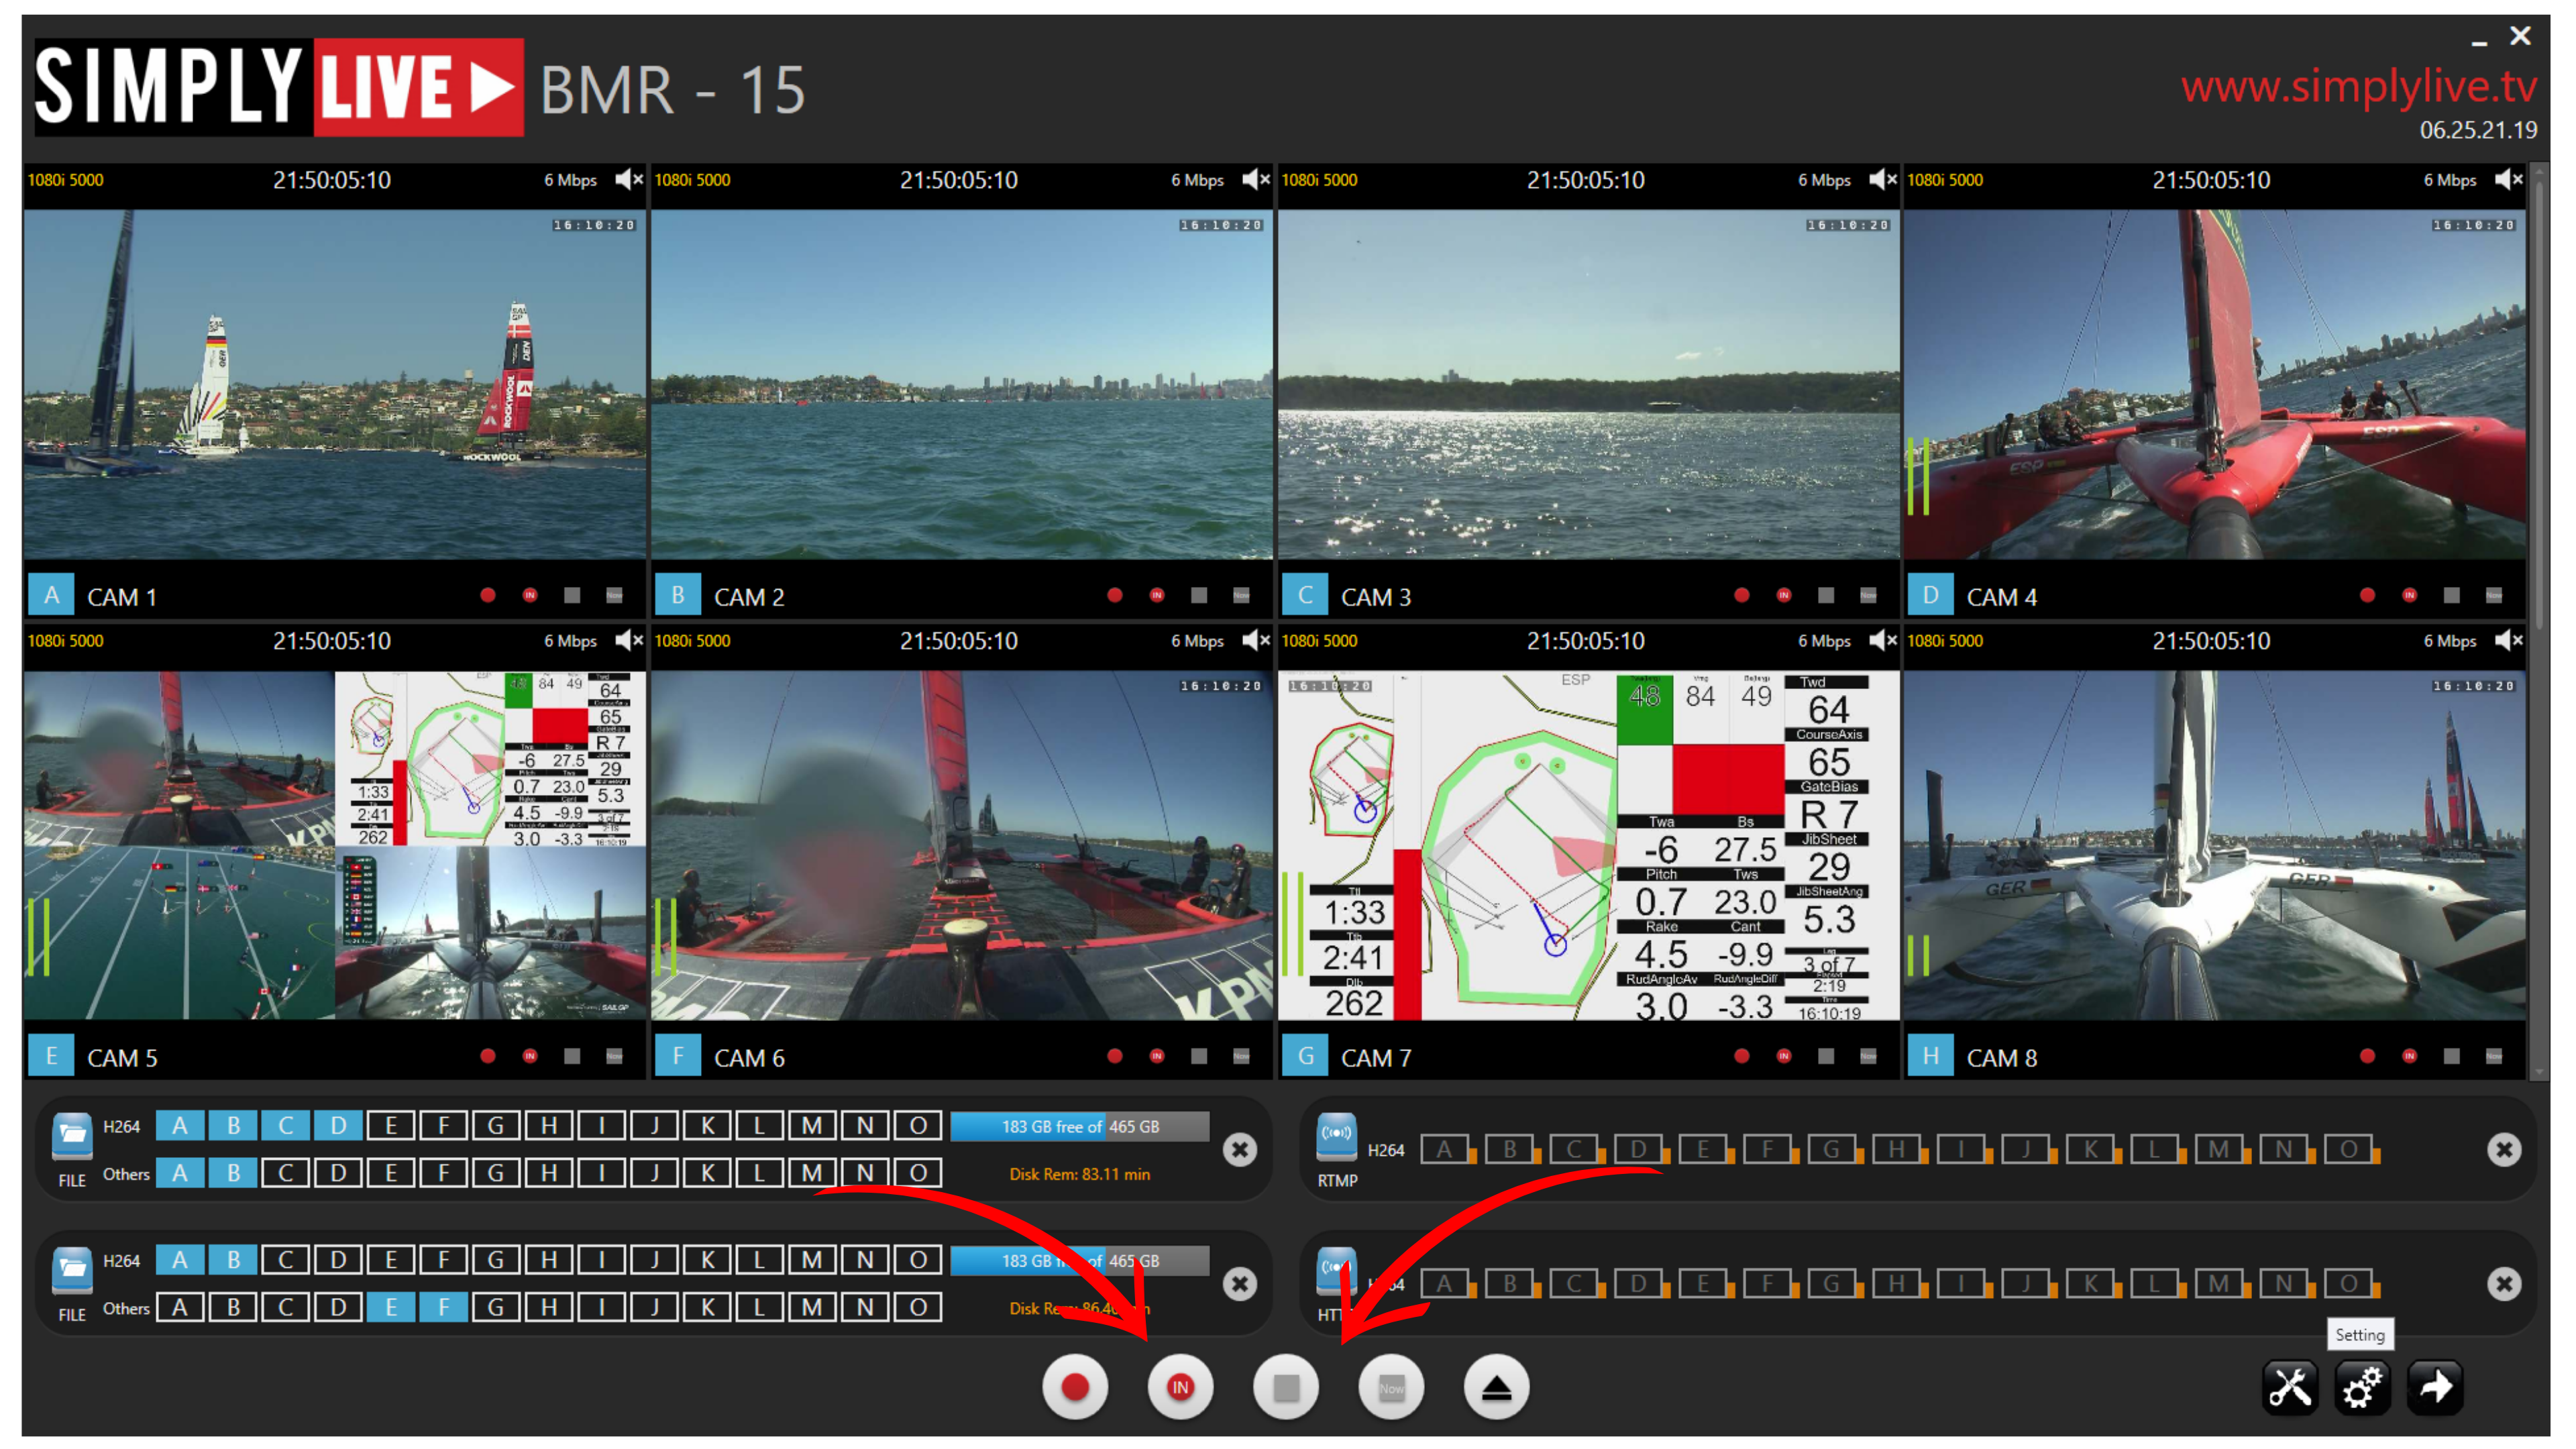
Info
The train-based record function is useful when you need to begin from a specific timecode rather than from the current live point.
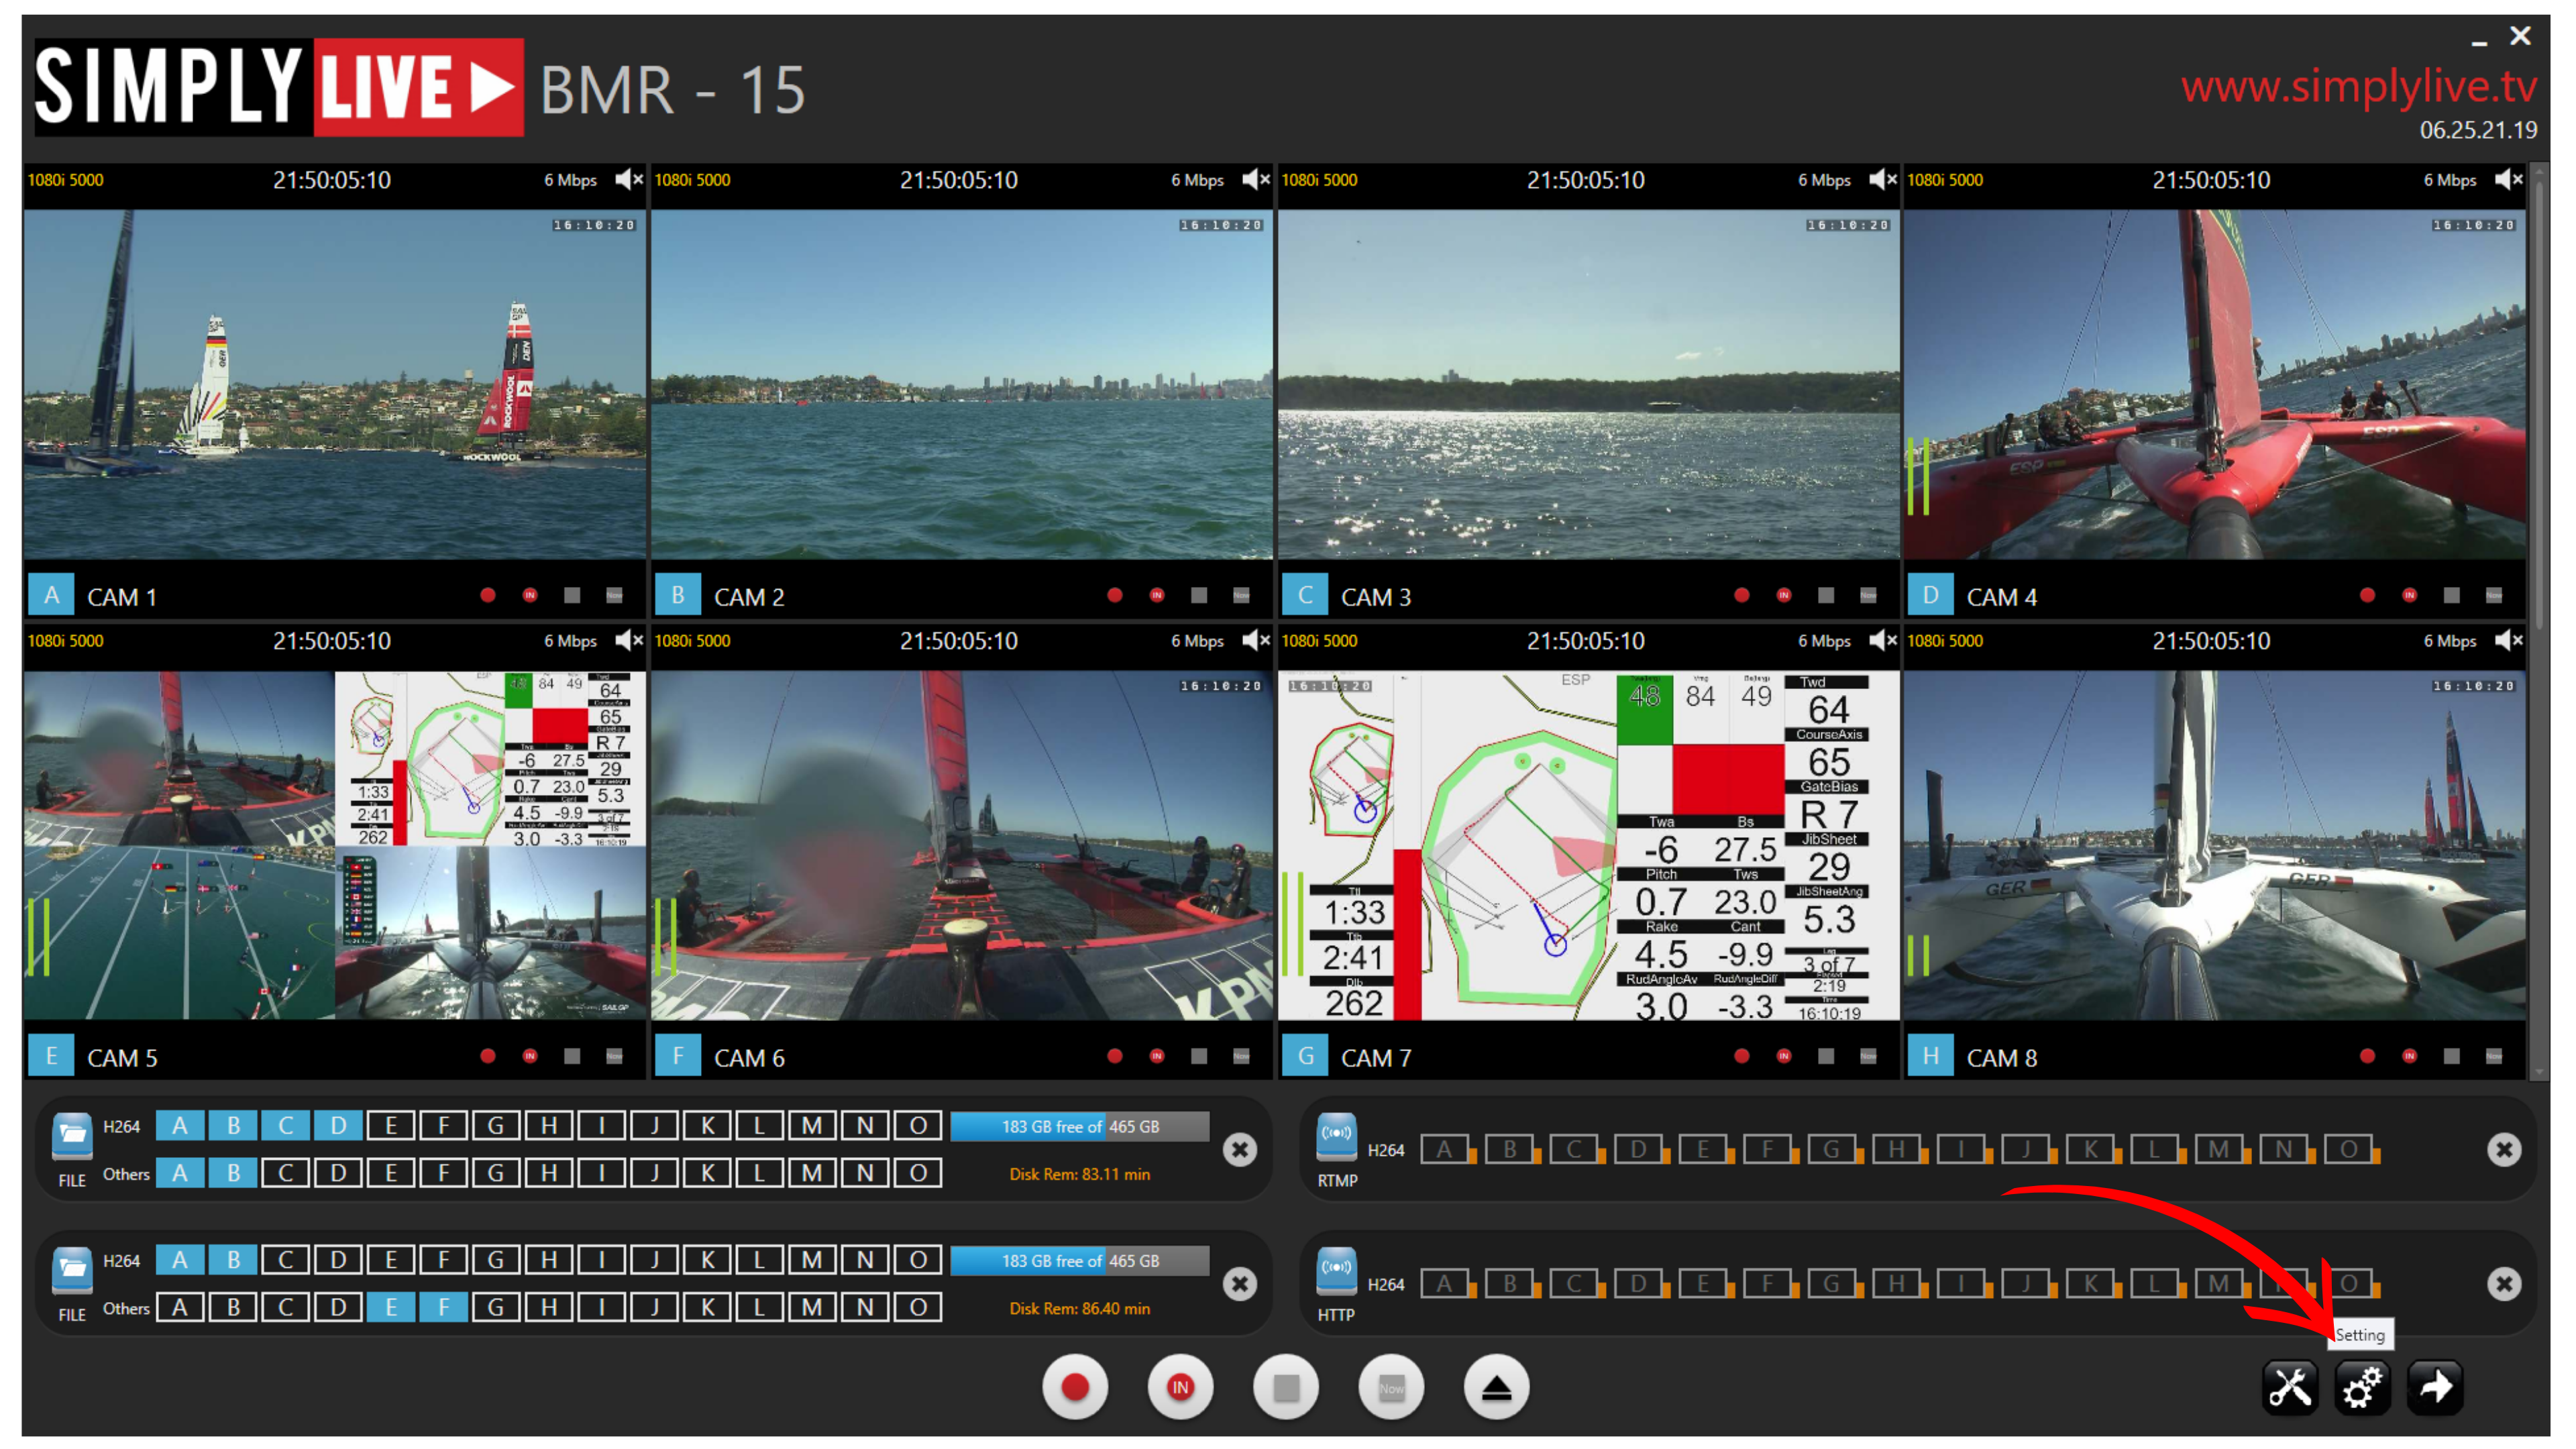
Tools and system controls
On the right side of the interface, you will find the main action buttons:
-
Tools
-
Setting
-
Export
These provide quick access to workflow tools, configuration options, and export-related actions.
Visual status feedback
BMR uses clear visual feedback throughout the interface.
Selected cameras and active recording states are easy to recognise immediately. This helps you confirm at a glance which inputs are being recorded and which destinations are currently active.
Info
When recording starts, the cameras selected for the stream are outlined with a red border, giving you immediate visual confirmation of which sources are actively included.