Using Profiles in Export
Profiles allow you to export the same clips in different formats, with different settings, at the same time.
Each profile is a predefined export setup.
This means you can prepare multiple outputs depending on:
-
destination
-
codec
-
file structure
-
audio setup
Instead of changing settings every time, you select a profile and export.
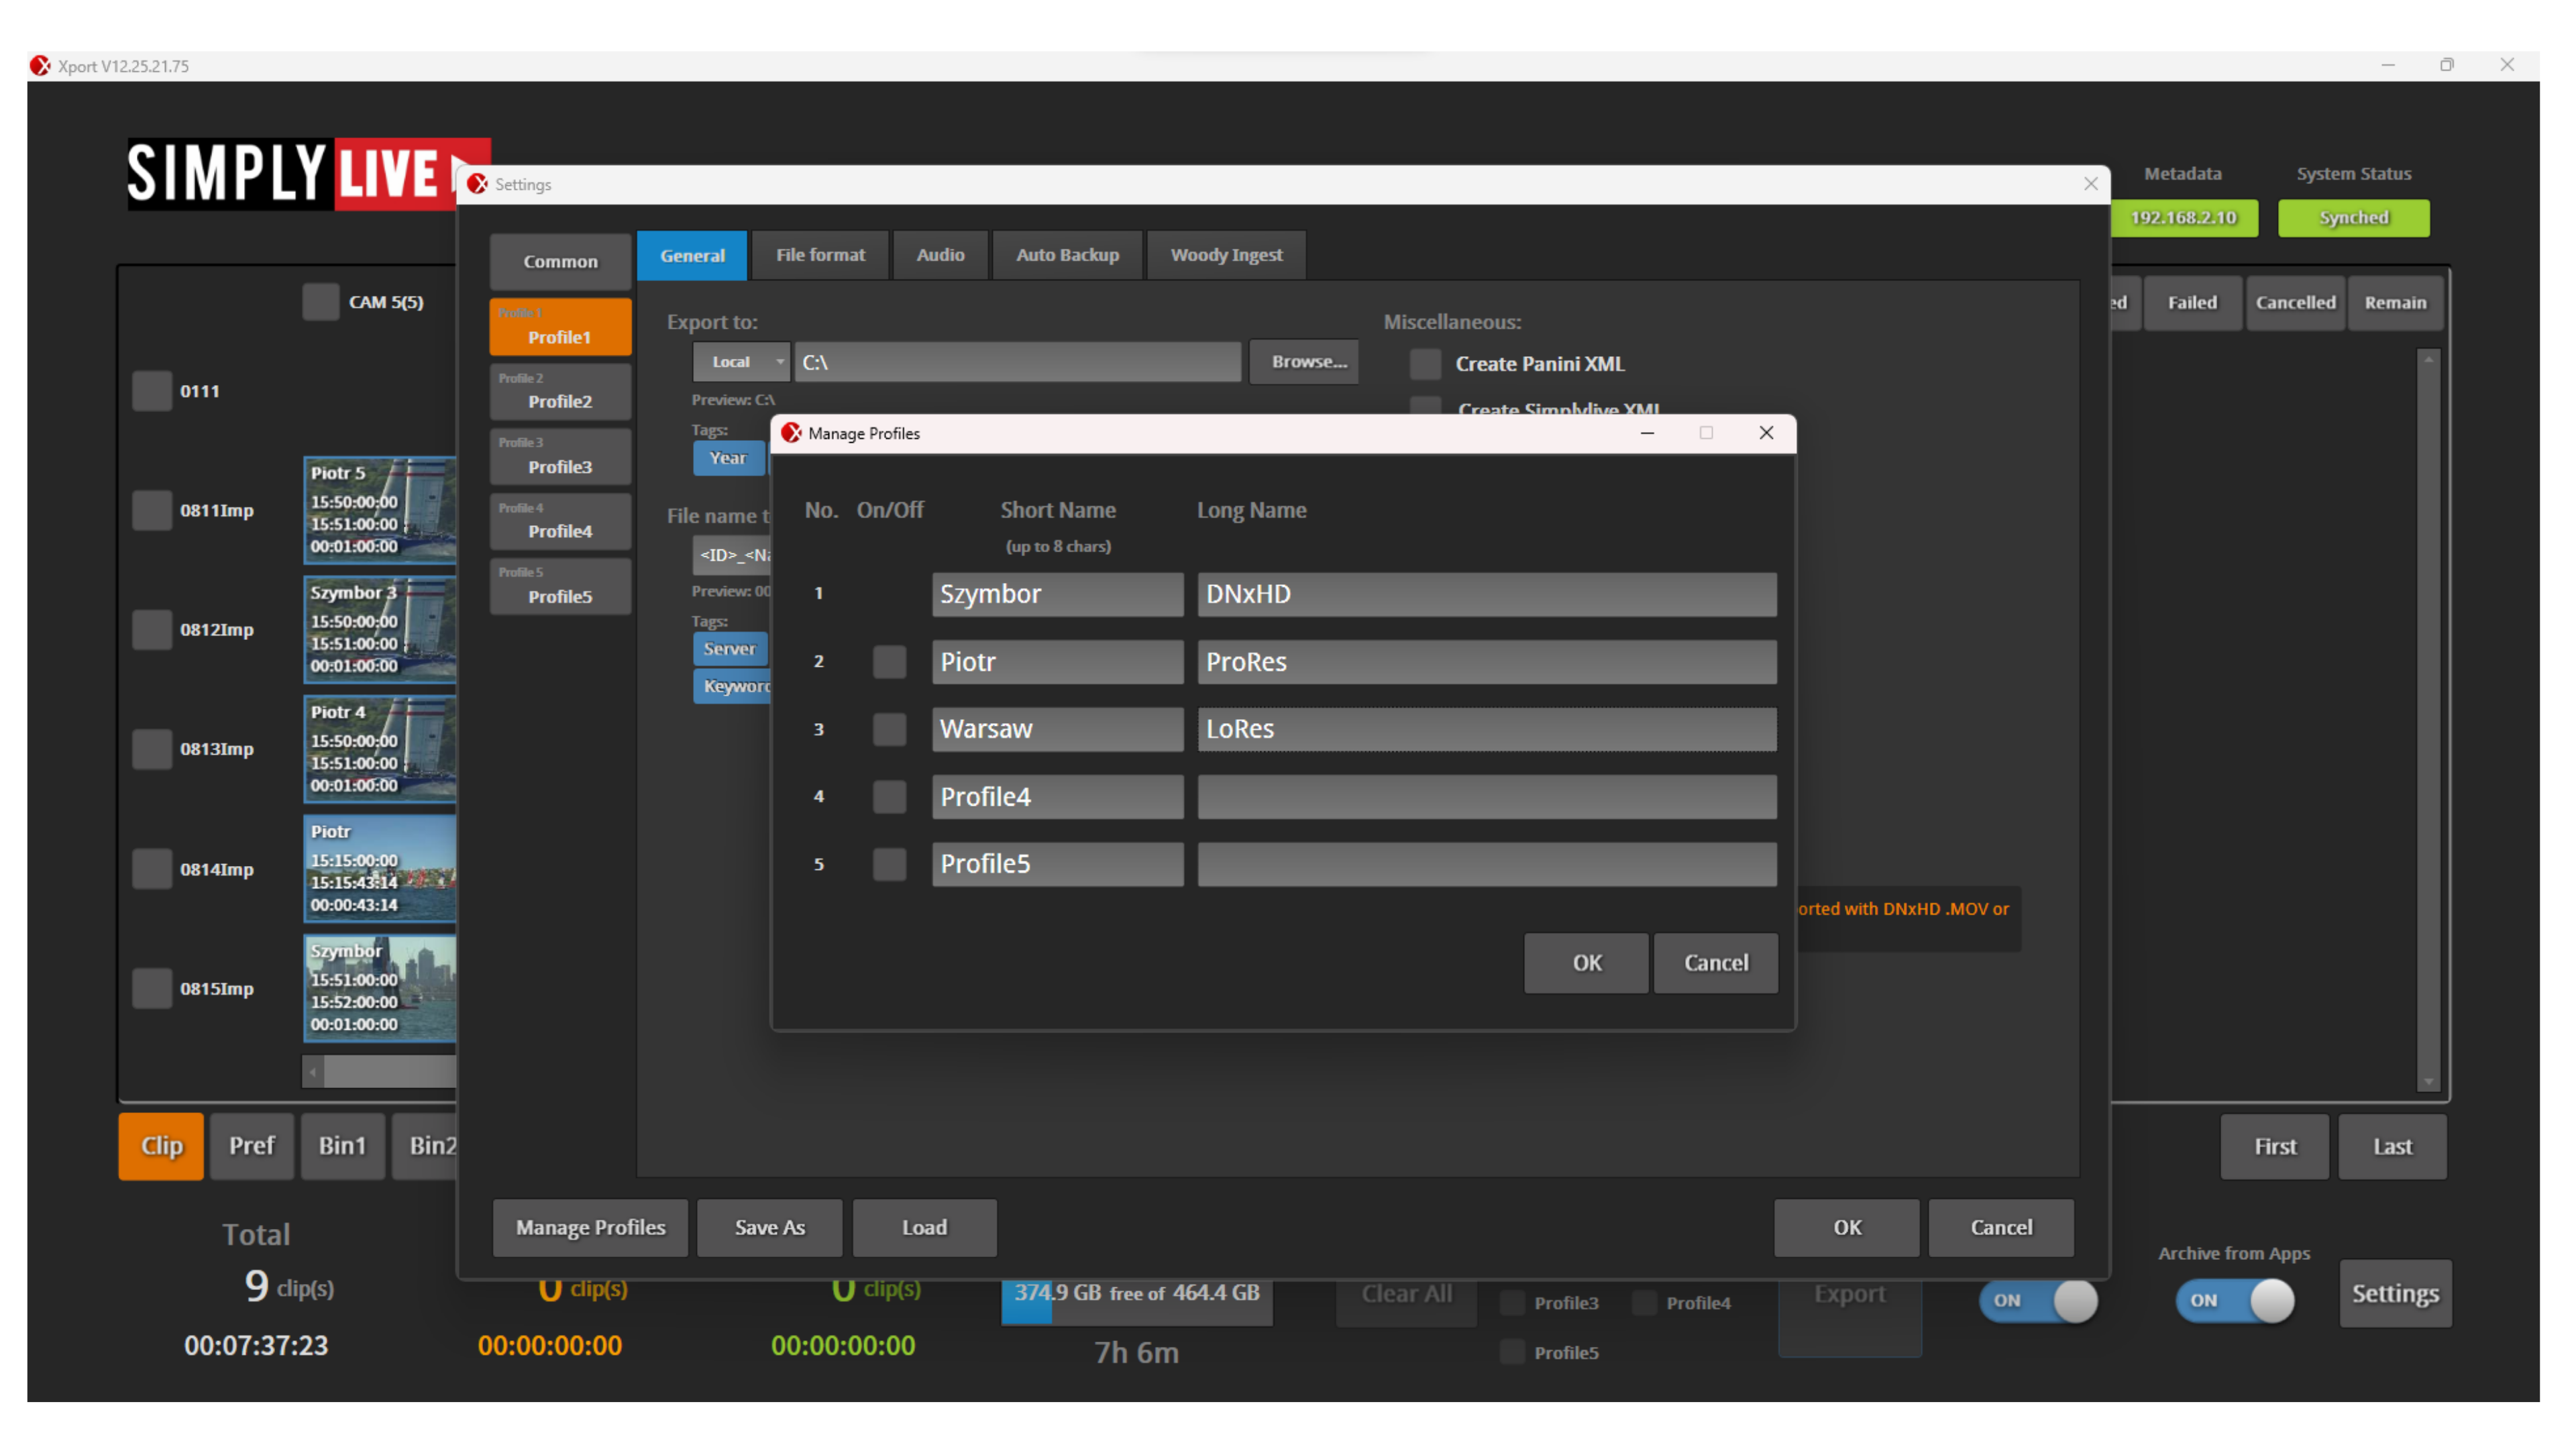
Managing Profiles
Profiles are managed using the Manage Profiles button.
Here you can:
-
enable or disable profiles
-
assign a Short Name (used in the UI)
-
assign a Long Name (used for description or format identification)
This helps you clearly identify what each profile is used for.
For example:
-
one profile for DNxHD delivery
-
one profile for ProRes
-
one profile for low-resolution files
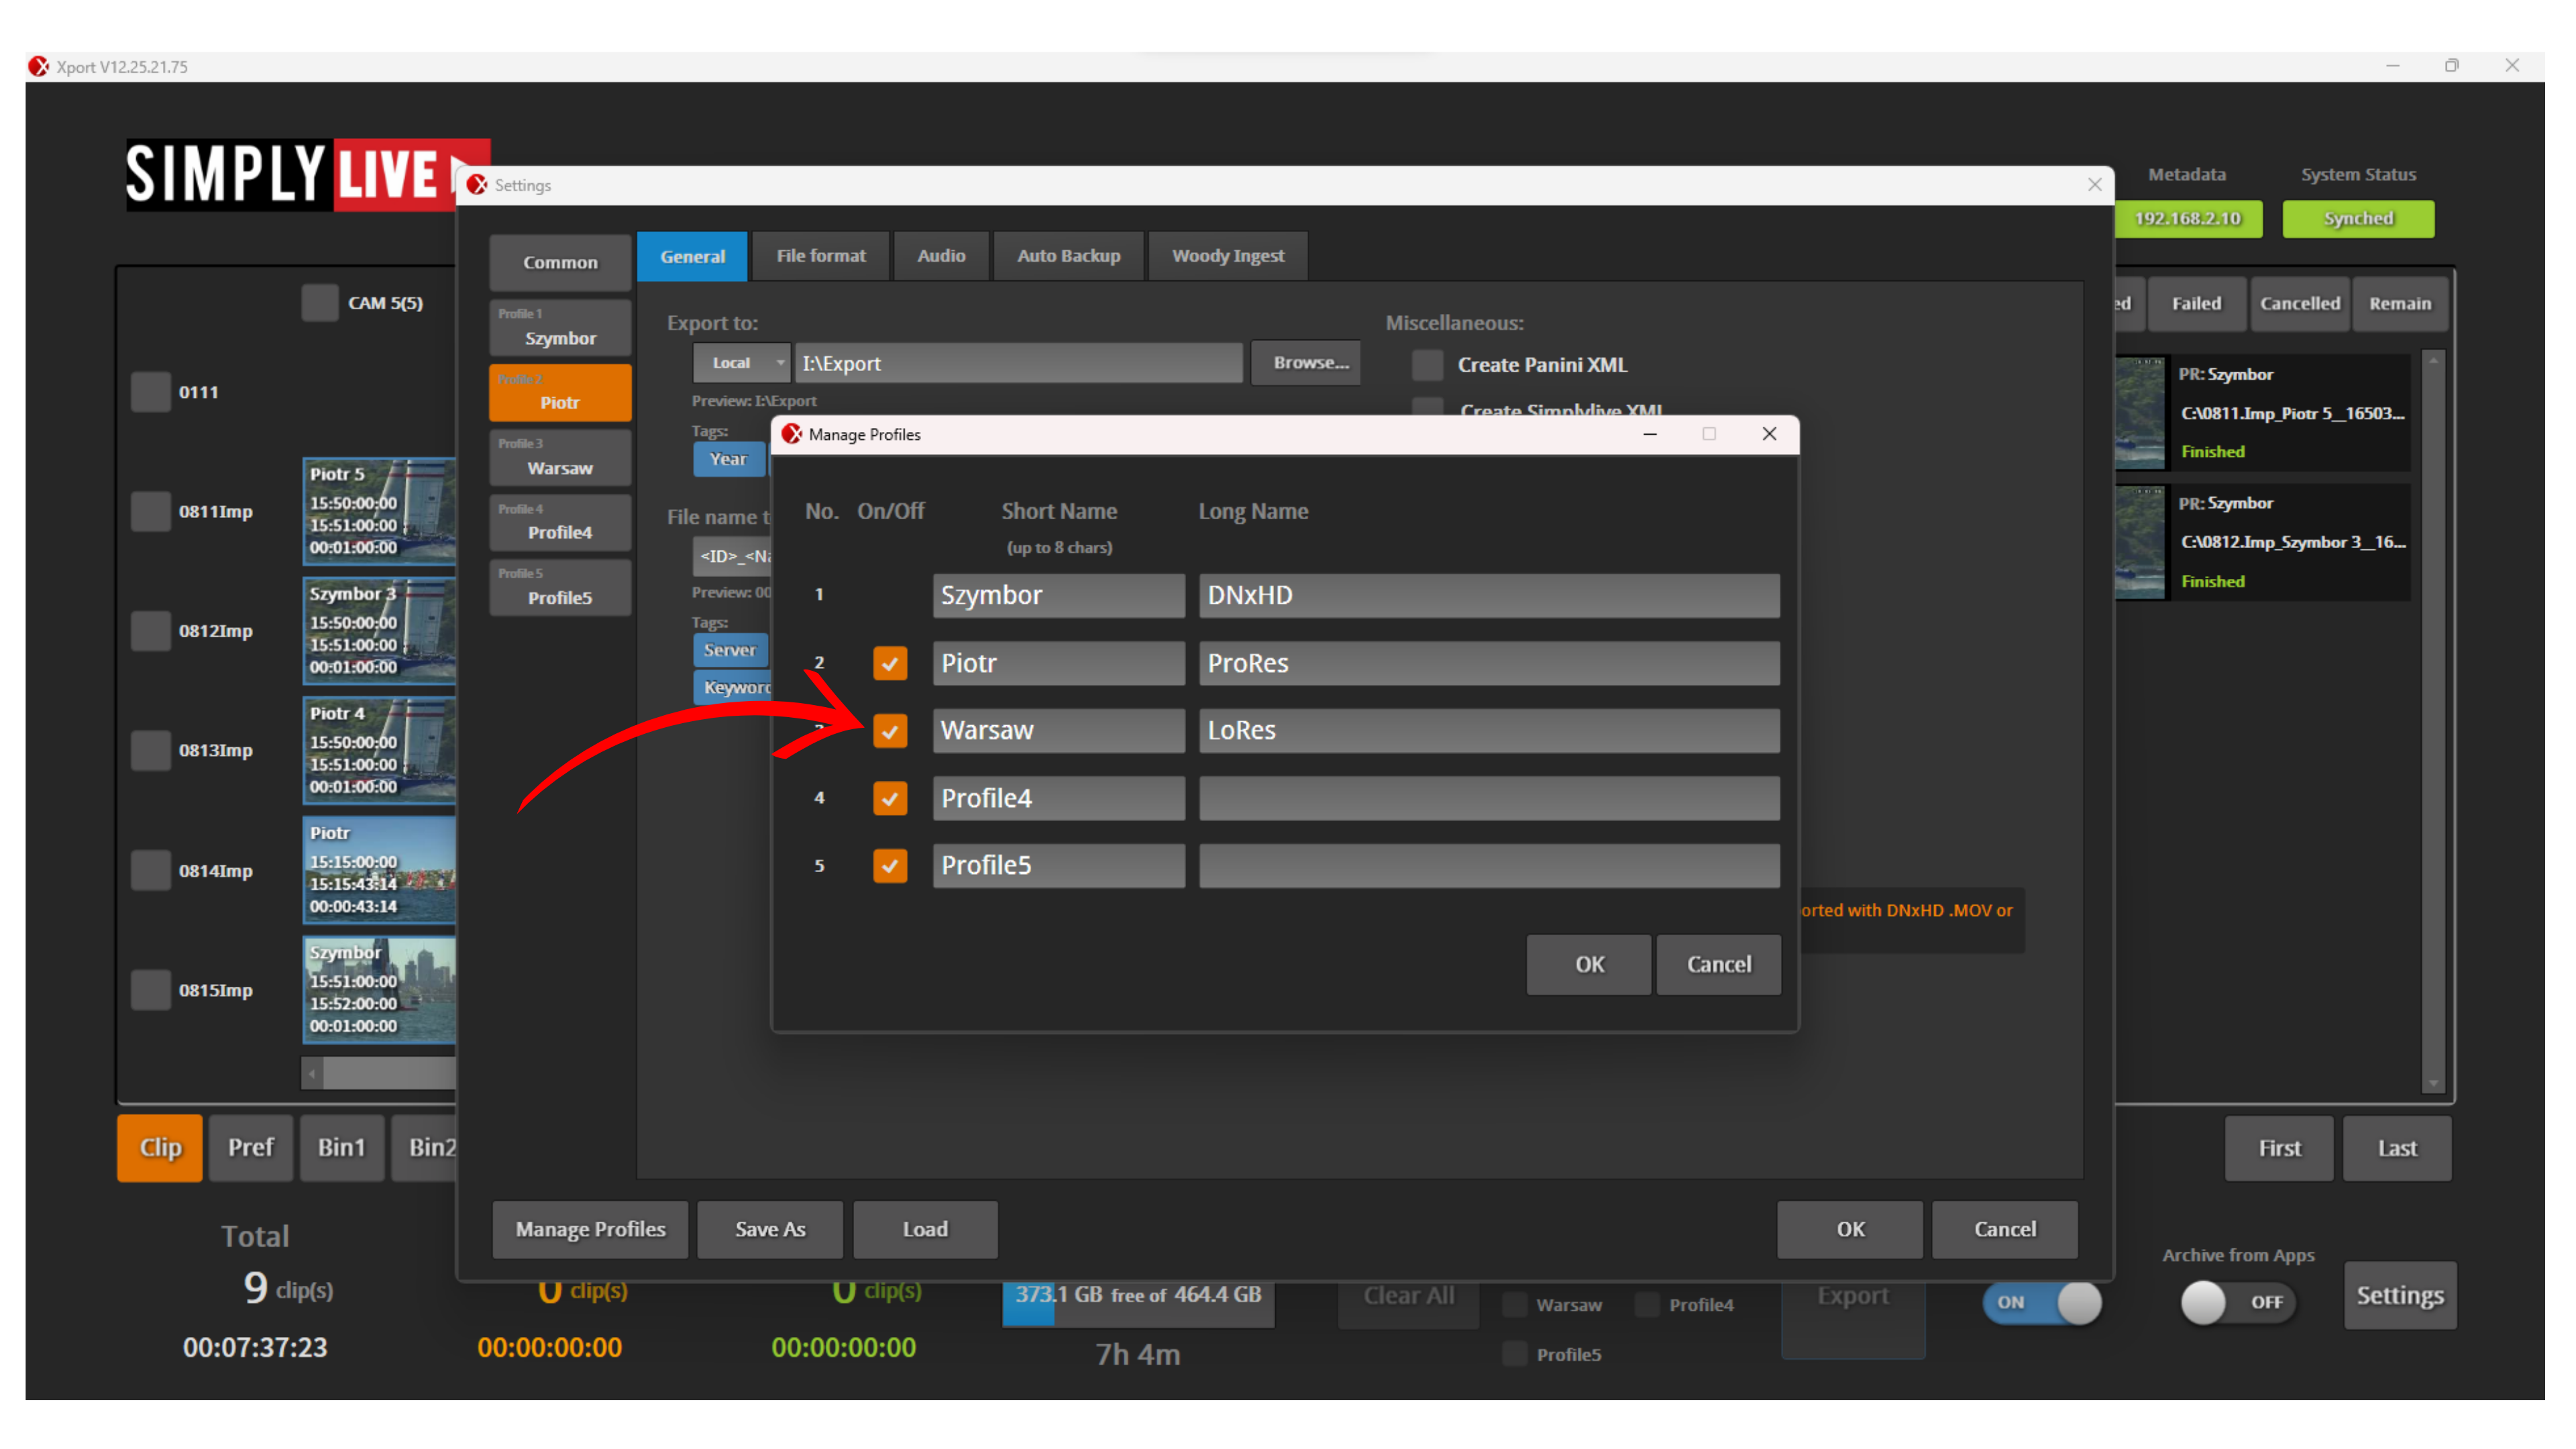
Info
Profiles must be activated before use.
You can enable or disable profiles in Settings → Manage Profiles using the On/Off option.
Only active profiles are available during export.
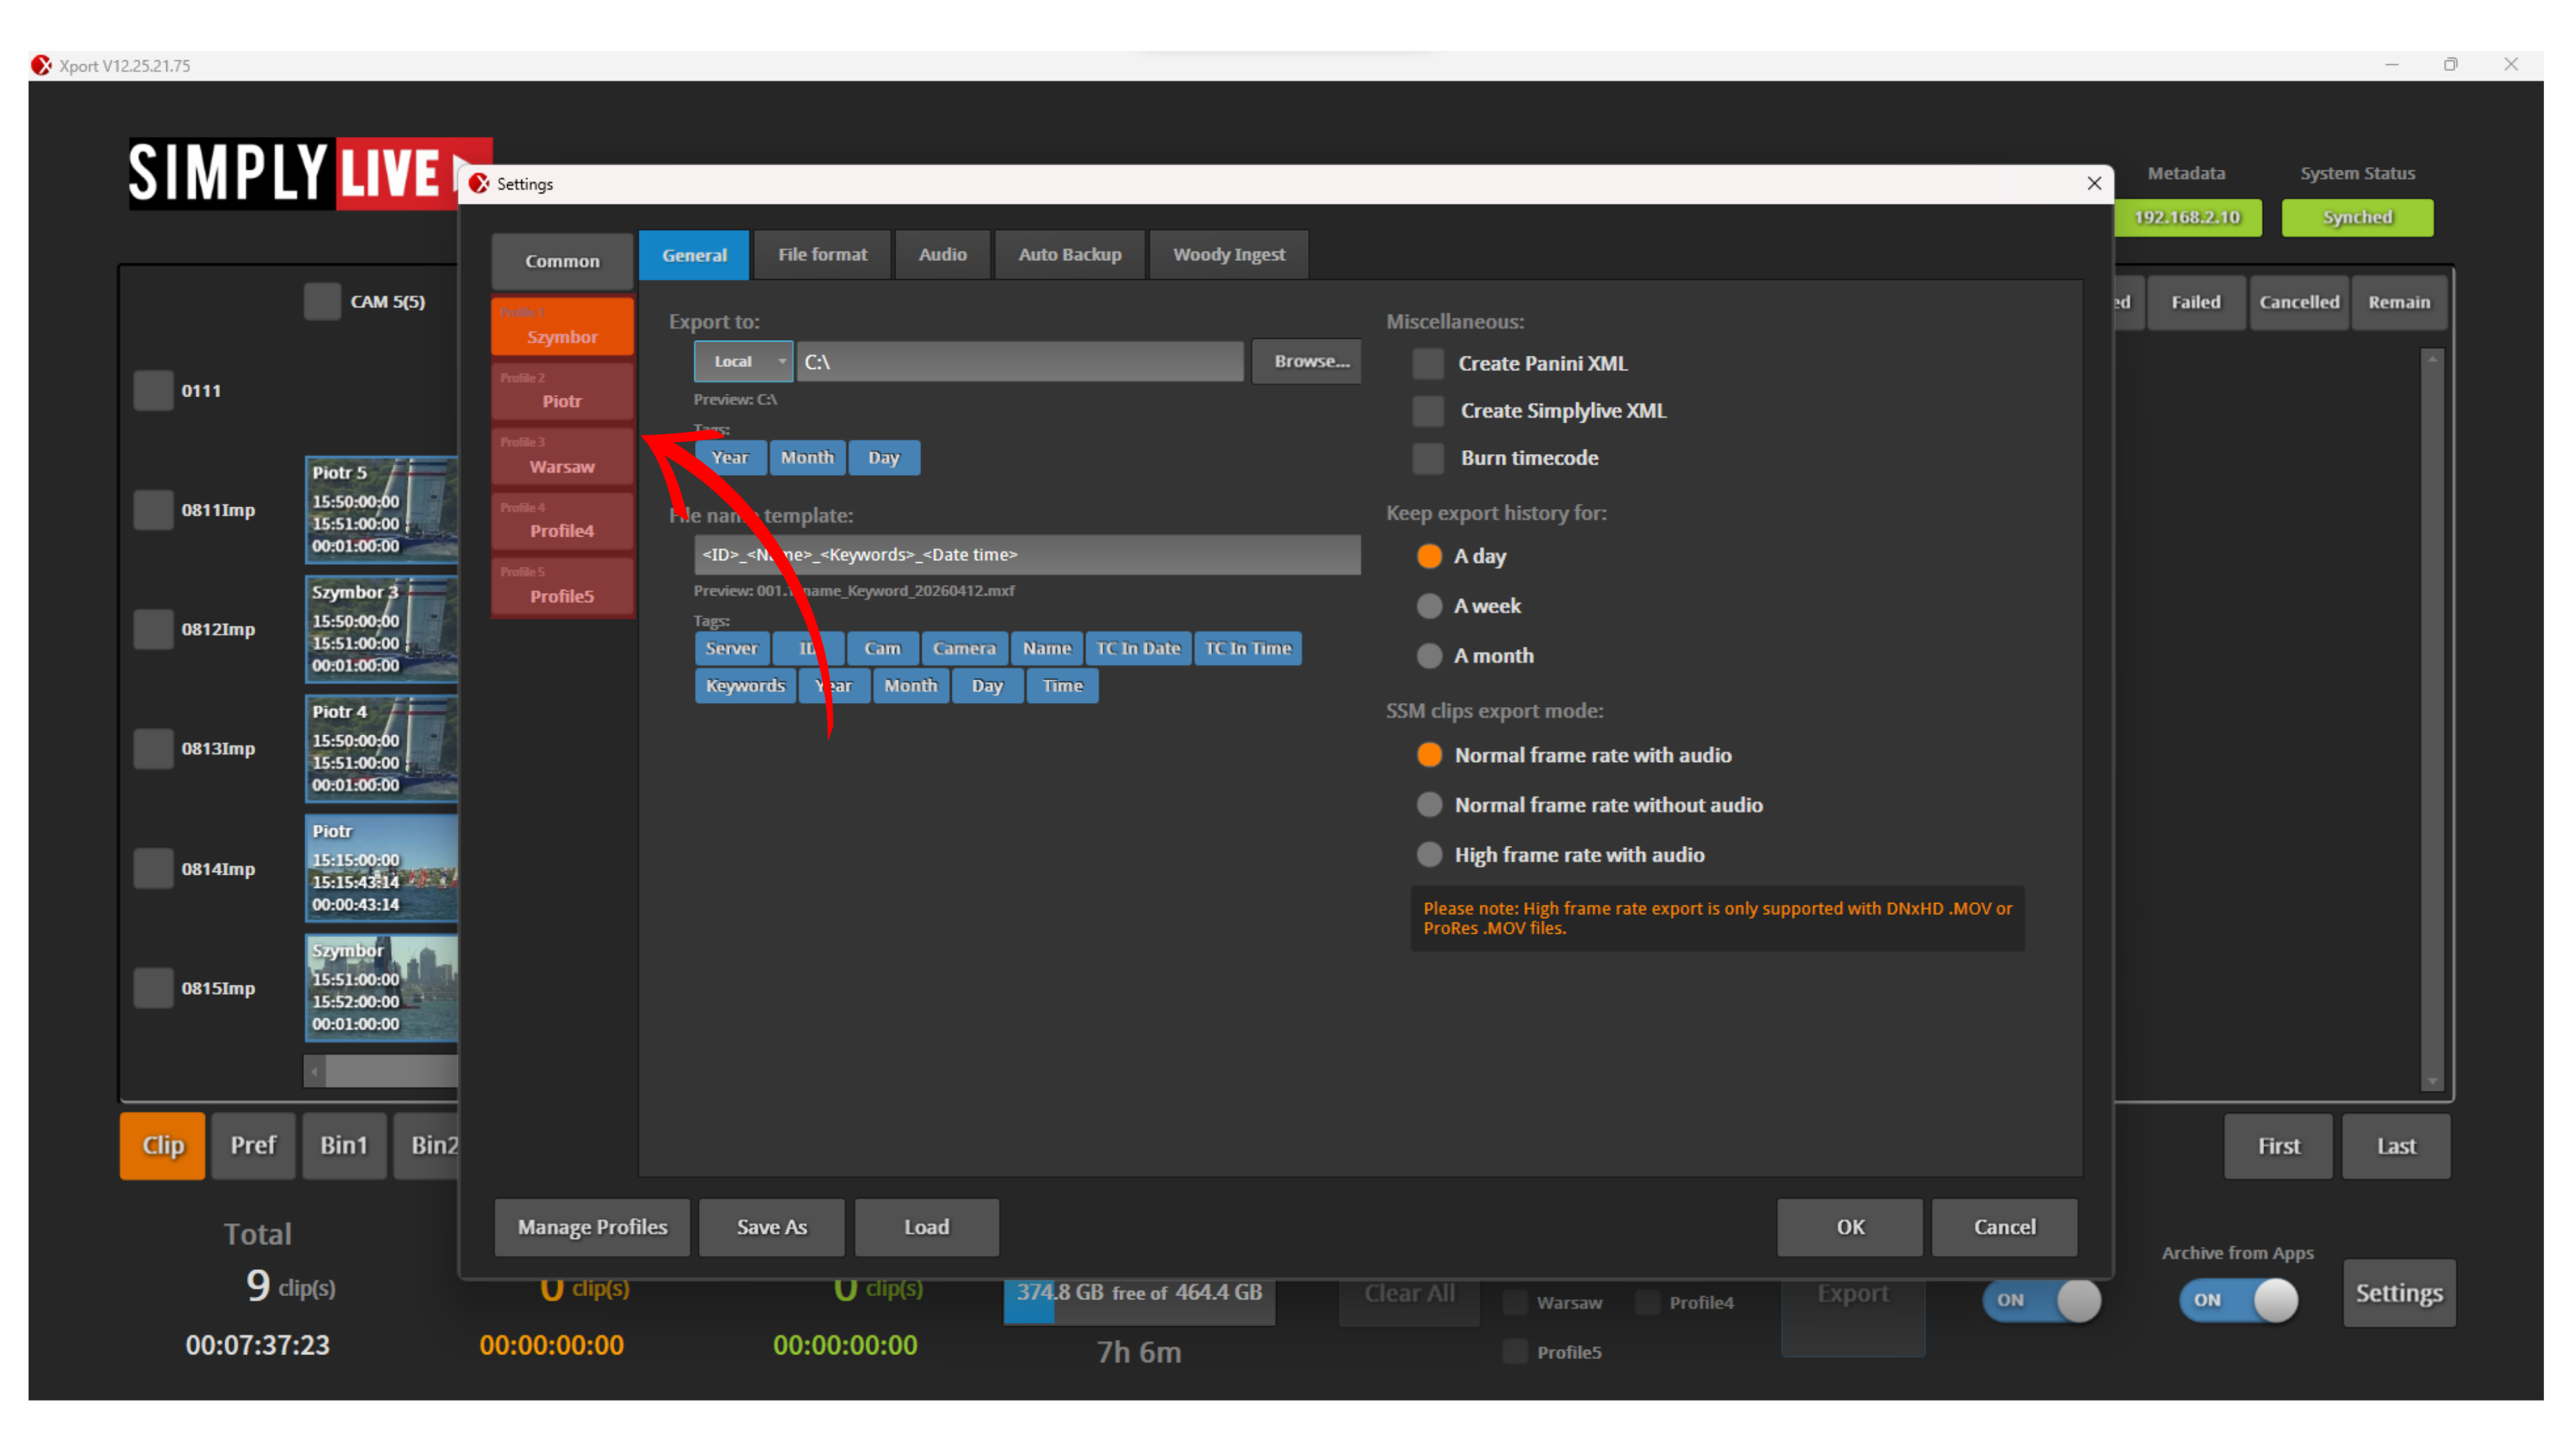
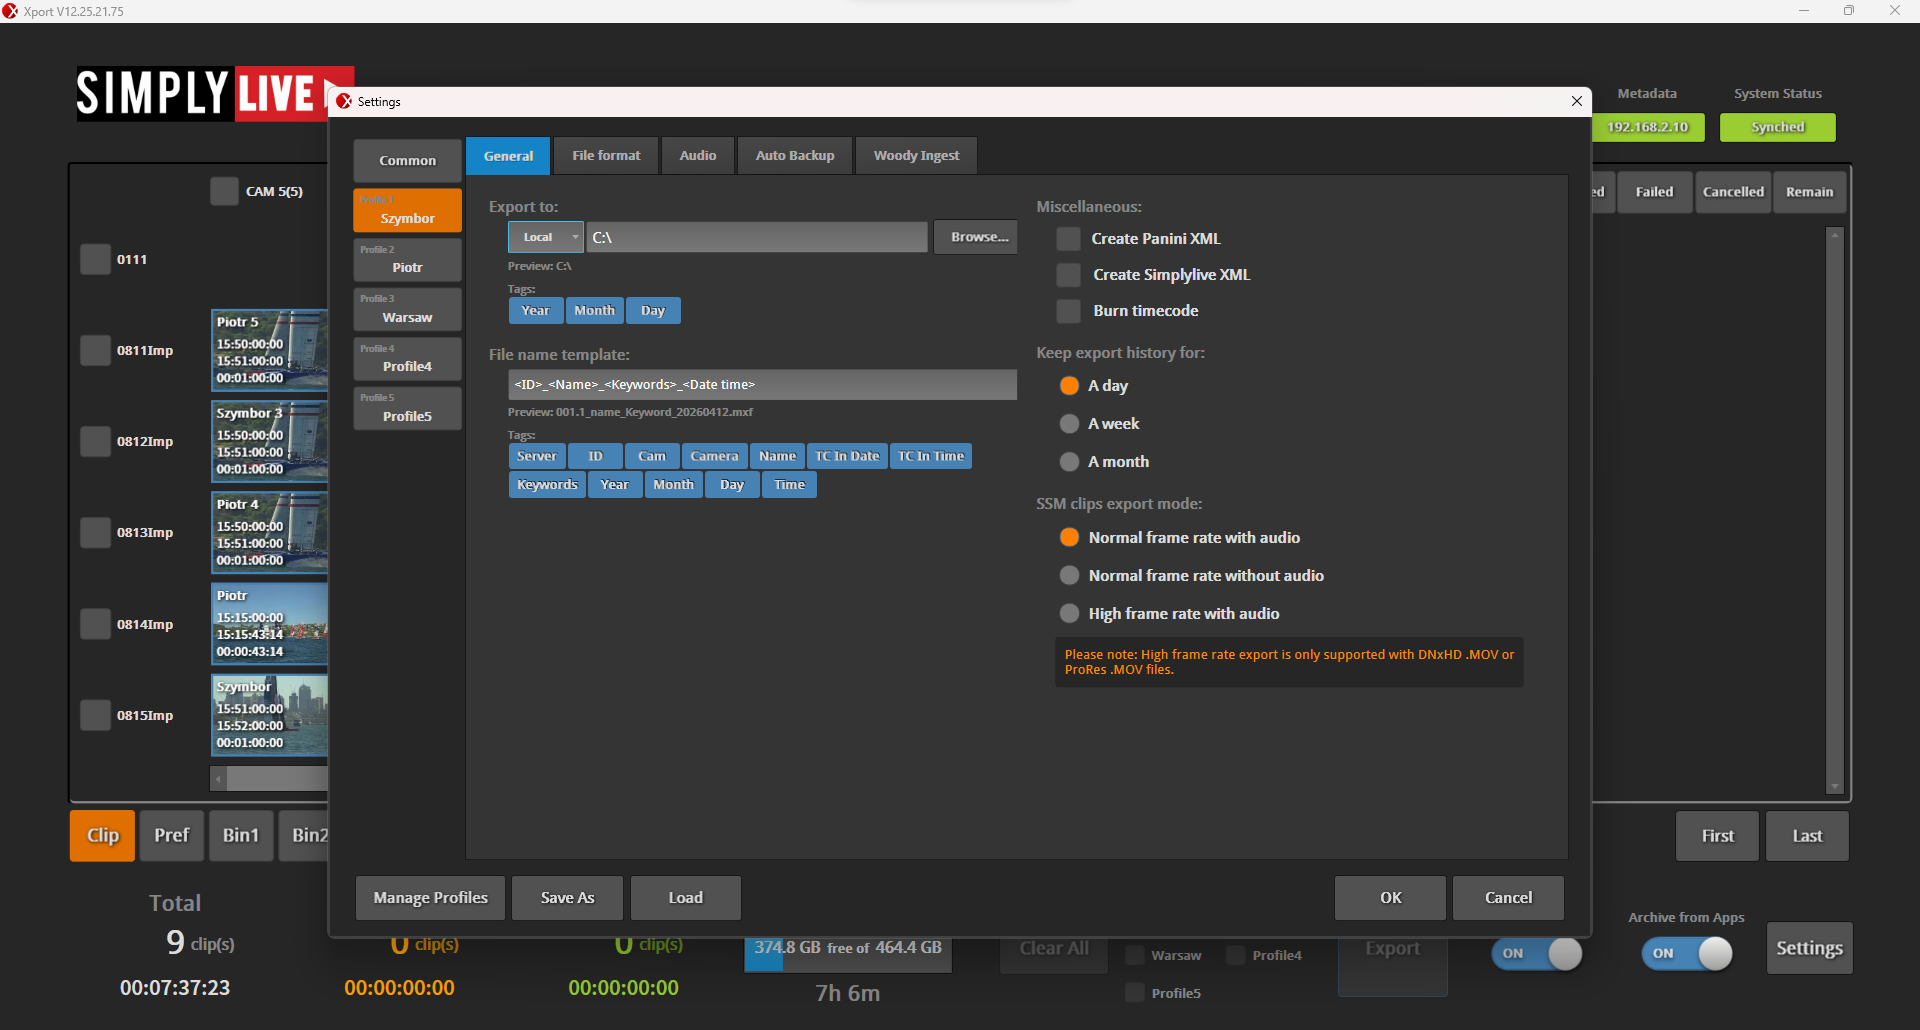
General Profile Settings
Each profile can be configured independently.
Export destination
You can define where the files are exported:
-
local drive
-
shared storage
-
NAS
-
post-production location
File naming
Profiles allow you to build file names using templates.
You can combine:
-
server name
-
camera name
-
clip name
-
timecode in
-
date and time
This gives you full control over how files are named when exported.
Example:
-
Server + Camera + TC In
-
Name + Date
Each profile can use a different naming structure.
Tags
You can assign tags to the export.
These tags can be used to organise files and make them easier to identify later.
Export history
You can define how long export history is kept in the system.
This is visible in the server information and export task status area.
Export options
Profiles allow you to define how clips are exported:
-
normal frame rate with audio
-
normal frame rate without audio
-
high frame rate with audio (for super slow motion)
This gives flexibility depending on what is required downstream.
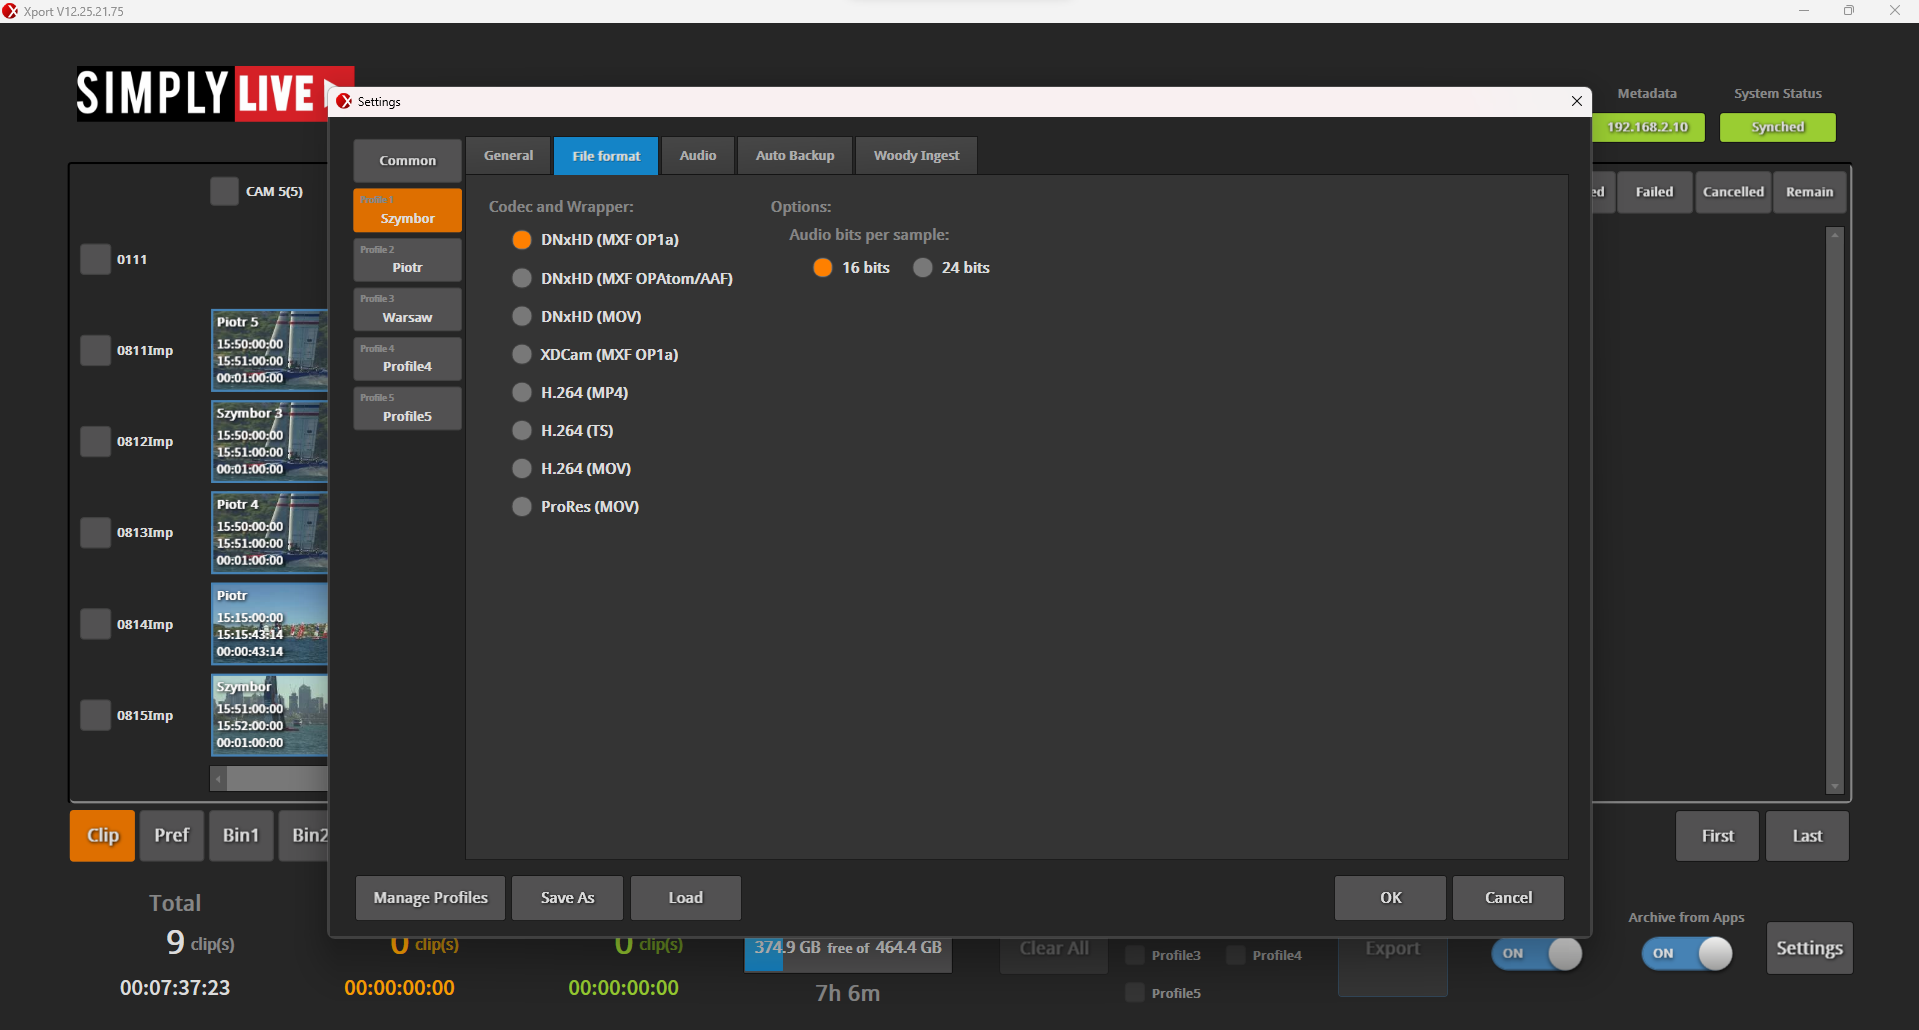
File Format Settings
In the File Format tab, you define codec and wrapper.
Available options include:
-
DNxHD (MXF OP1a)
-
DNxHD (MXF OPAtom / AAF)
-
DNxHD (MOV)
-
XDCAM (MXF OP1a)
-
H.264 (MP4)
-
H.264 (TS)
-
H.264 (MOV)
-
ProRes (MOV)
You can also define audio bit depth:
-
16-bit
-
24-bit
Each profile can use a different format.
Pro Tip
Prepare multiple profiles with different codecs and use them directly during production.
For example, one profile for DNxHD delivery and another for XDCAM or H.264 depending on the client requirement.
Audio Settings
In the Audio tab, you define how audio is handled for export.
Track configuration
You can define:
-
the number of audio tracks
-
the audio setup for each camera
Each camera can use its own audio settings.
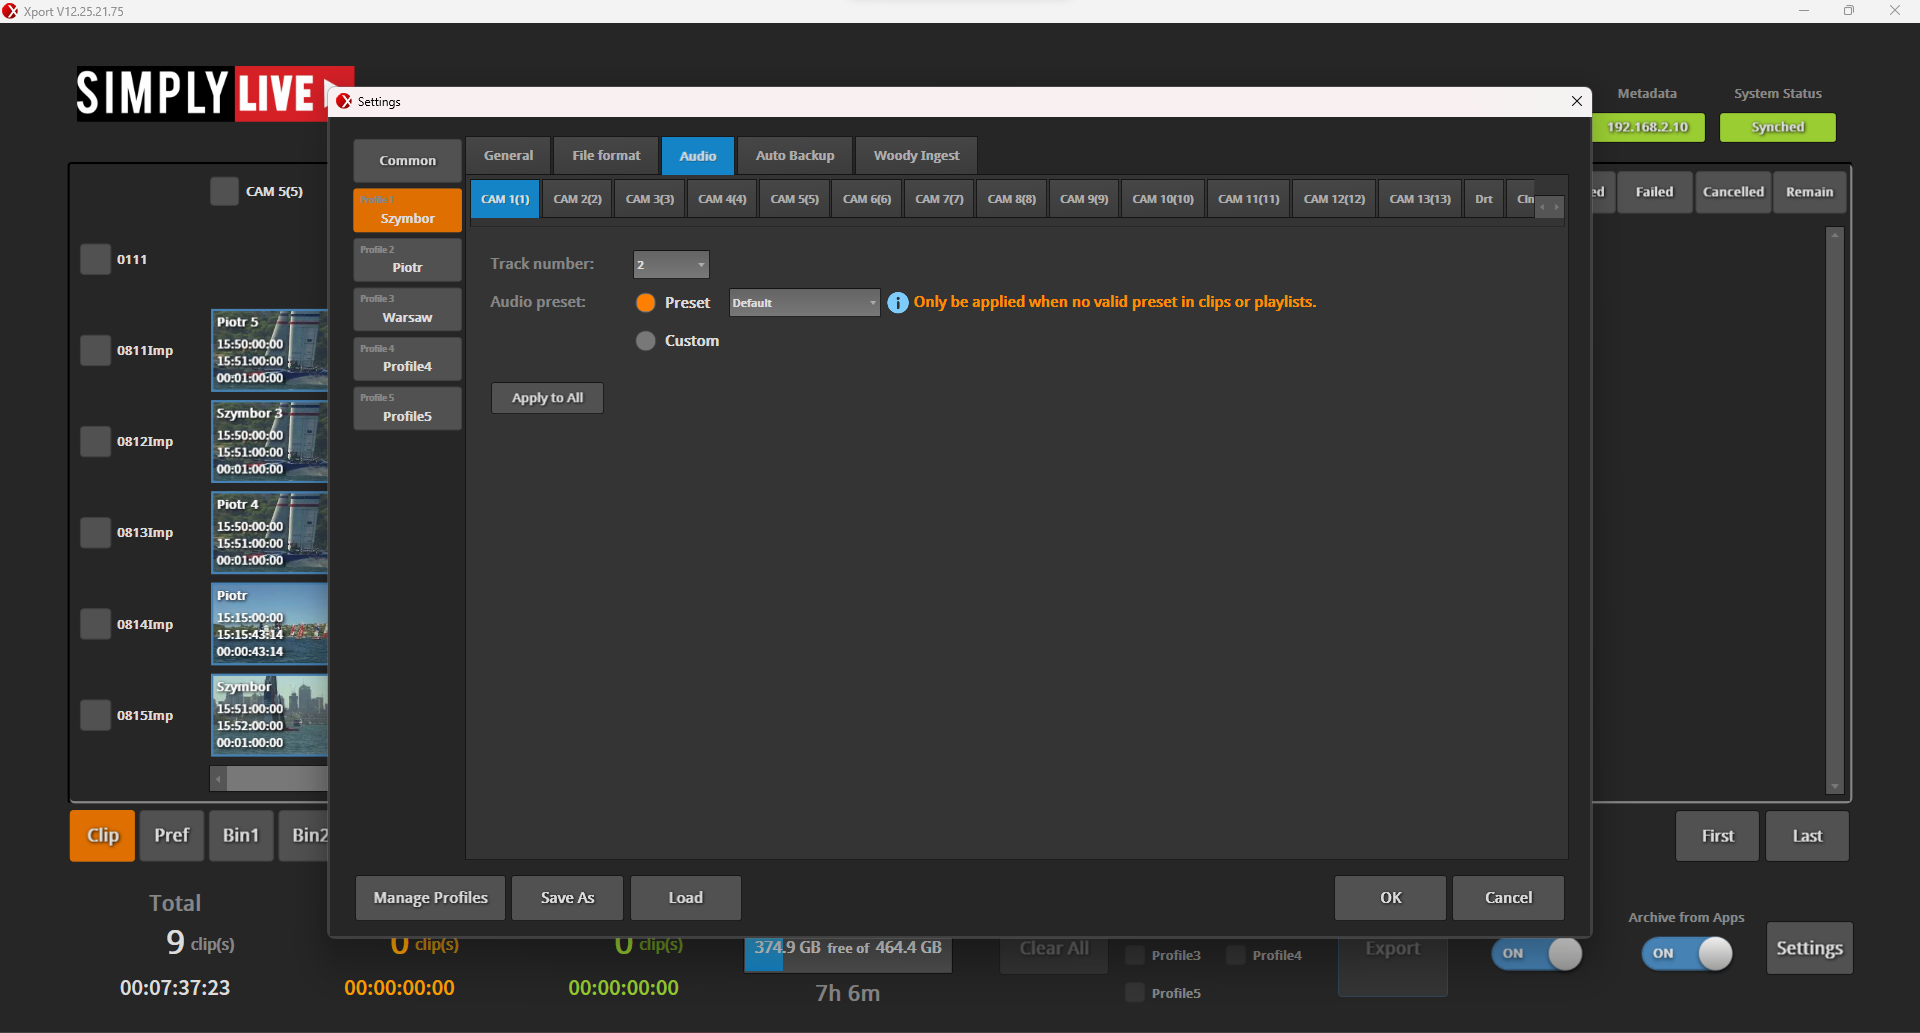
Audio presets
You can use audio presets.
These presets must be prepared in advance.
They can then be assigned per profile.
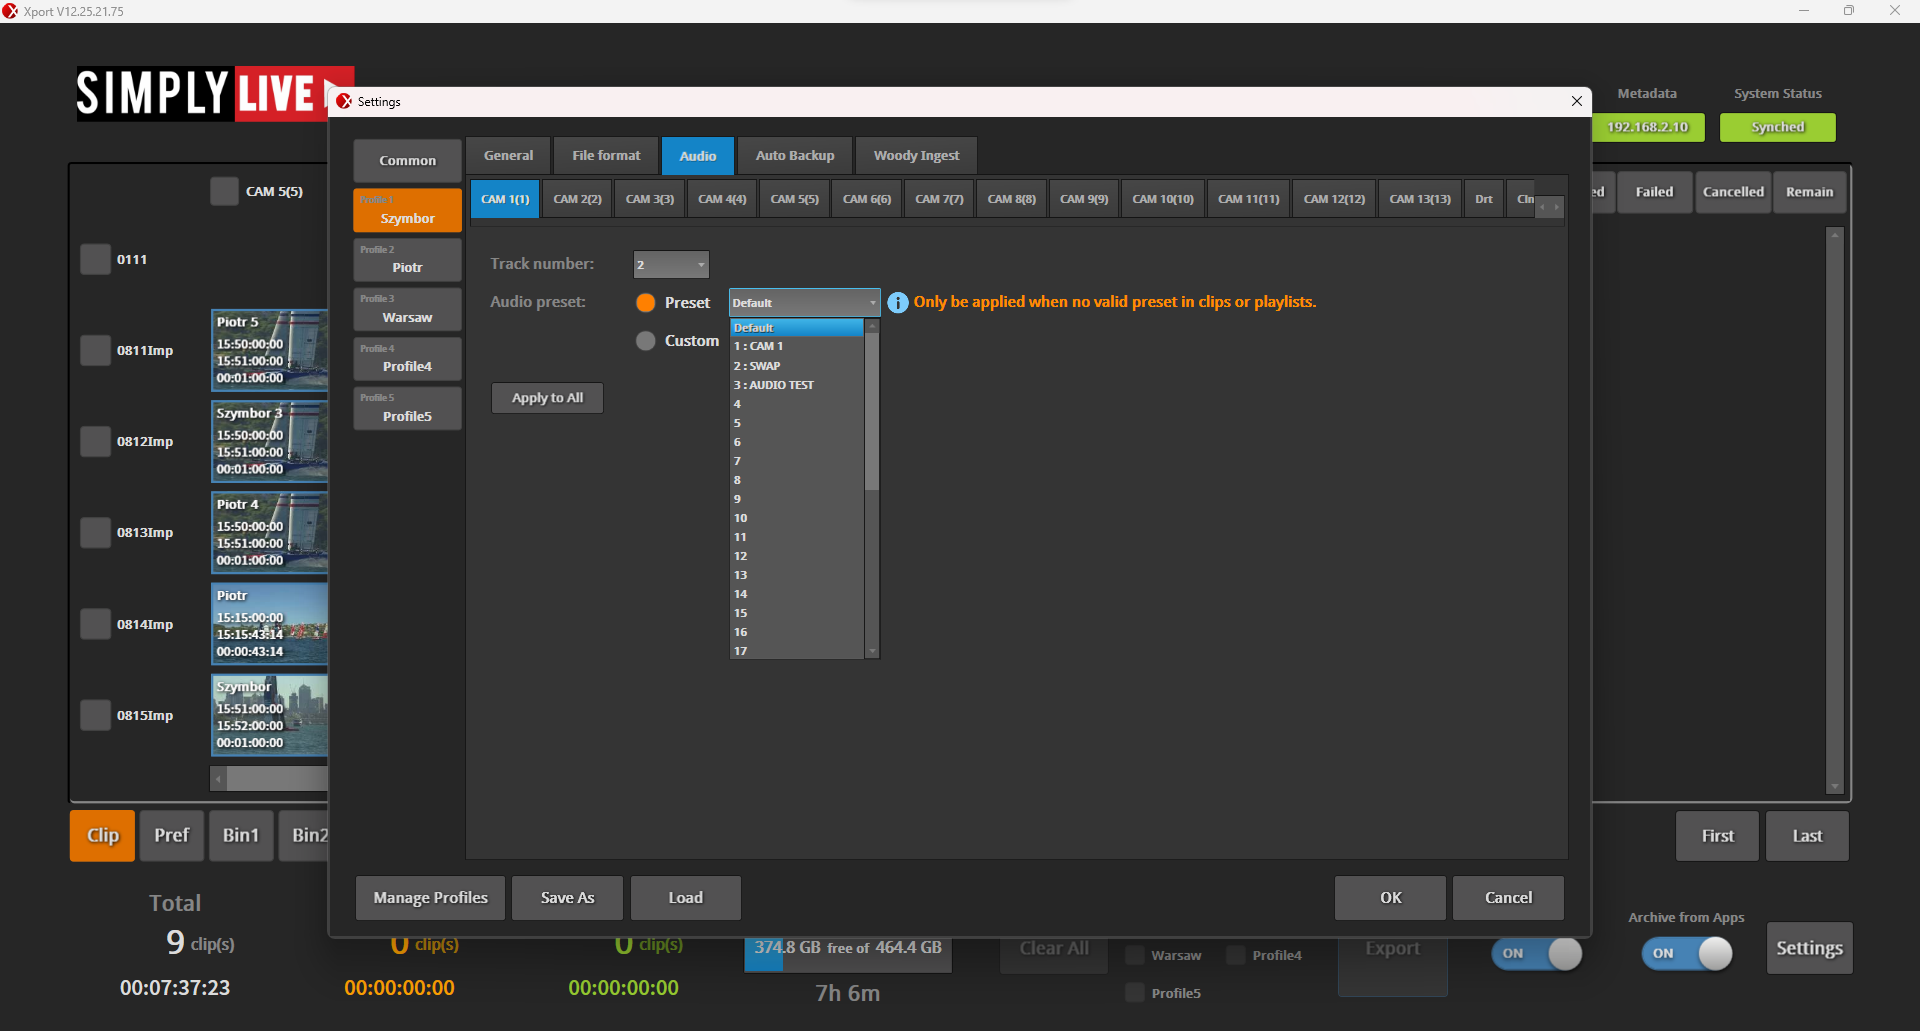
Apply to All
You can apply the preset to all cameras at once, or skip this option and press OK to apply audio settings to each camera independently.
Imported clips
Audio presets can also be applied to imported clips.
Pro Tip
If imported clips have inconsistent audio, apply a preset in the profile so everything is aligned automatically once it enters the system.
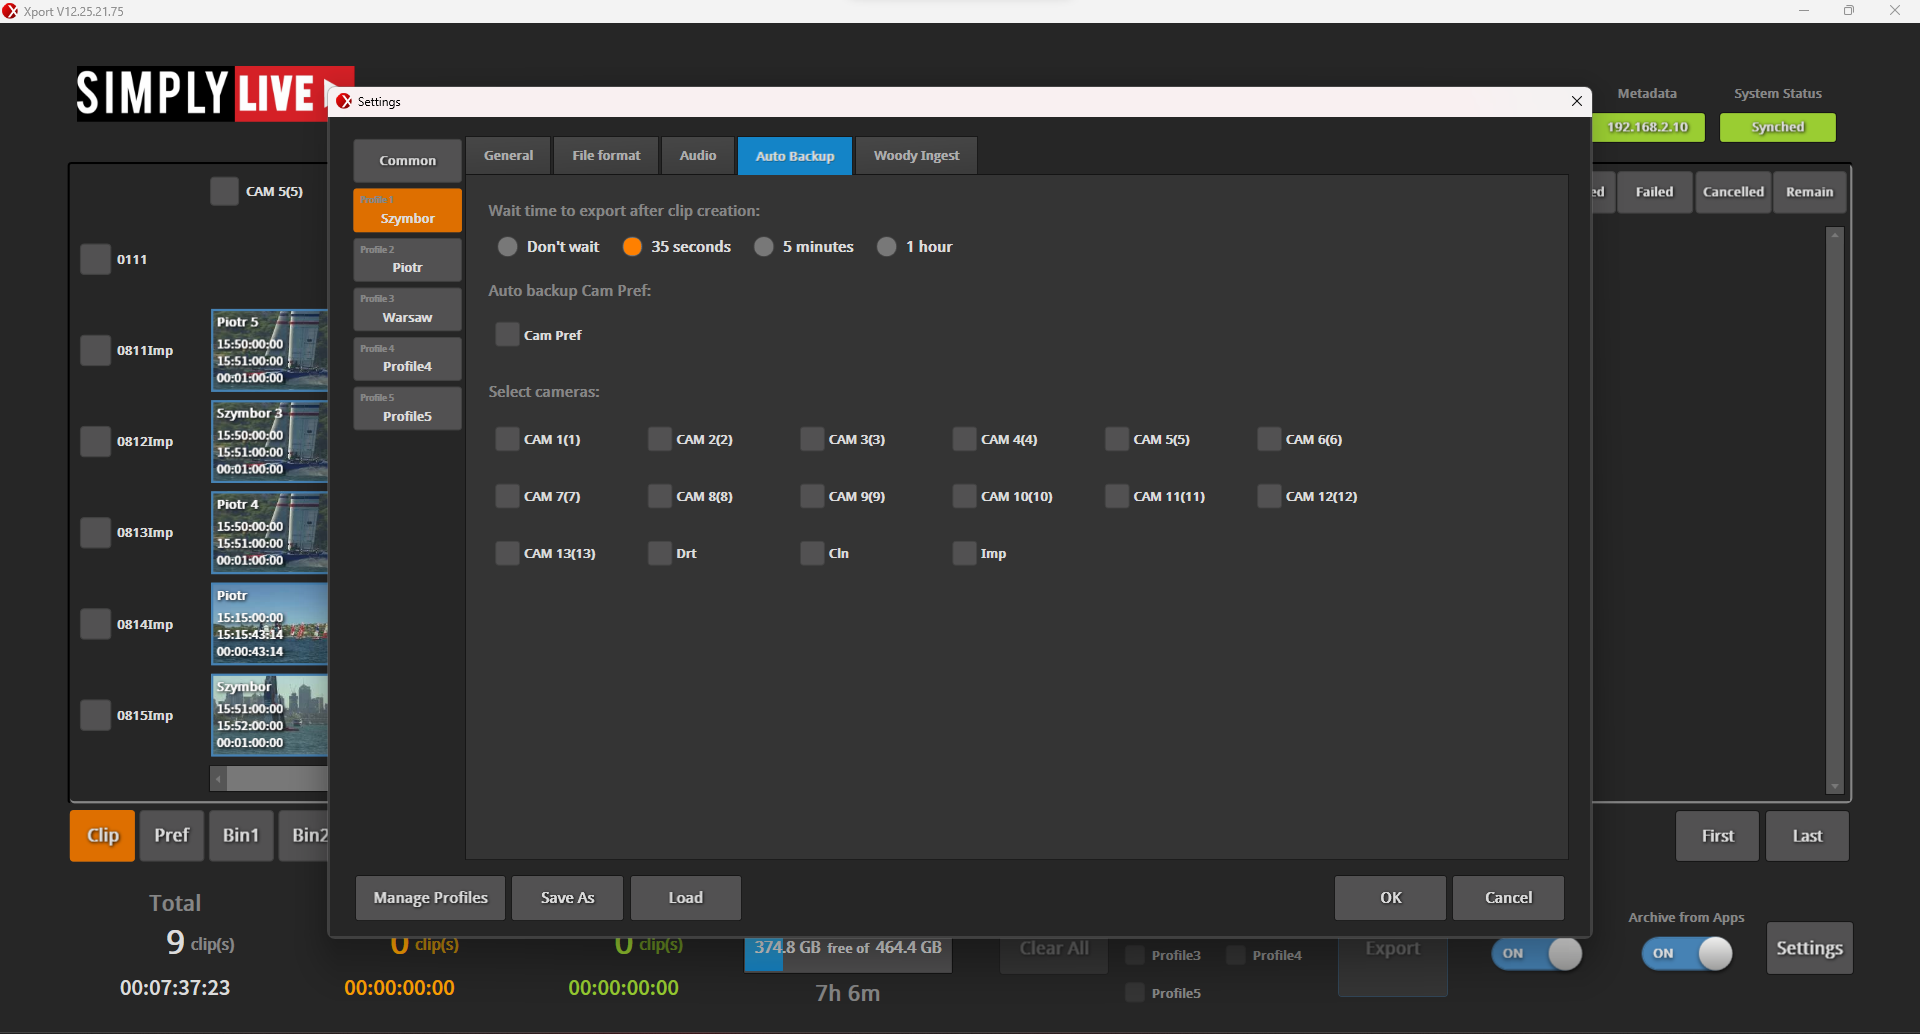
Auto Backup Settings
In the Auto Backup tab, you define how clips are automatically exported.
Export timing
You can choose when export starts after clip creation:
-
immediately
-
after 35 seconds
-
after 5 minutes
-
after 1 hour
Camera selection
You can define which cameras are included:
-
individual cameras
-
specific groups
-
preview/clean/dirty feeds
-
imported clips
This allows full control over what is automatically backed up.
Pro Tip
If the production is heavy, delay auto backup (for example 1 hour) to avoid overloading the system during live operation.
Export can then start once the production slows down.
Pro Tip
Use auto backup for imported content such as sponsor clips or slates.
This ensures these elements are always preserved.
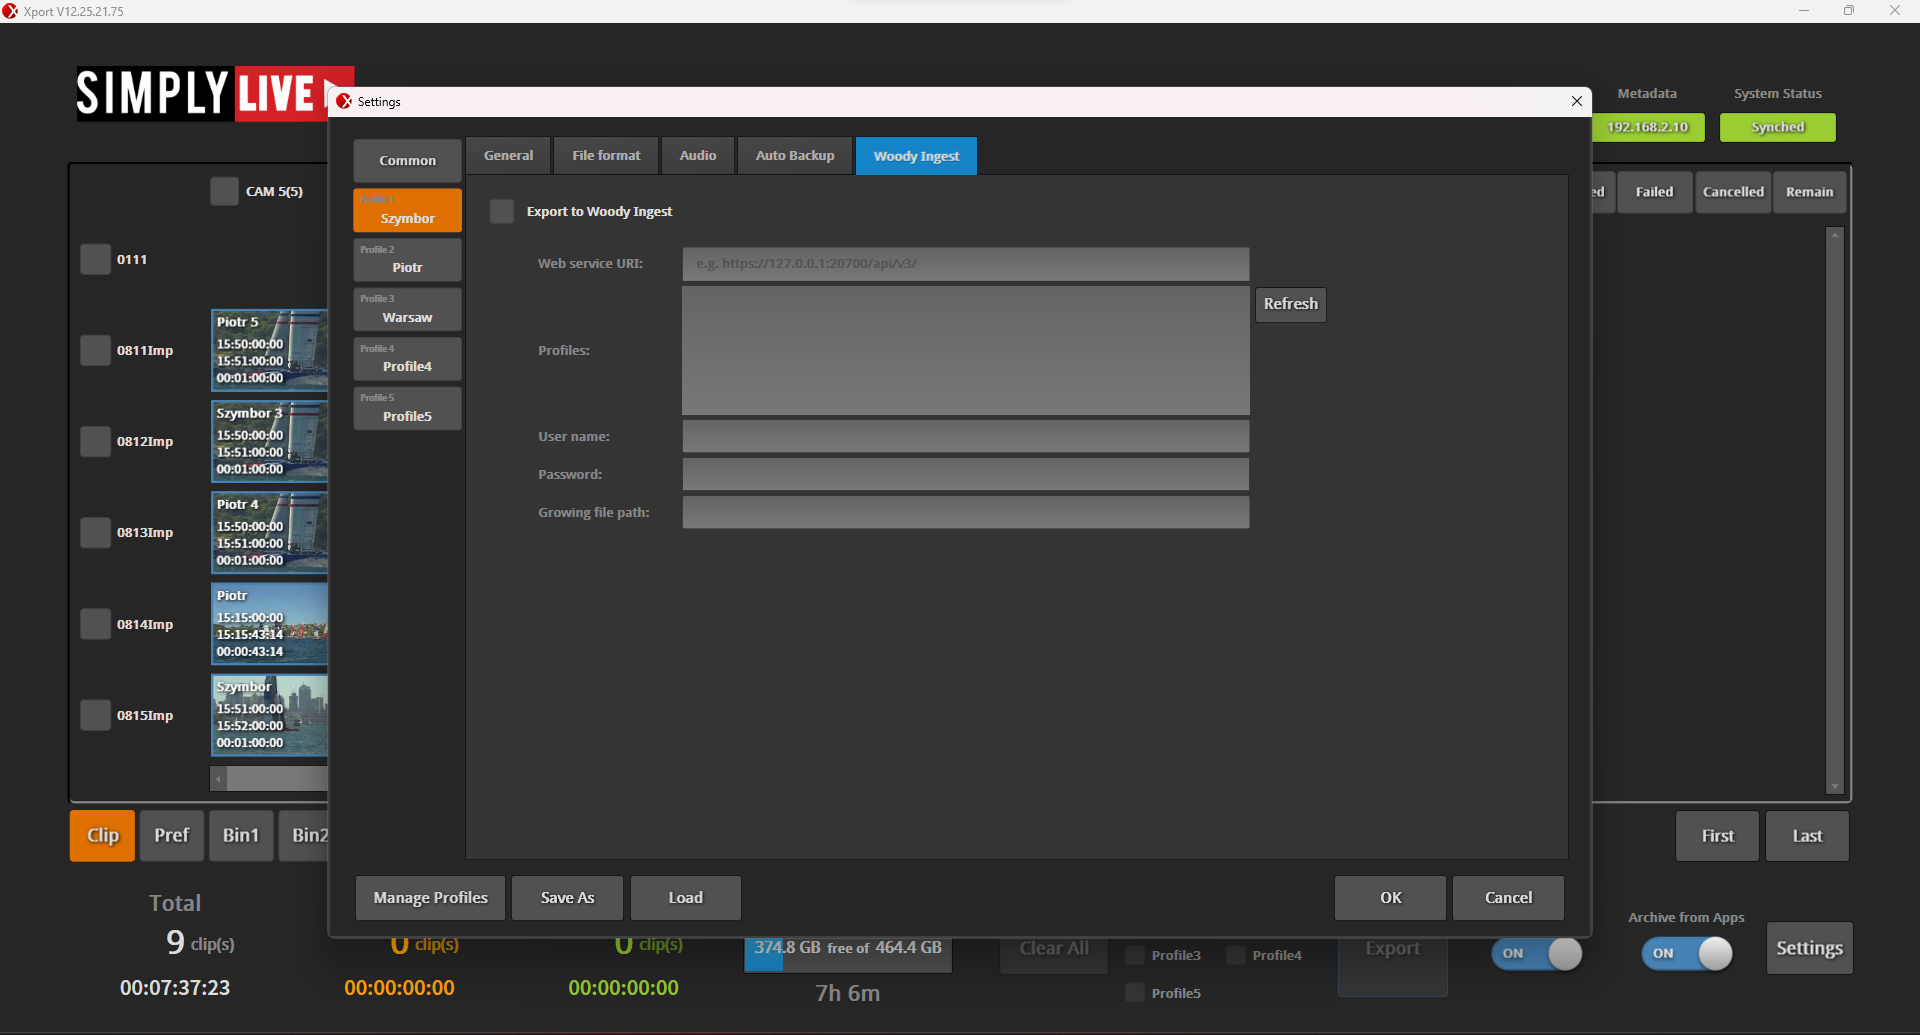
Woody Ingest (Avid Integration)
In the Woody Ingest tab, you configure integration with Avid Technology.
You can define:
-
connection to the ingest service
-
available profiles
-
authentication
-
destination paths
This allows exported clips to be sent directly into Avid workflows.
Use this only when working with Avid environments.
Pro Tip
Profiles allow you to define how clips are exported before production starts.
Each profile can control:
-
destination
-
naming
-
codec
-
audio
-
automation
Once prepared, profiles can be used directly during production from:
-
Slomo module
-
Live module
-
Production module
This removes manual setup, reduces errors, and allows you to react faster when delivering content.