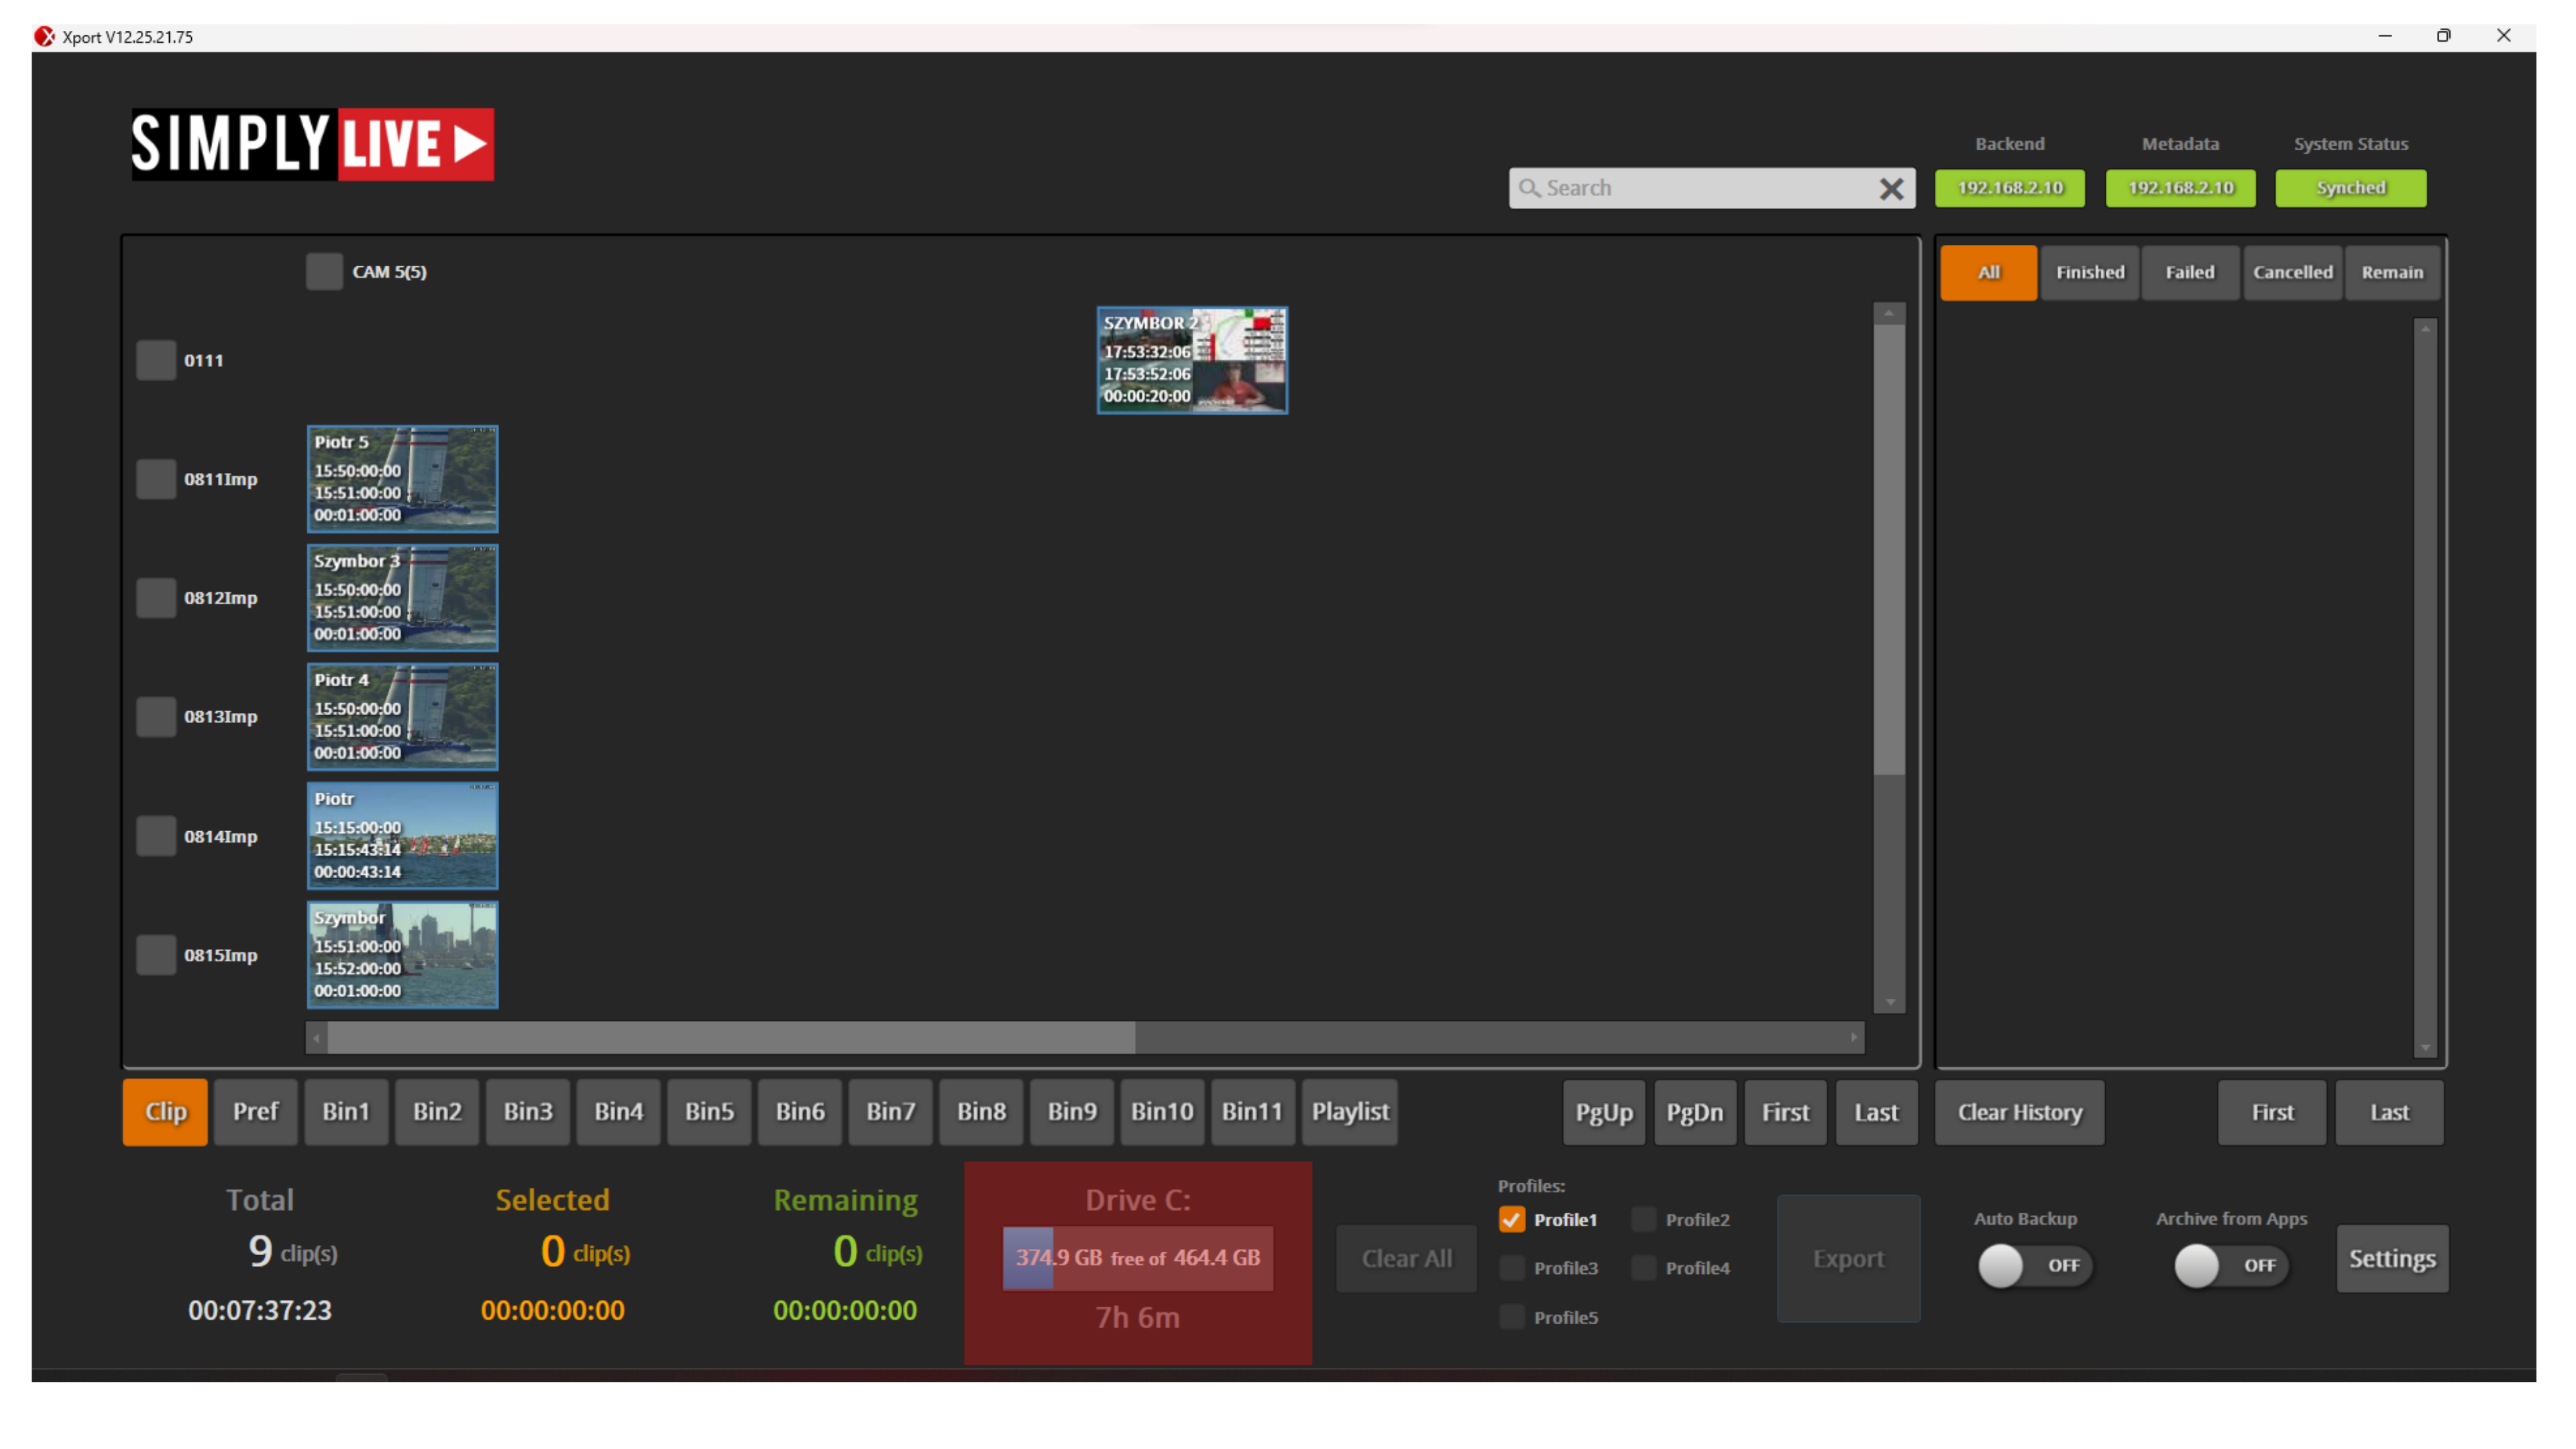
Clips area
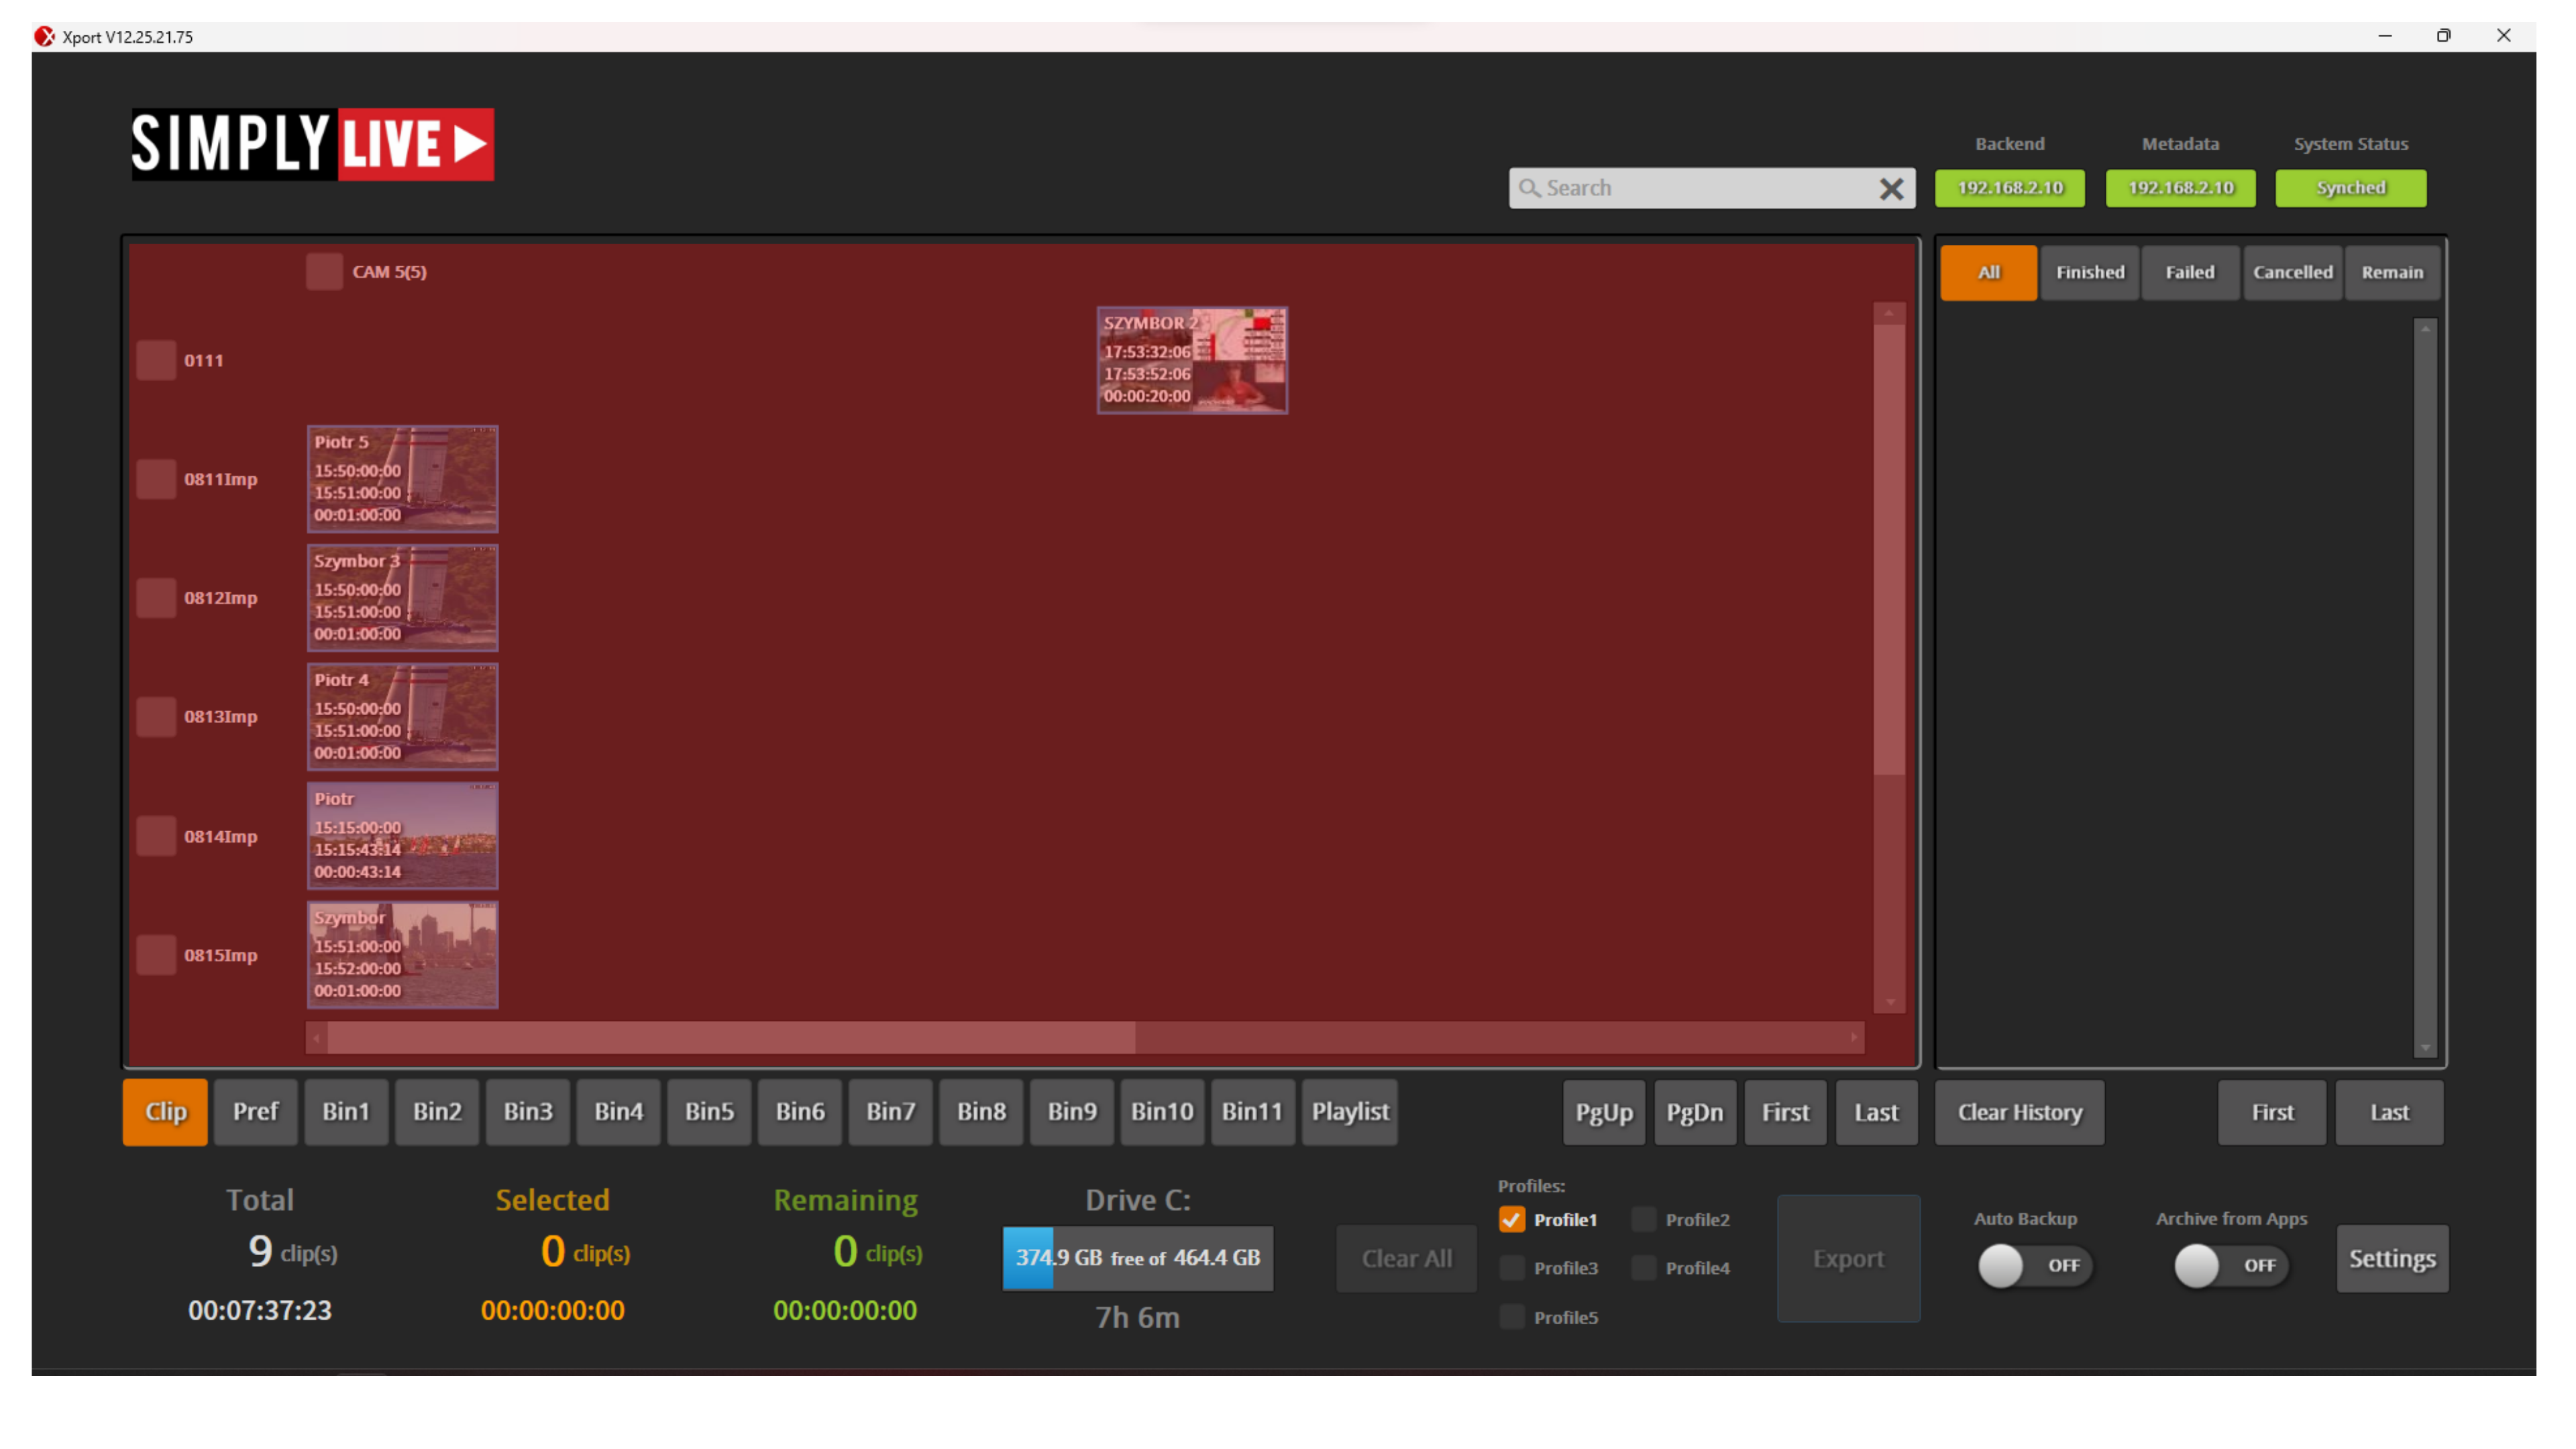
The clips area is the main working area of XPort.
This is where you see the clips available on the server and select the content you want to export.
You can use XPort to send selected clips to post-production, archive storage, or another server on the network, depending on your setup.
Tabs
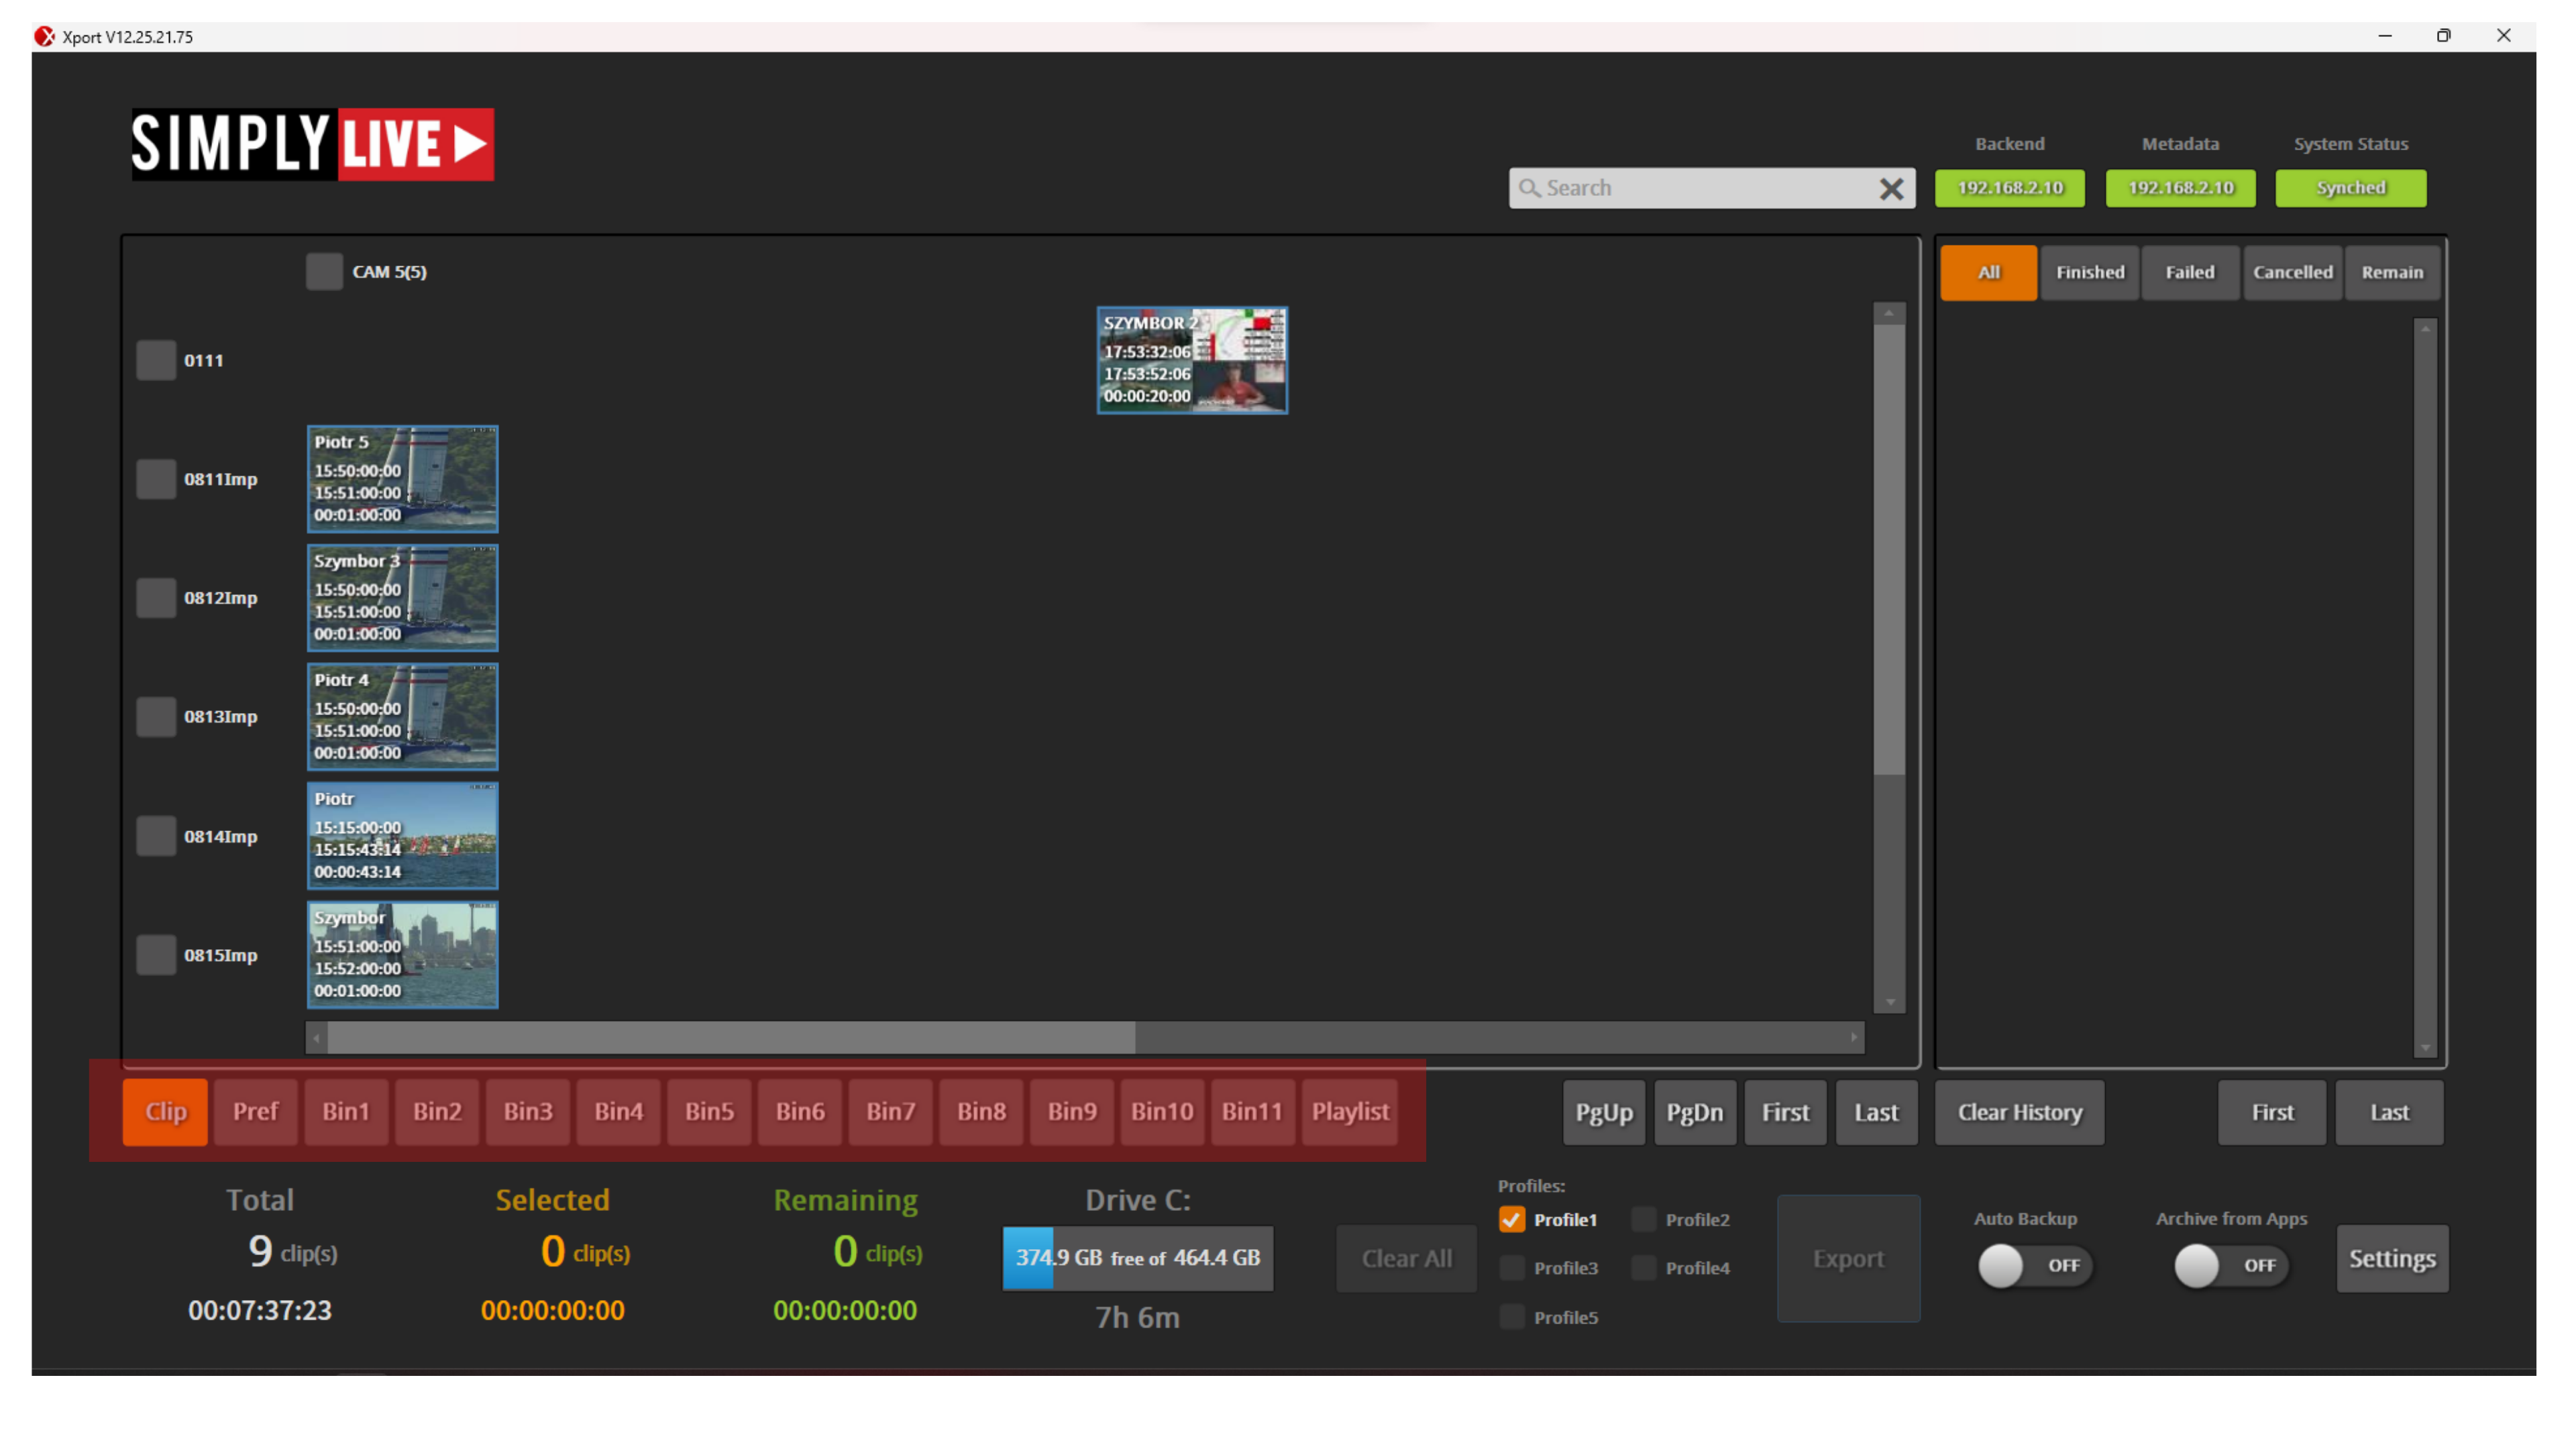
Below the clips area, the tabs let you choose how the content is shown:
-
Clip
-
Bins
-
Playlist
Use Clip to see the clip list directly.
Use Bins when you want to work from organised groups of clips.
Use Playlist when you want to export playlists.
Pro Tip
Using bins is a practical way to collect important clips before export. You can group the clips you want to keep, archive, or send out, then open that bin and export everything from there in one go.
Info
Playlists can be exported as a single clip. This is the flattening process.
Pro Tip
Flattening turns a playlist with many items into one file, which makes it easier to handle, move, and reuse.
Pro Tip
You can also flatten several playlists into separate files, then build a new playlist from those flattened files. This is a clean way to reduce a long playlist into a smaller number of bigger, easier-to-manage clips.
Navigation controls
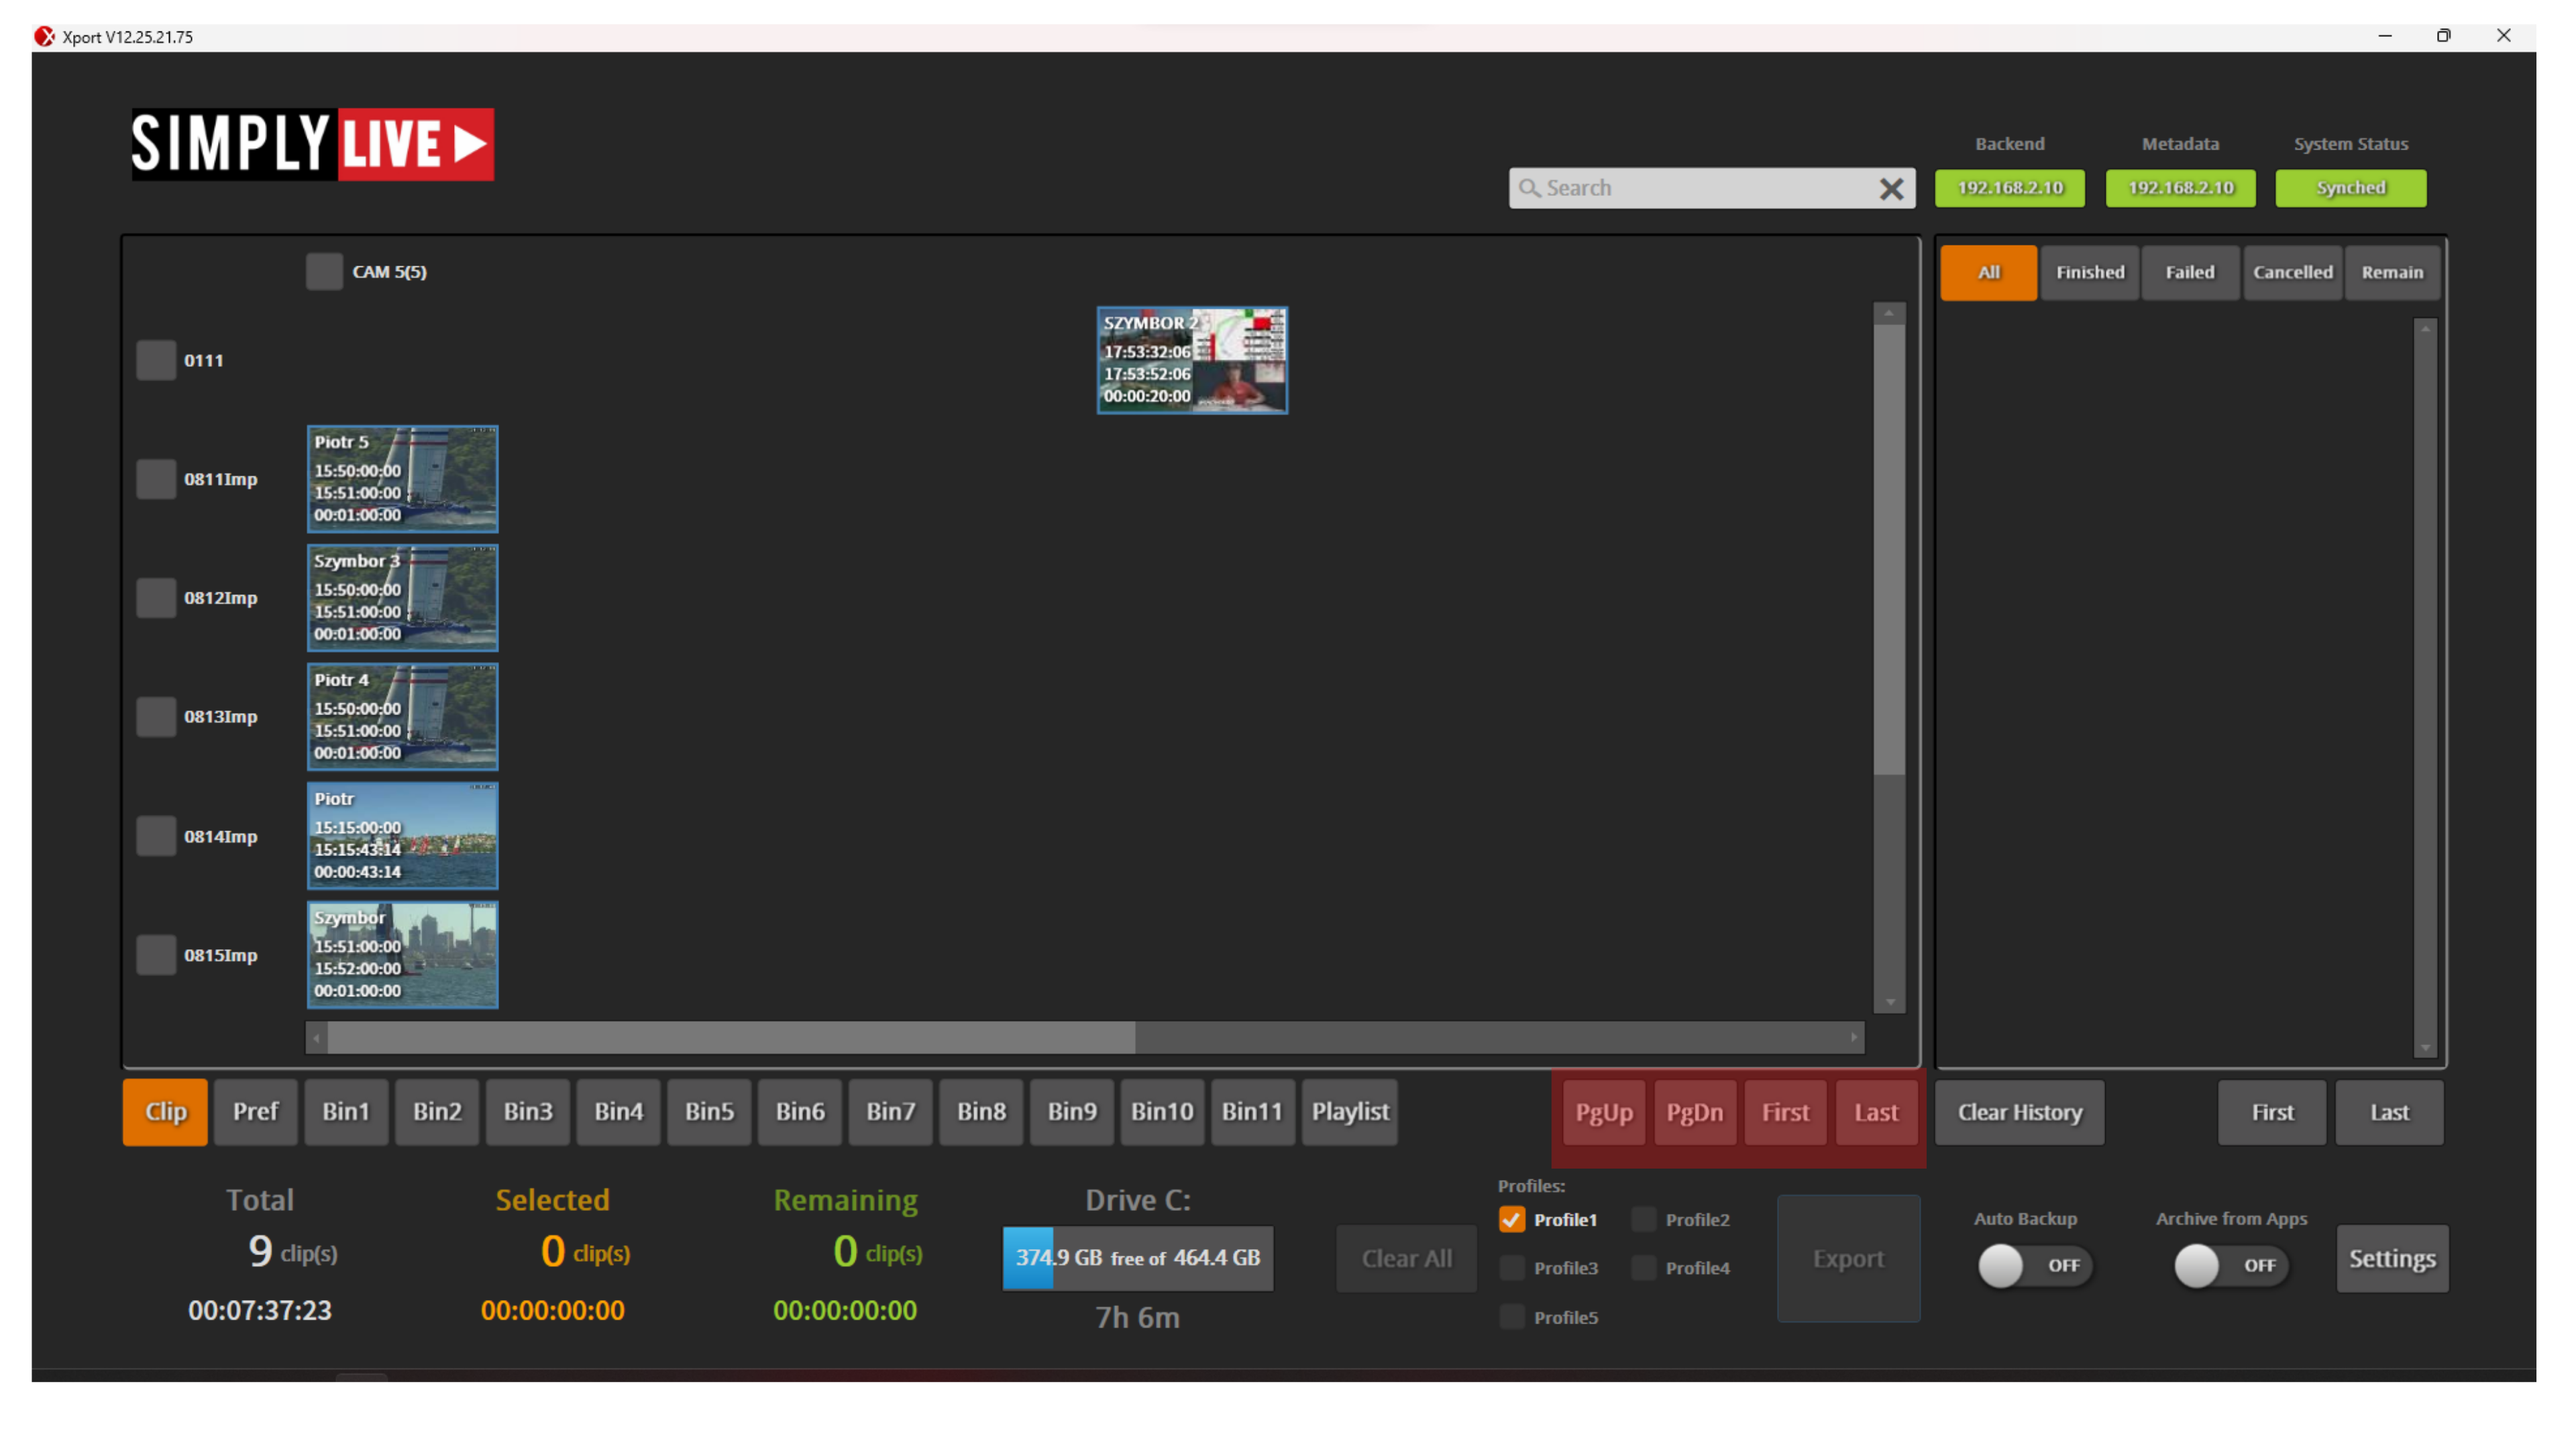
To the right of the tabs, the navigation buttons help you move through the clip list:
-
PgUp
-
PgDn
-
First
-
Last
These controls let you move up or down through the available content and jump quickly to the beginning or end of the list.
Pro Tip
You can also scroll through clips directly using the touchscreen.
Clip counters
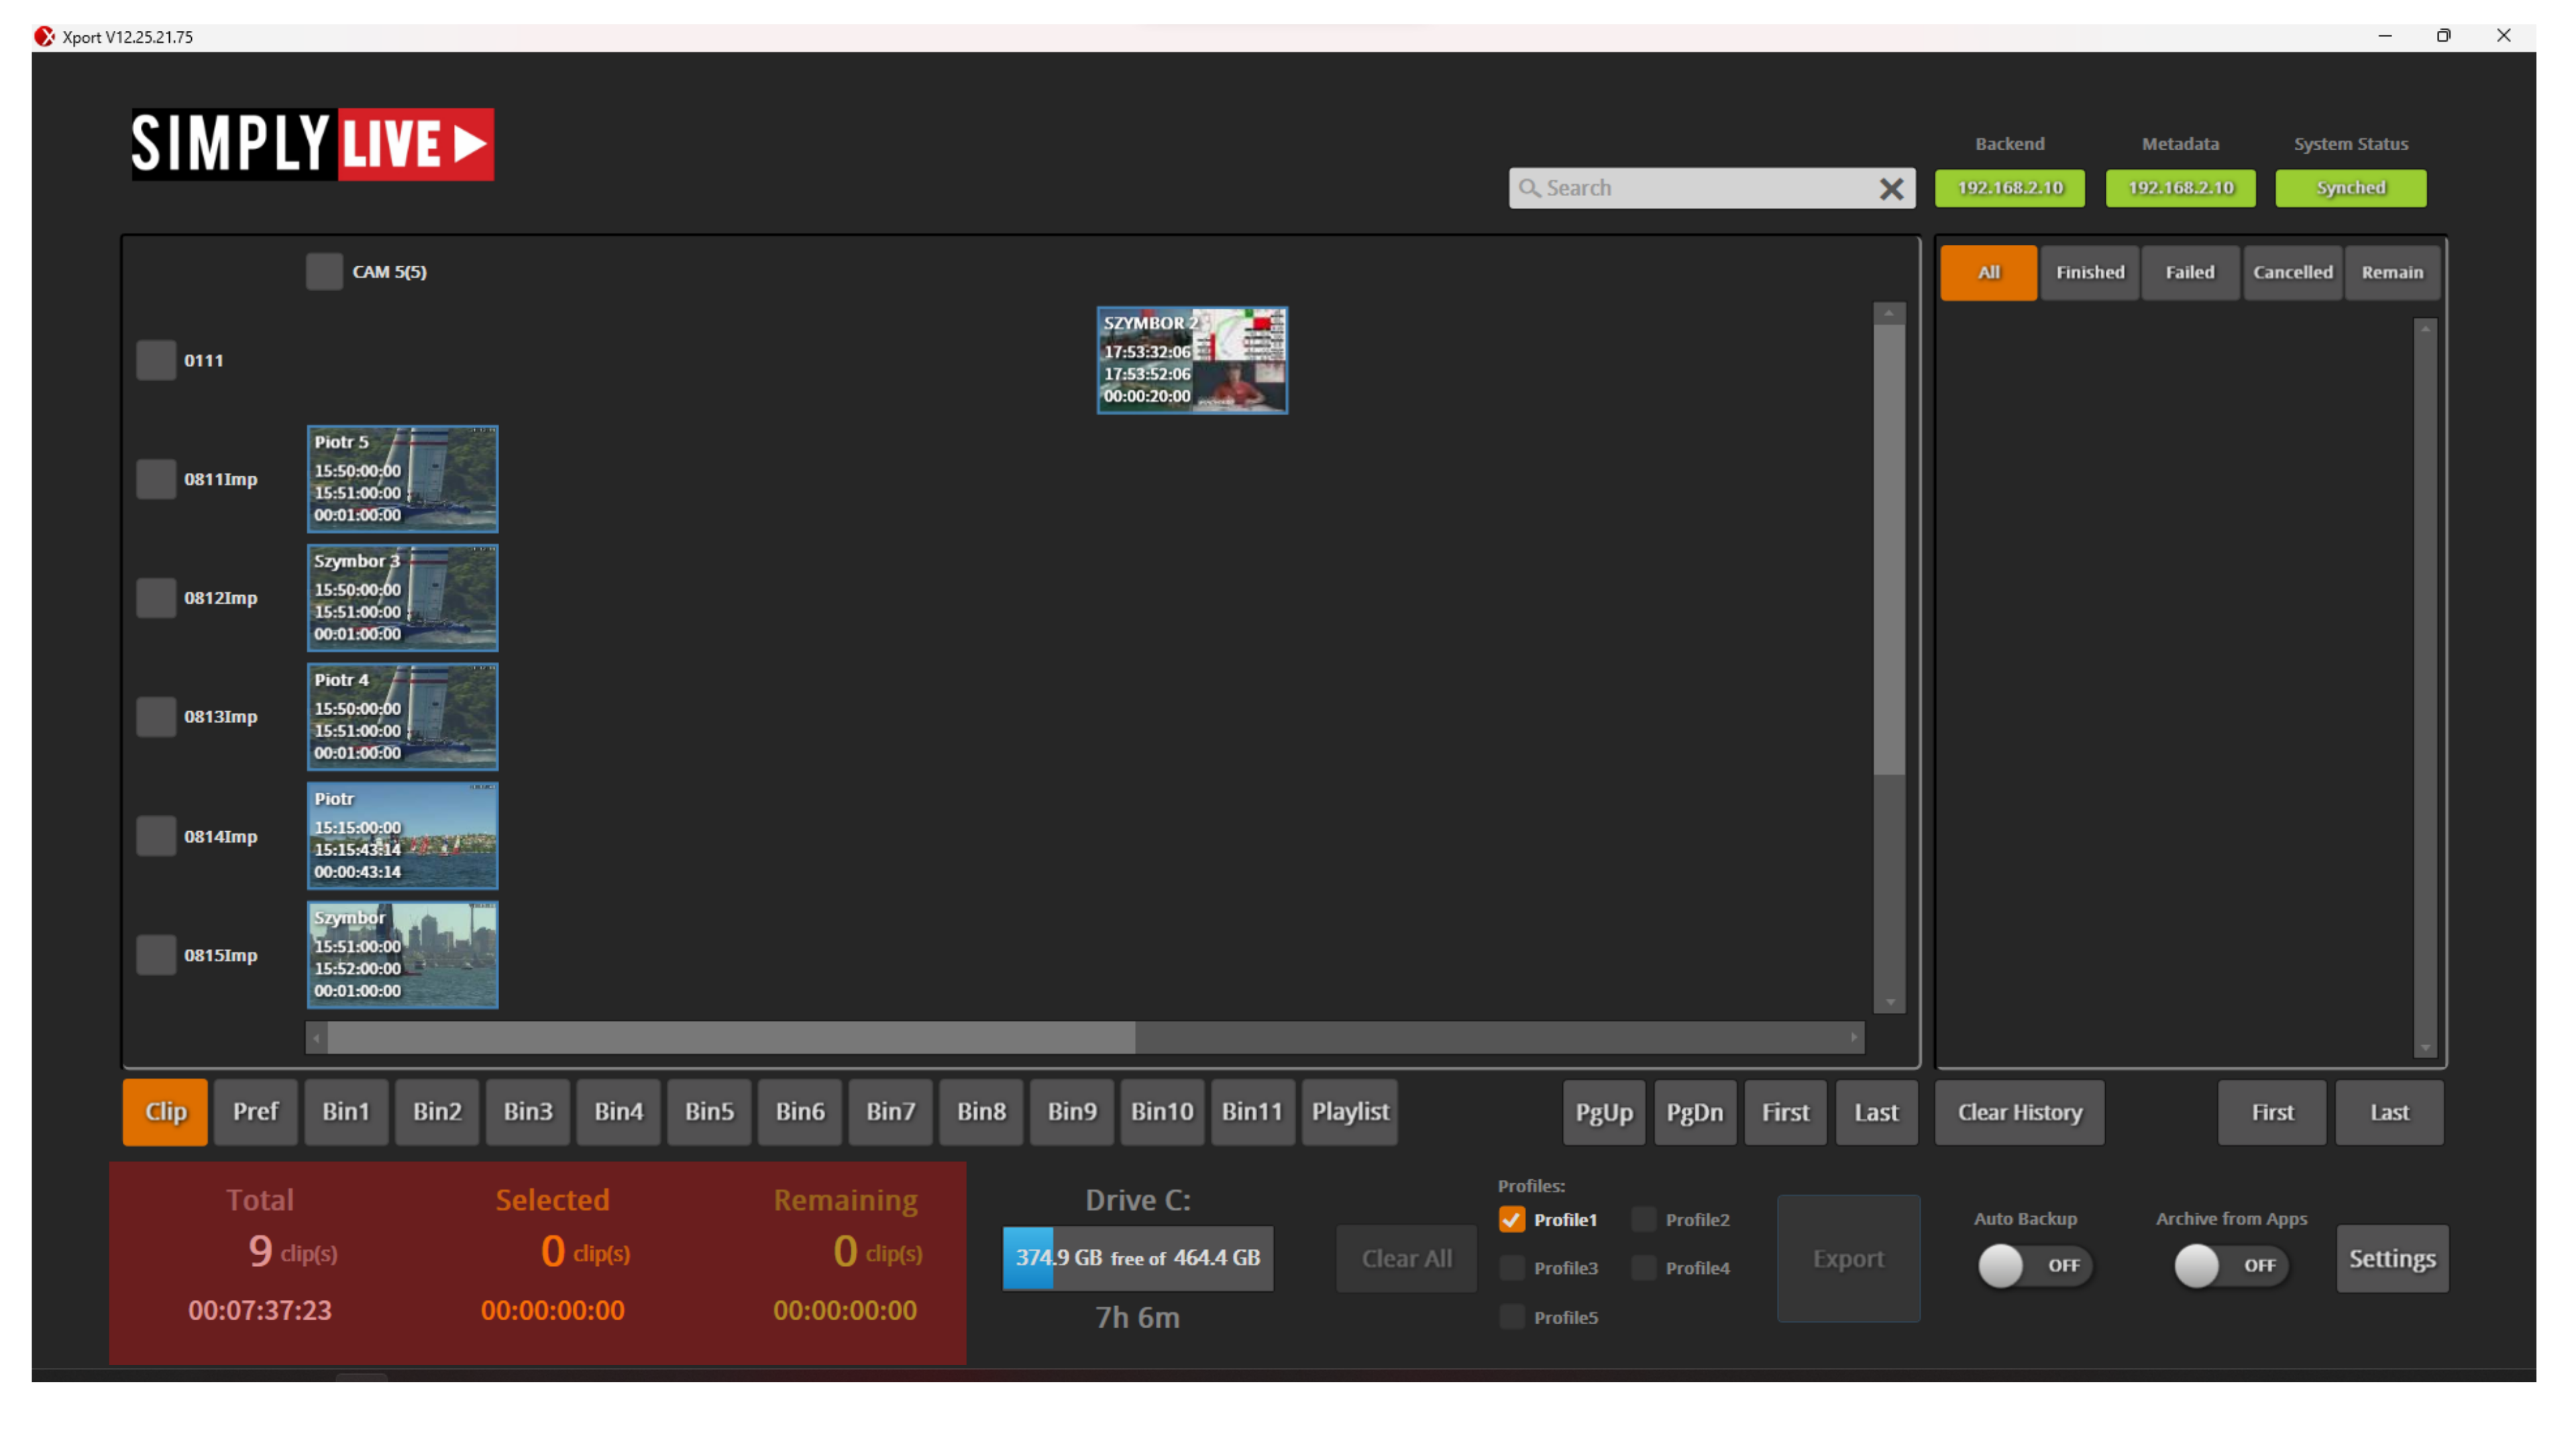
At the bottom of the screen, XPort shows:
-
total clips
-
selected clips
-
remaining clips
This gives you a quick overview of how much content is available, how much is currently selected, and how much still remains to be sent.
Drive information
In the lower middle area, XPort shows the current drive and available disk space.
This helps you check storage status before starting larger exports.
Export profiles

The profile section lets you choose which export profile will be used.
Each profile can use different export settings, such as codec and other export options.
This makes it possible to prepare different outputs for different destinations.
Pro Tip
Profiles are especially useful when different teams need different file types. One profile can be prepared for one destination, while another can be prepared for a different codec or export setup.
Export controls
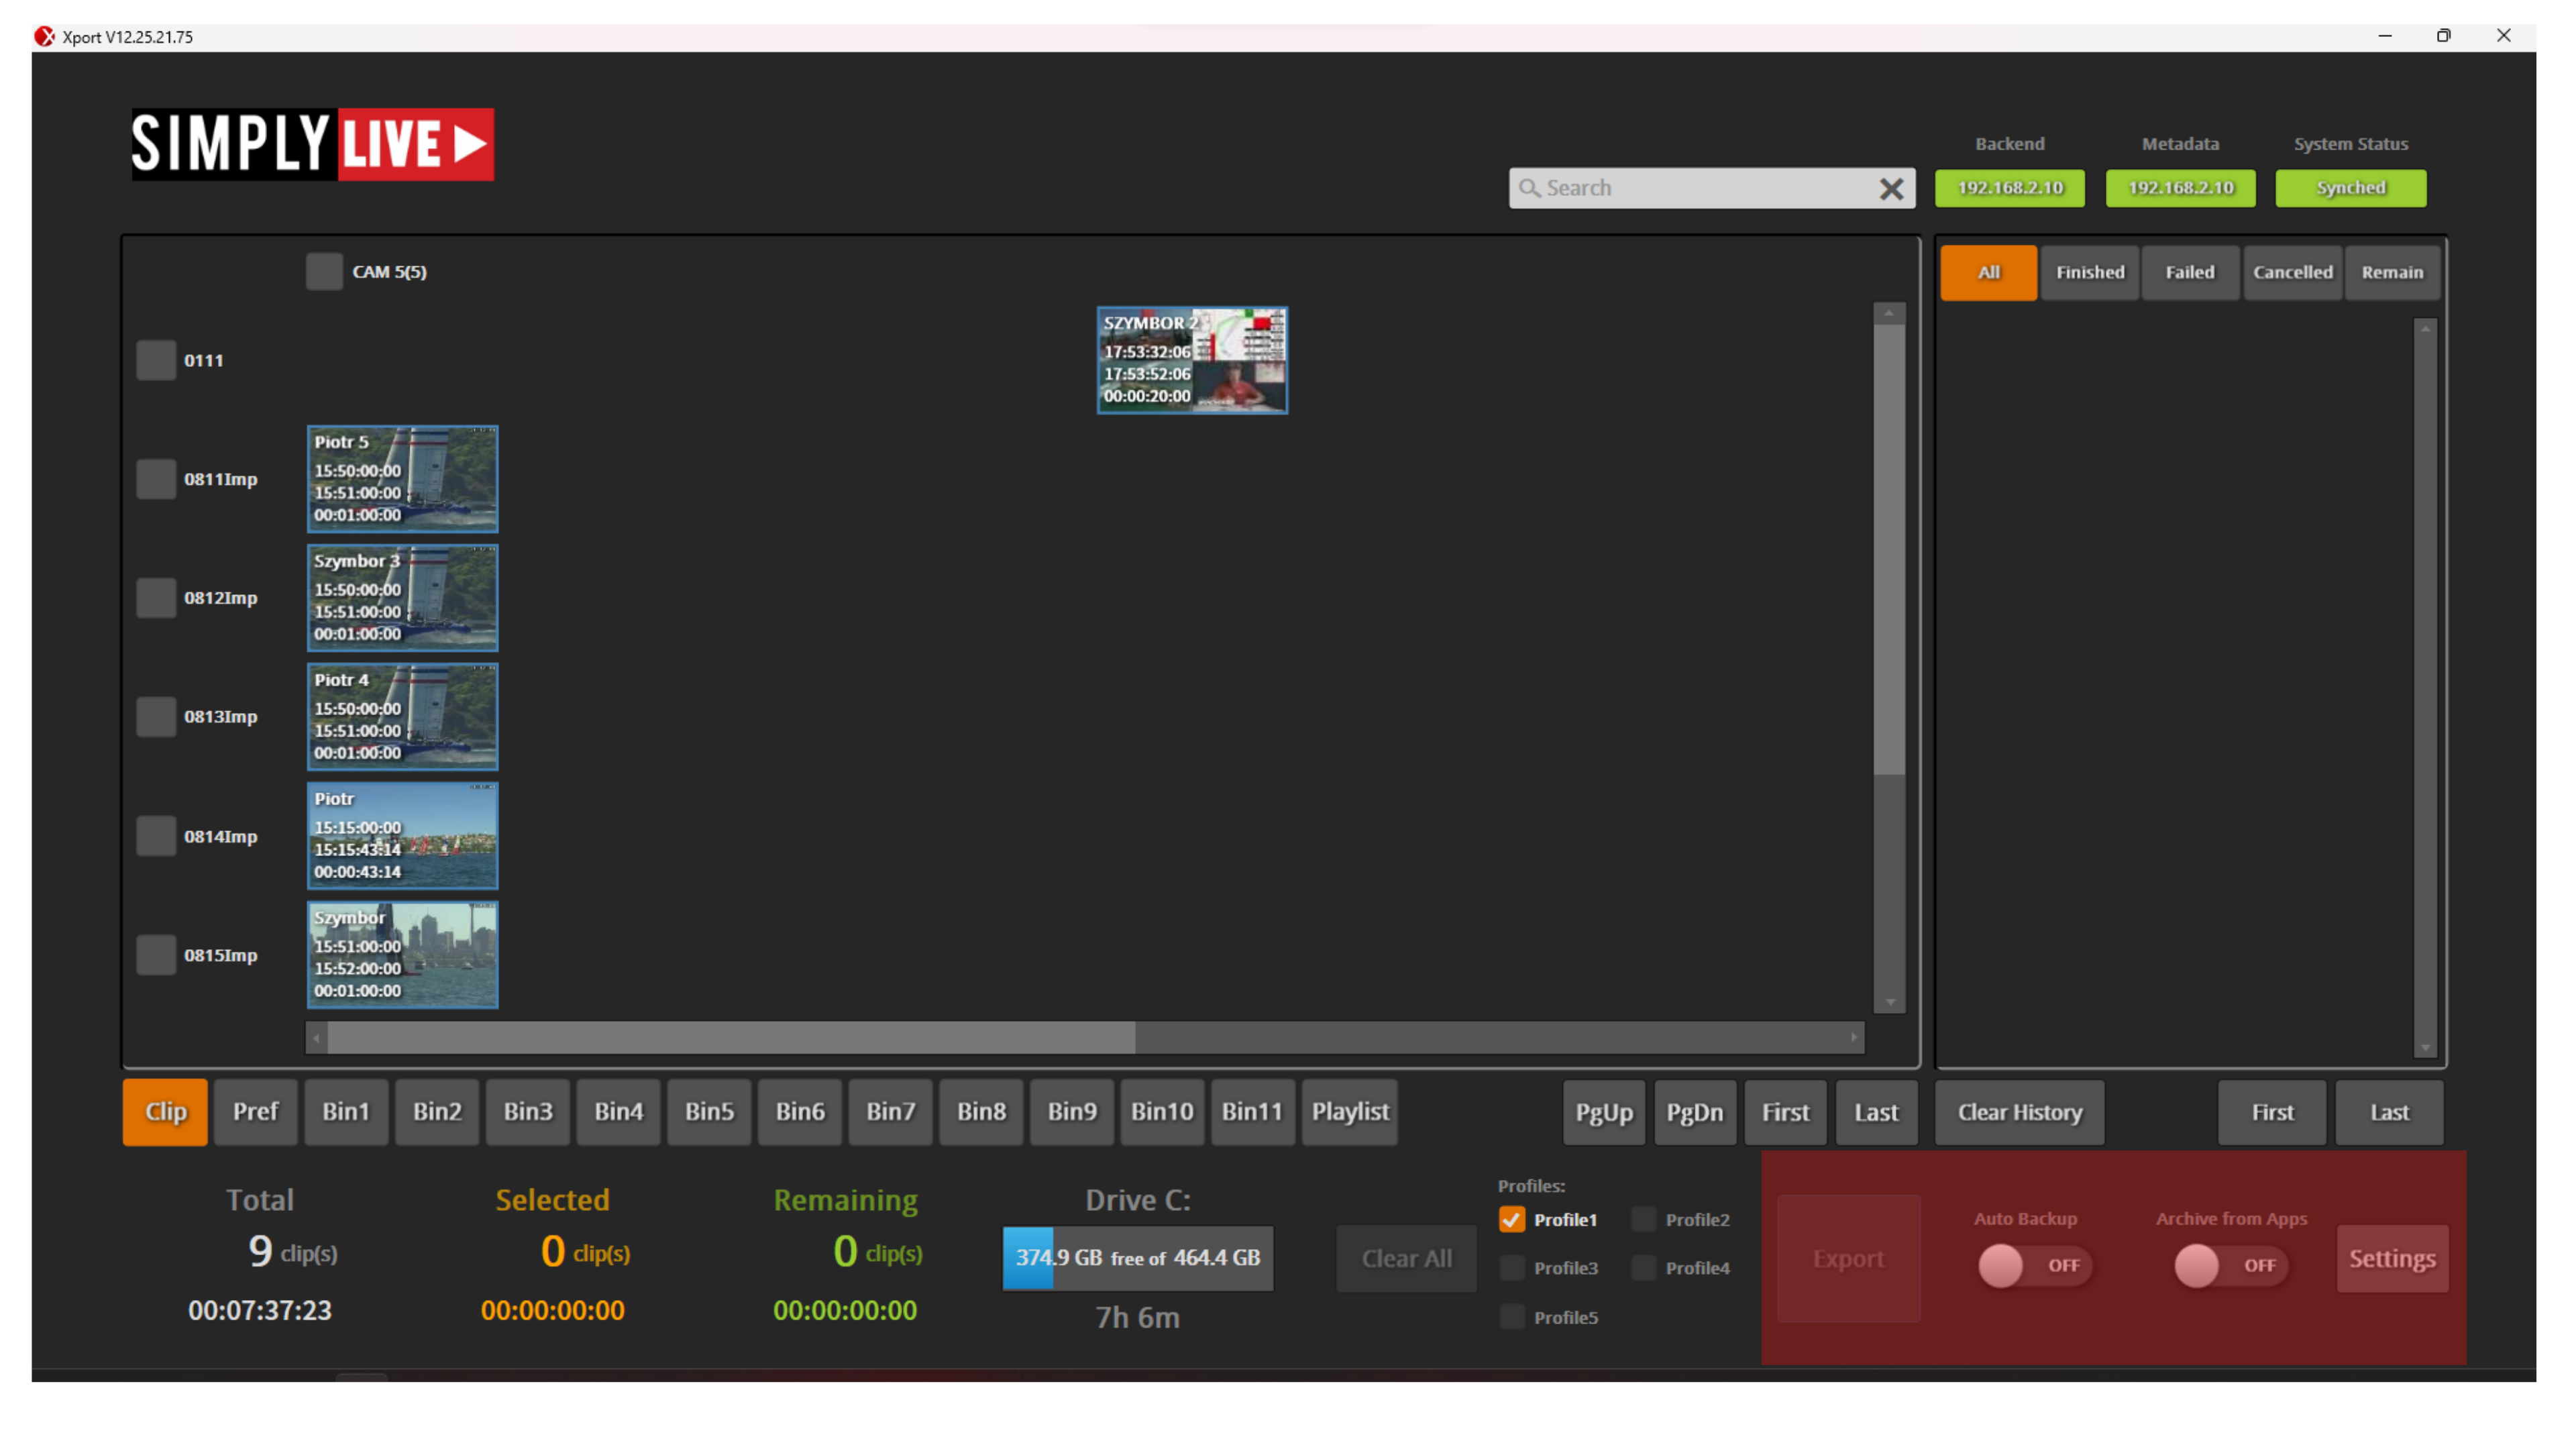
The lower right area includes the main export controls:
-
Export
-
Auto Backup
-
Archive from Apps
-
Settings
Use Export to send the selected clips.
Use Auto Backup to enable automatic export behaviour.
Use Archive from Apps to allow archive actions from the operating application.
Use Settings to open the XPort configuration.
Server information and task area
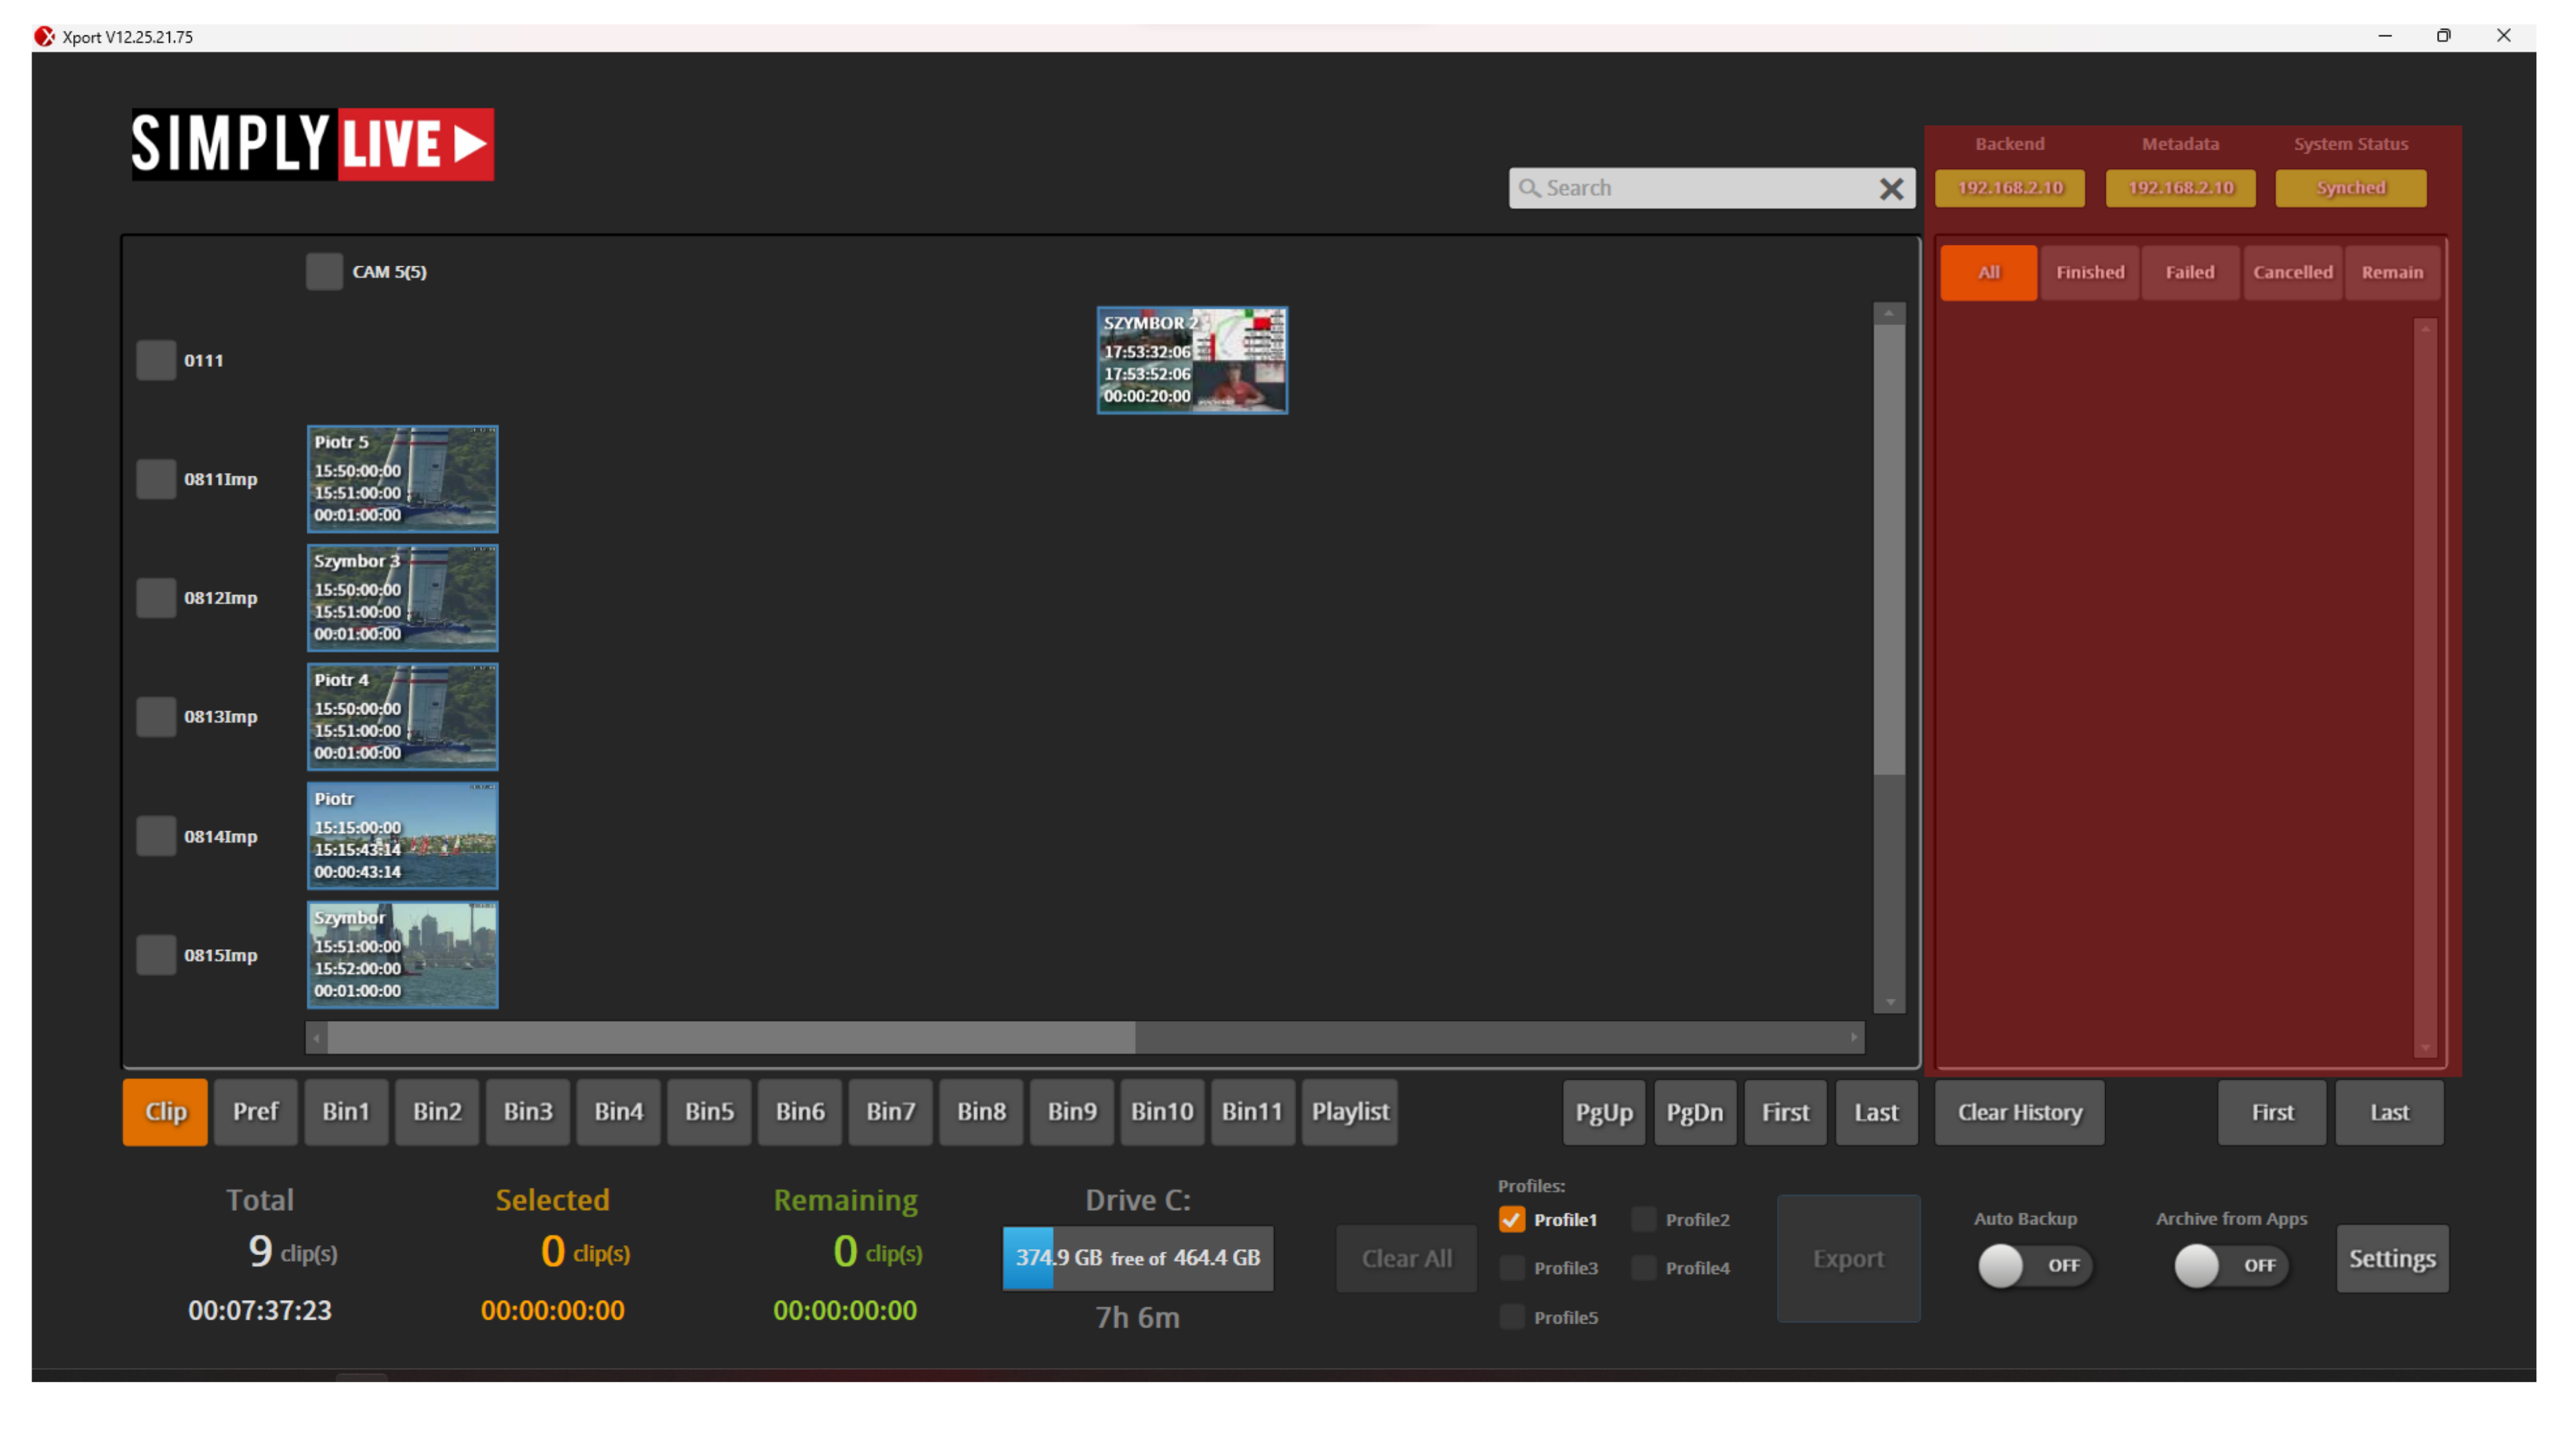
In the top right area, XPort shows the current server information and export task status.
This allows you to confirm the connected system and monitor export activity while jobs are running.