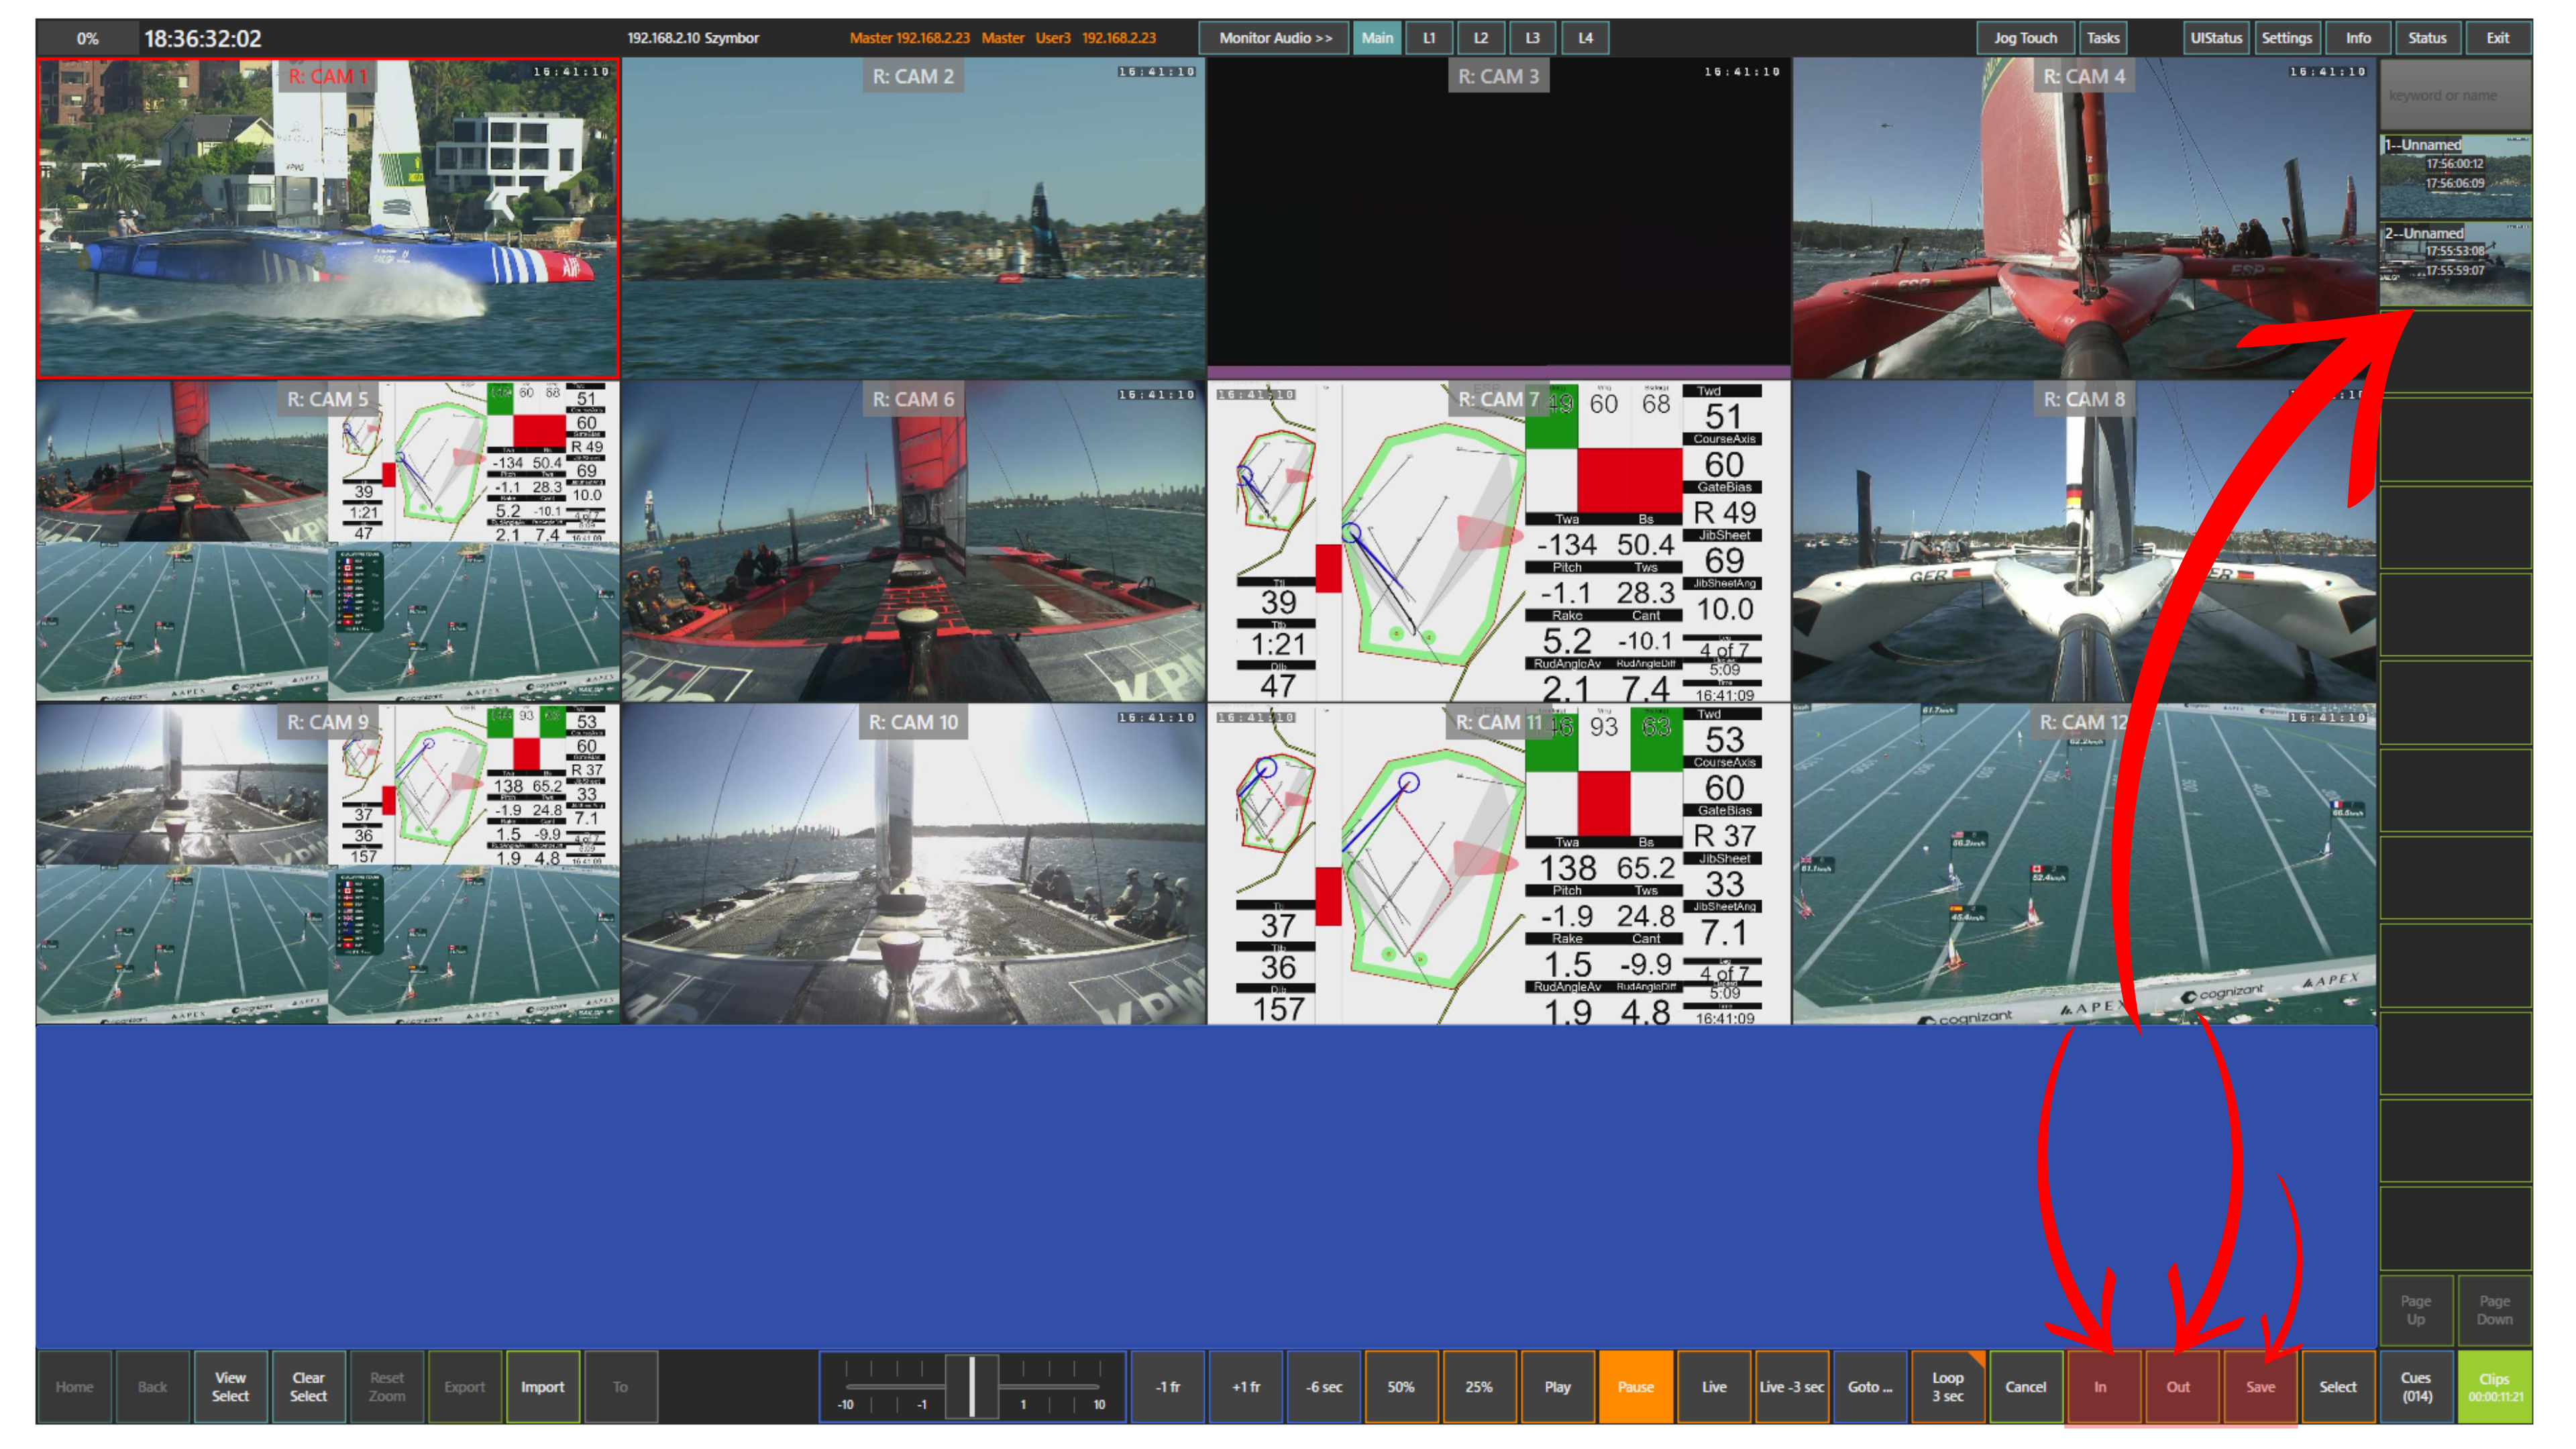
In RefBox VAR, you can work not only with cues, but also with clips.
Cues are mainly used for fast marking of important moments. Clips are used when you want to save a defined segment with a clear IN and OUT point for later review or export.
If you need a longer action saved properly, with precise boundaries, use a clip rather than a cue.
To create a clip, open the Clips panel, mark the IN point, mark the OUT point, and then press Save.
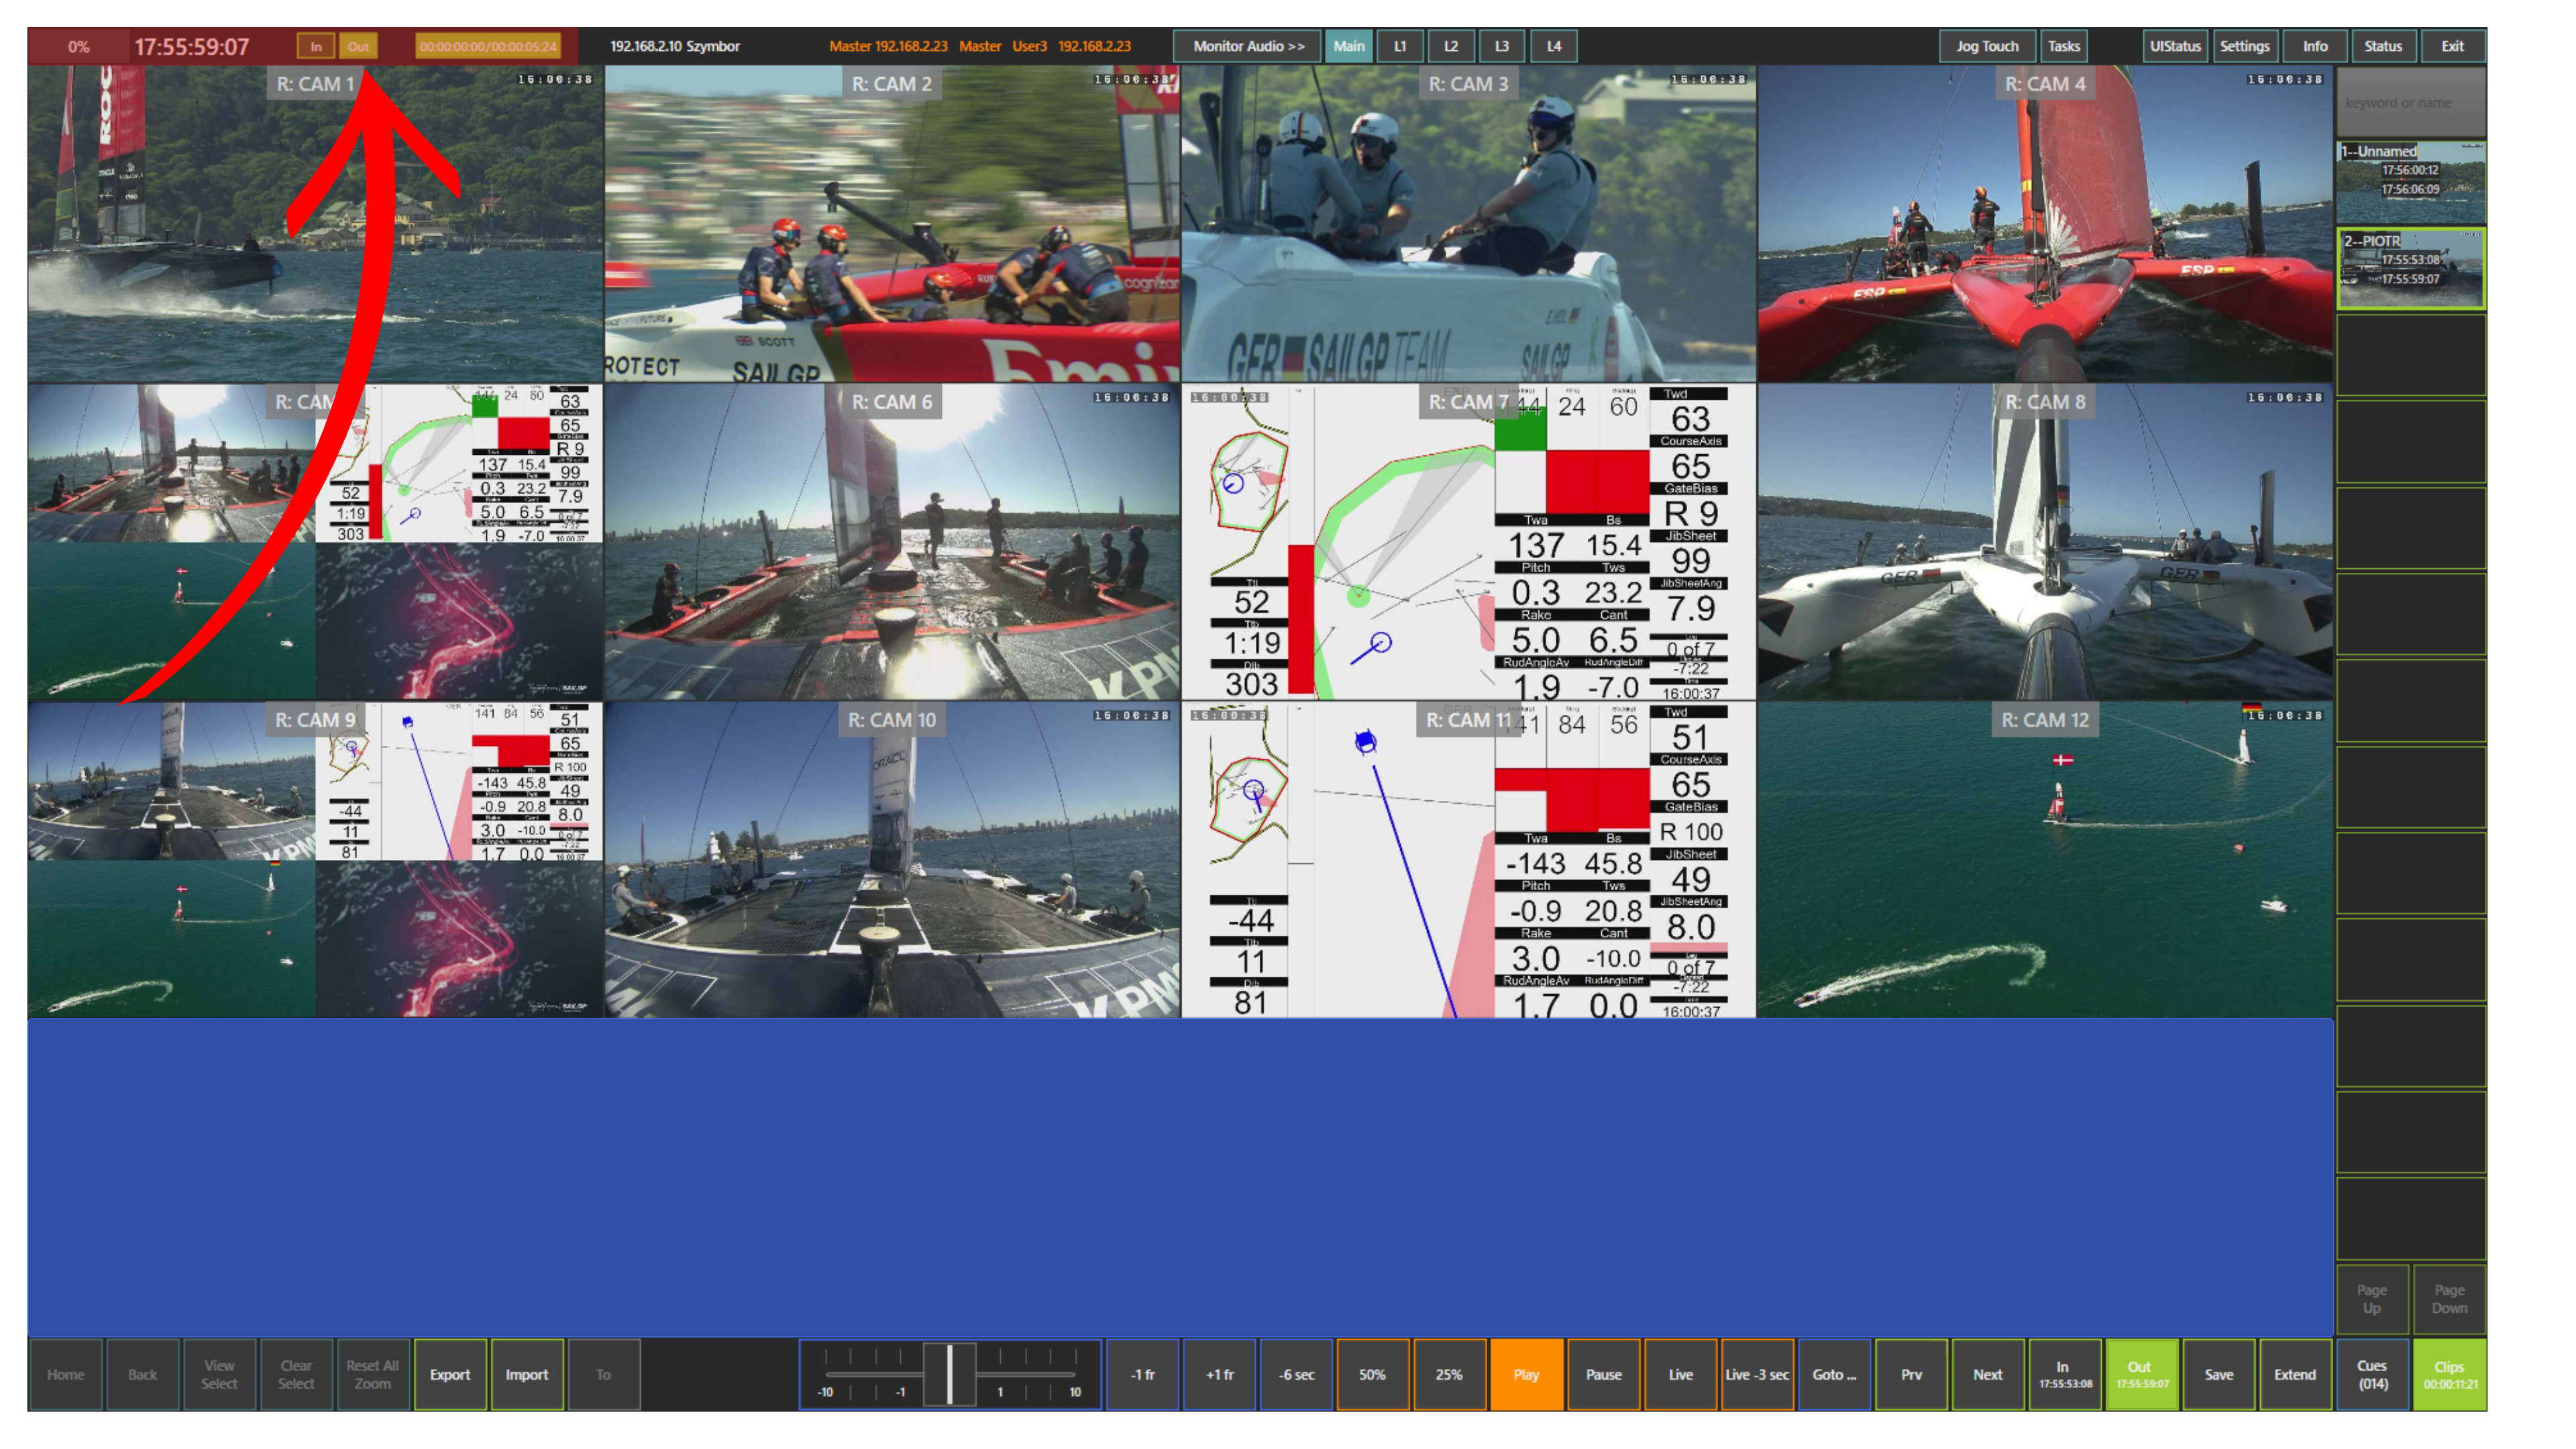
Created clips appear on the right side of the screen in the Clips panel.
If you want to name a clip, open it from the Clips panel and fill in the Name field. The clip name will then appear in the list.
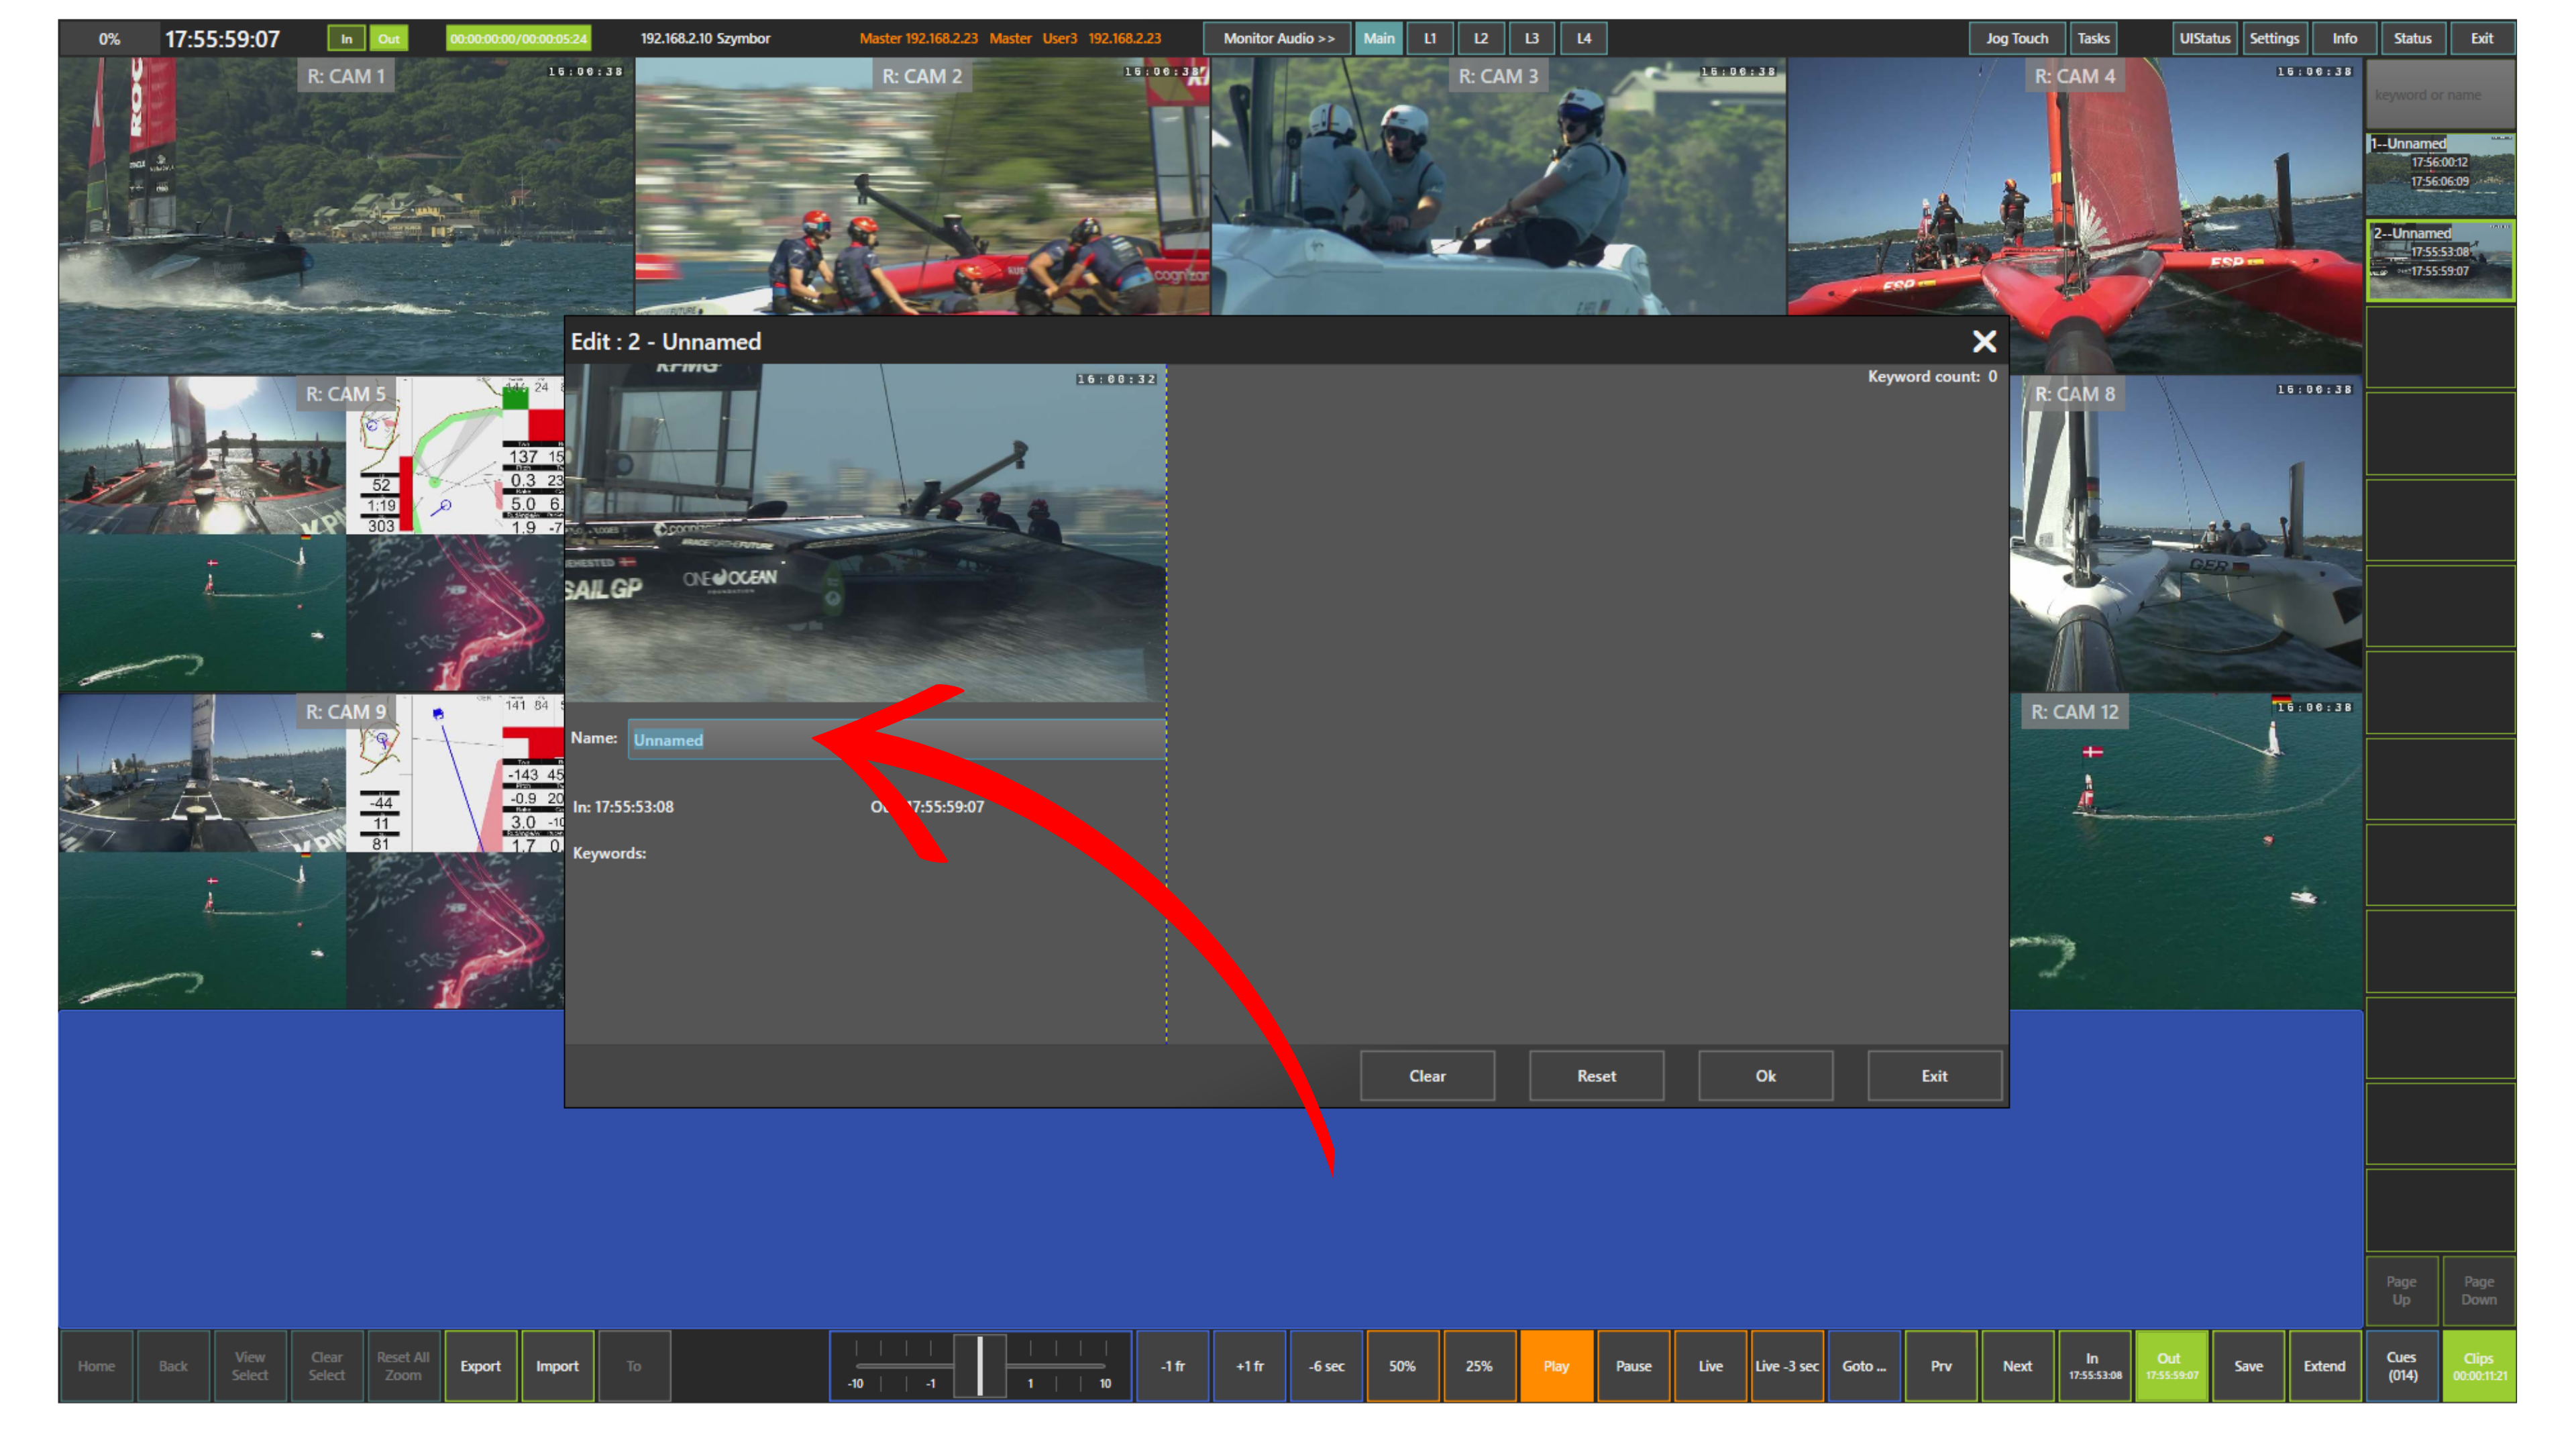

As with cues, you can look for clips using the keyword or name field.
Once a clip is loaded, you can review it using the same playback and navigation tools described earlier in the manual, including the Play panel, slider, blue touchpad, and ShuttleXpress.
When a clip is loaded, the top left area of the screen shows the clip speed, the IN and OUT points, and the clip duration.
You can also import clips into the system and export saved clips when needed.
Pro Tip
Use clips whenever you need to save an important action with clear duration for later review or export.
Pro Tip
If the saved clip is too short, you can use the Extend panel to extend its duration.
Pro Tip
Enhance your precision by mapping IN, OUT, and Save actions directly to ShuttleXpress buttons. This tactile configuration provides more intuitive control over your production, making the clipping process feel more natural and responsive.